


We spent this past weekend in snowy McCall, ID.
I guess if it is going to continue to snow at the end of March we had
better take advantage of it and go skiing!
So we relaxed a little, "shredded the pow", and I of course did some crafting
and made this little number:
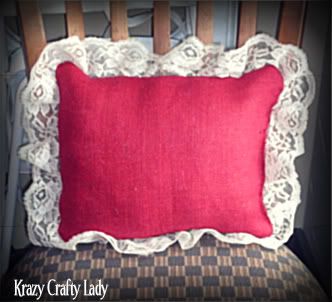
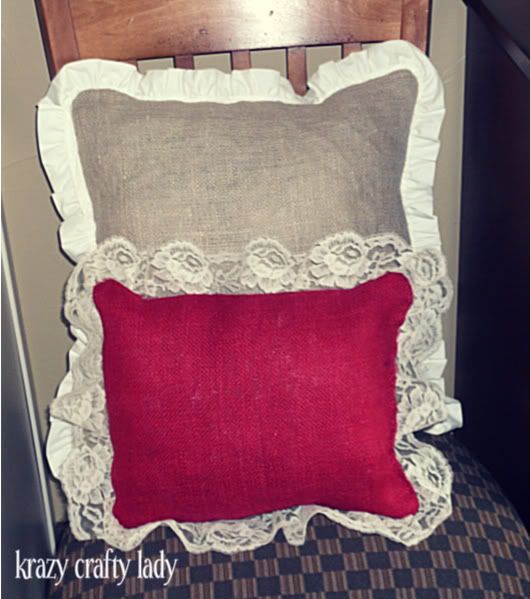
okay, these two numbers:
Warning: these pillows are for decoration only. My two-year-old kindly let me know "Mommy, this pillow's scratchy". I love me some burlap, but it is definitely not something you want to cuddle up on. With that being said, here is the super easy tutorial. ((I am not a seamstress by any means...so bear with me if I don't use the right sewing terminology!))
Supplies:
- burlap (I bought a yard of each color for $2.99 at Hobby Lobby...but probably only used half of each)
- sewing machine
- pillow to cover, or stuffing (I bought a thrifted $2 pillow and used the stuffing out of it. And actually it had enough for my two pillows)
- lace or ruffles for the edge; optional
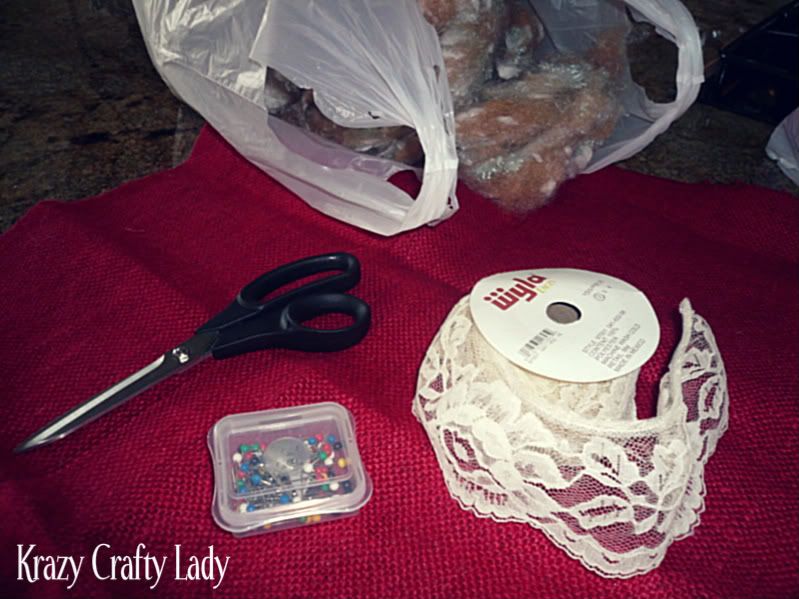
Yes, that bag is filled with some creepy looking "stuffing"
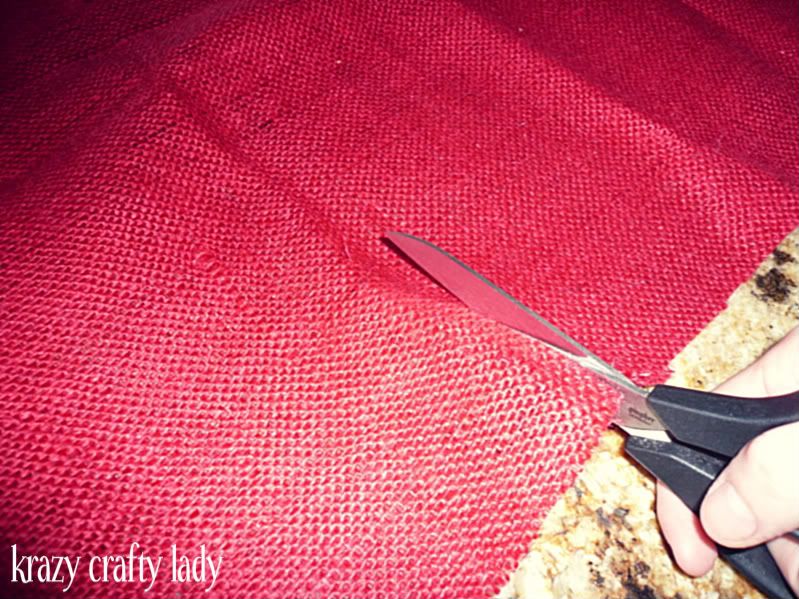
Cut out 2 squares of burlap the same size. I didn't measure since I was just going to stuff it.

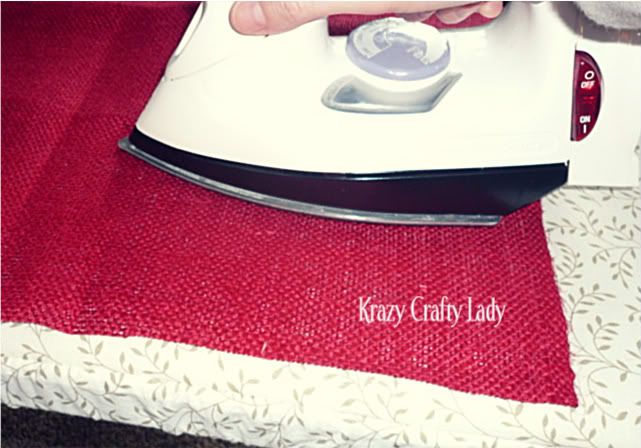
Press both squares to get the lines out.
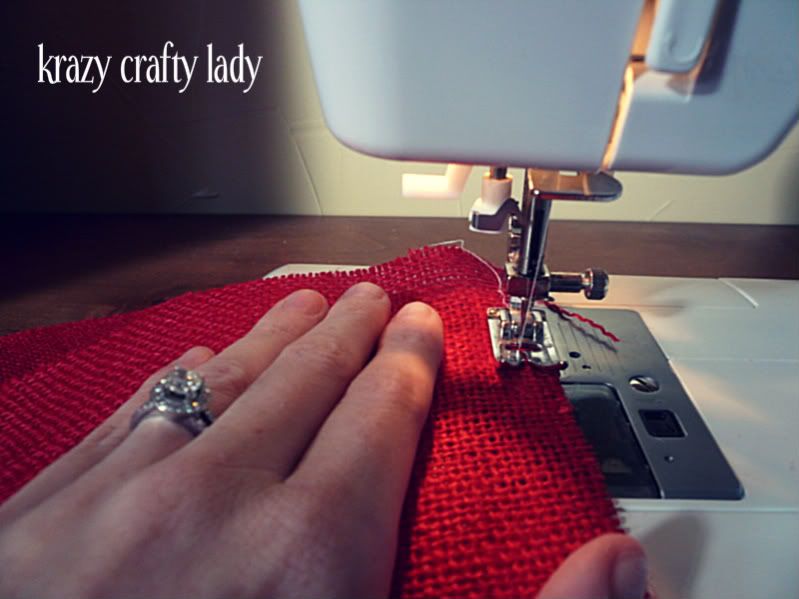
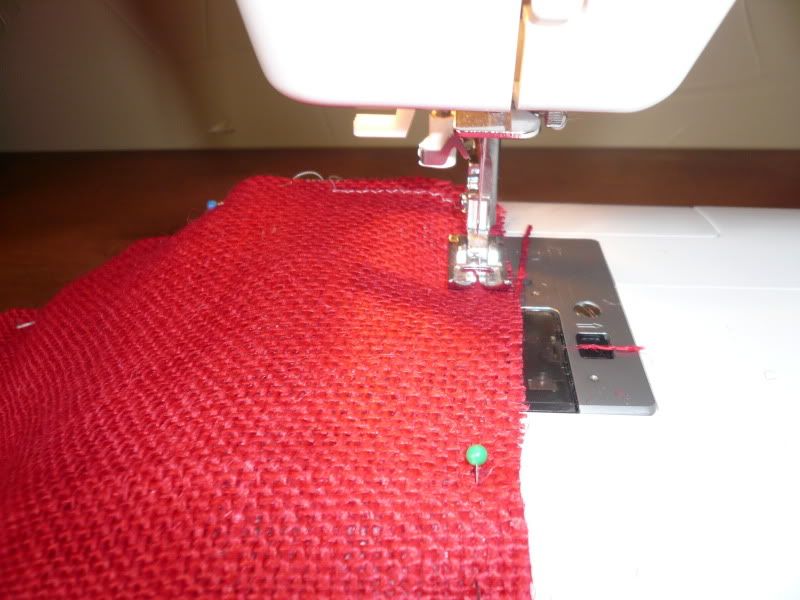
Sew along the edges so the burlap doesn't continue to fray:
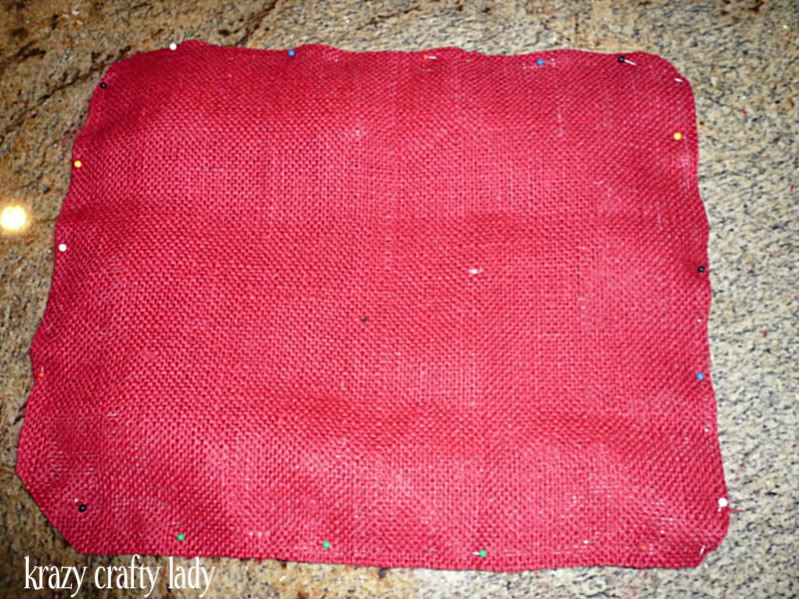
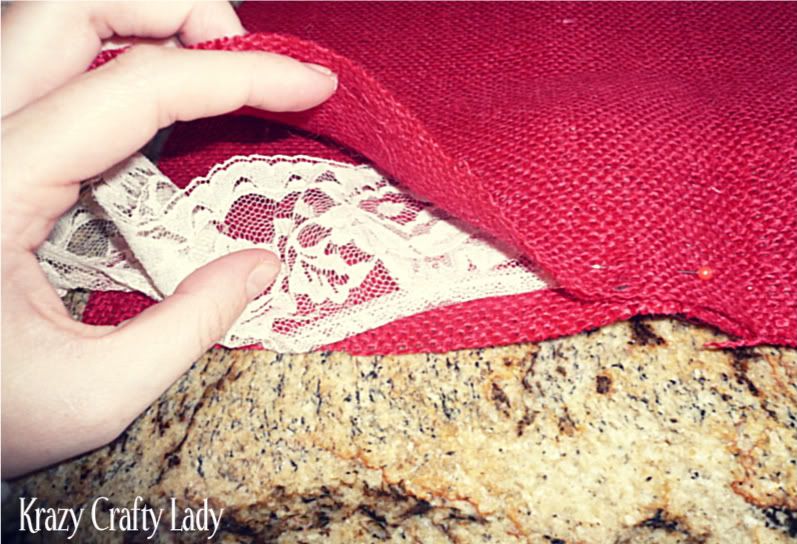
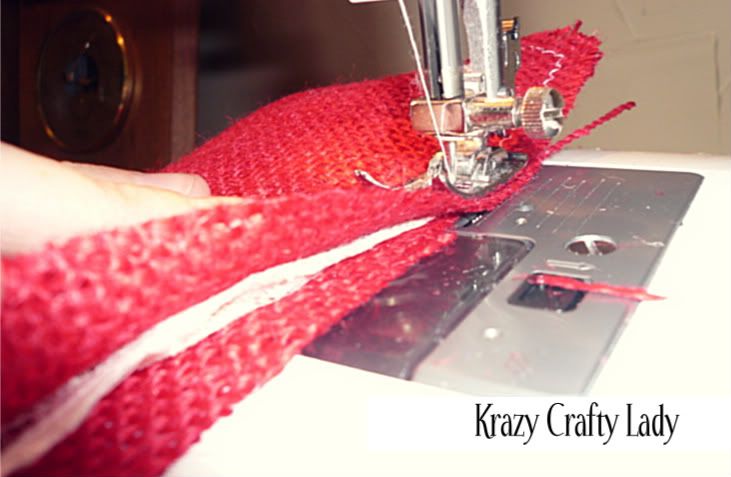
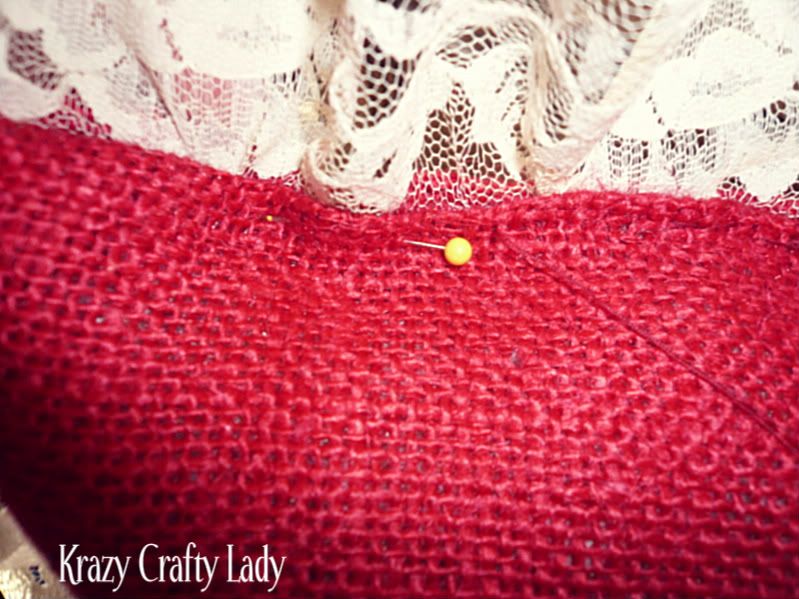
Pin edges and if you are using a trim, pin it inside. (Remember to leave a few inches open so
that you can turn it inside out)
Remember to keep checking to make sure you are still pinning your trim down.
Now you are ready to sew!
Making sure I was sewing the lace still :)
The opening:
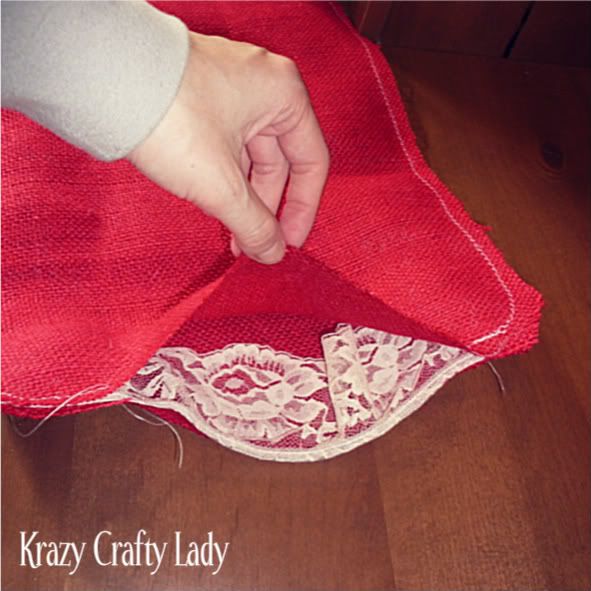
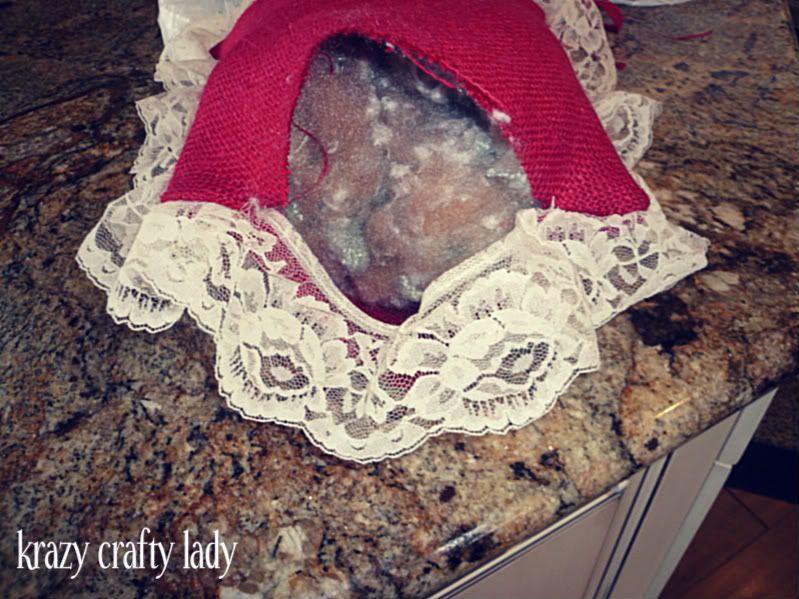
Here's how it looked after I tuned it inside out:
(Side note- the corners are kind of tricky, mine were far from perfect but it's gonna be okay:)
Begin stuffing your pillow with scary looking stuffing!
Pin open edge closed again (I just tucked the edges in on both sides then pinned) and sew this part
with a needle and coordinating thread.
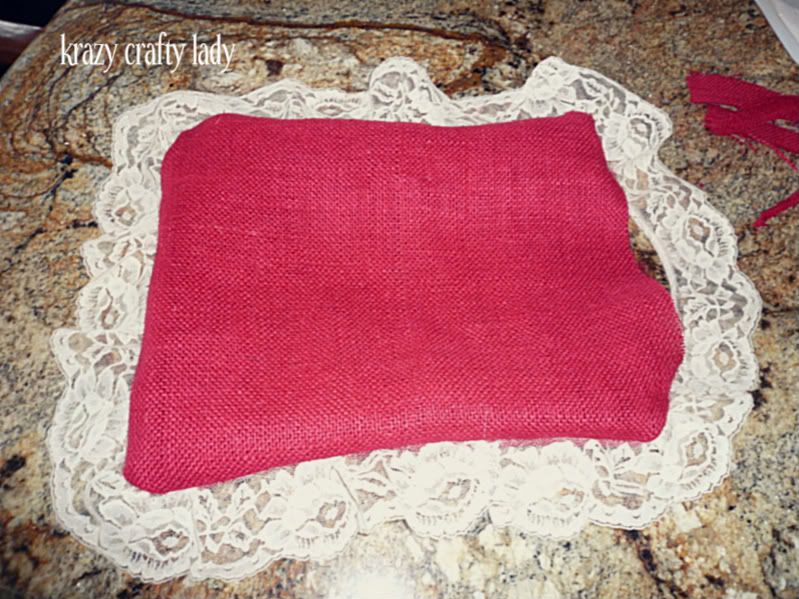
And you are done!
Unless you want to make another one with ruffle trim like I did :)
I'm thinking I want to add our initials on this pillow- Pottery Barn style. You know, where the middle initial is bigger than the other two? What do you think? Or I also like the idea of "tonight" on one side and "not tonight" on the other :) I've seen those pillows floating around and think they are hilarious. I'll be sure to post a picture of what I decide to do.
These pillows only took like a half hour (okay, okay maybe 45 min.) from start to finish. Not bad friends, not bad.


Love em! Came out super cute!
ReplyDeletesuper duper cute!!!
ReplyDeleteGood idea to re-use the stuffing from the other pillows! your pillows turned out great!!
ReplyDeleteThanks for linking up! :)
ReplyDeleteThose are super cute. Love the look you got! ~Kimberlee, www.TheSpunkyDiva.com
ReplyDelete