


Our total cost for this project was about $13. I bought the frame (12 x 12 w/4" opening) at Craft Warehouse for $3.15 (Originally $6.99 but was 55% off). And then we bought the other wood at Lowe's (we bought them in long strips...the exact measurements were 11/16 x 1/2, 8') And it took us 2 wood strips to complete the frame ($5.04/ea.) I am sure you could find some cheaper wood somewhere, but we didn't want to shop around.
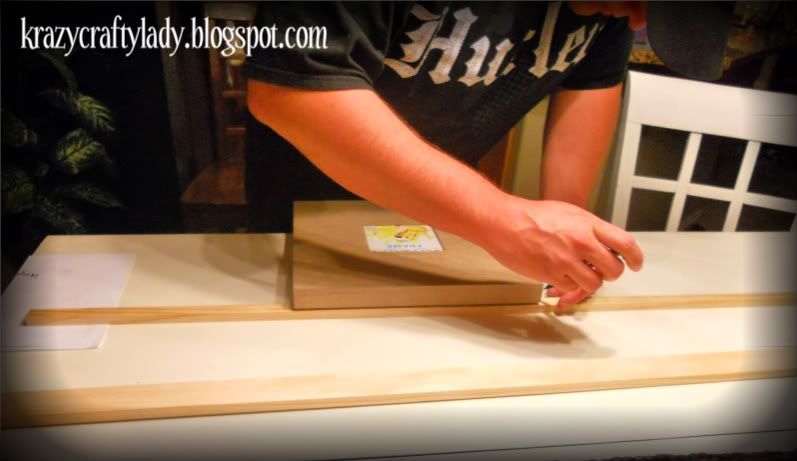
We started by measuring our frame and the wood to make sure we had enough to cover the whole thing. (I was sure we would only need one strip...good thing we bought two!)
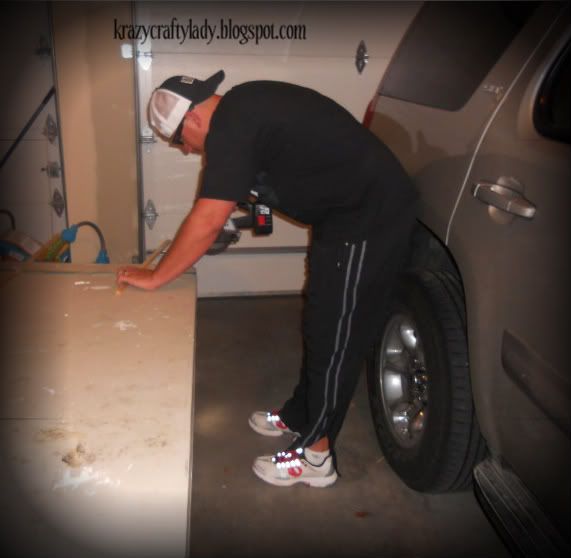
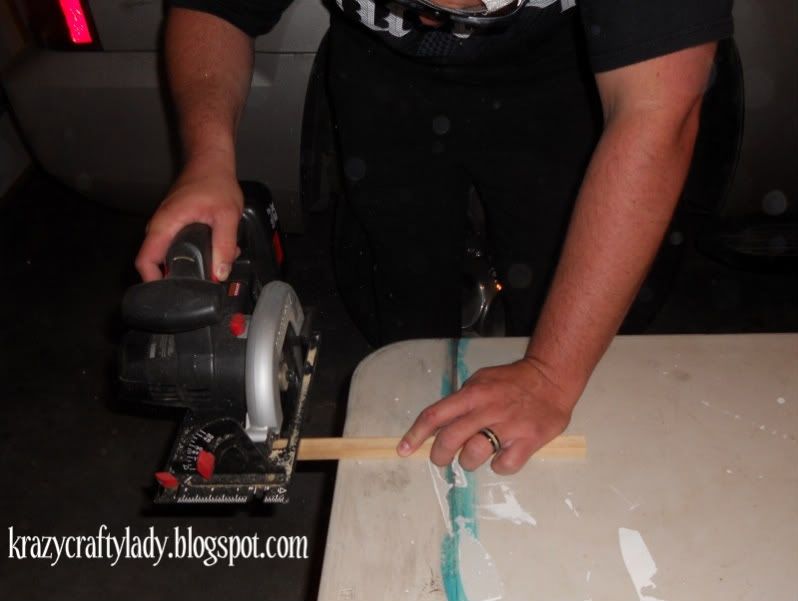
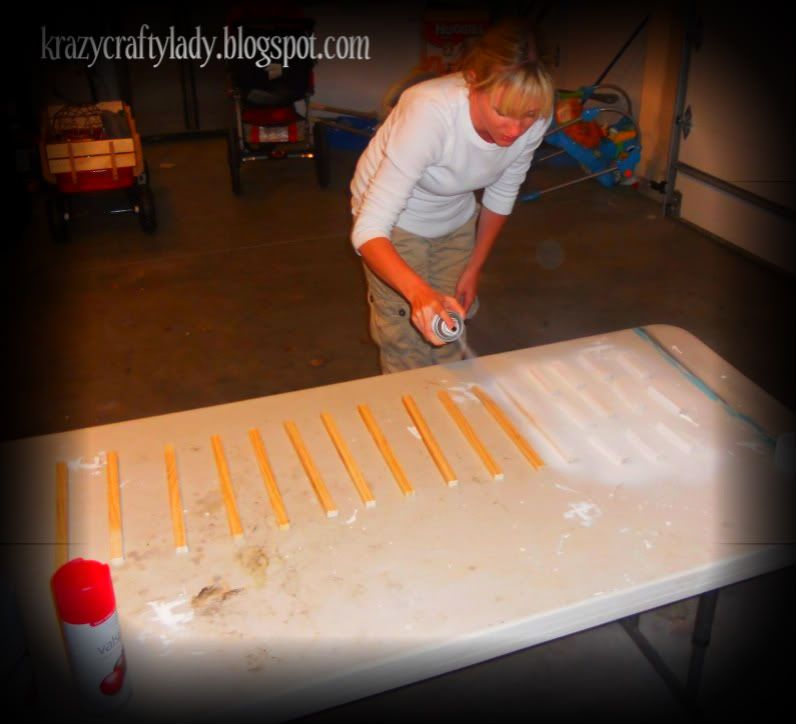
Then I put Chris to work sawing away:
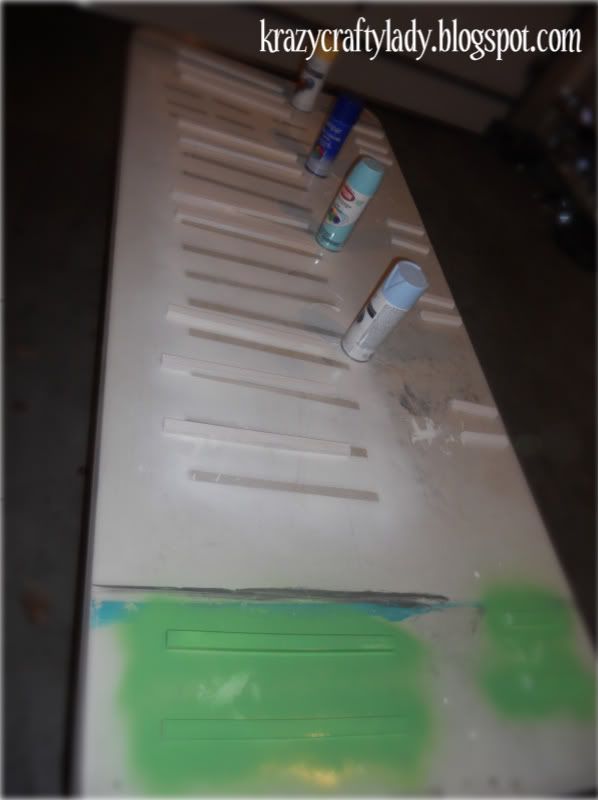
Next step...spray painting! I sprayed all the pieces white first. (I wanted the white to show through after I sanded them down a little bit)
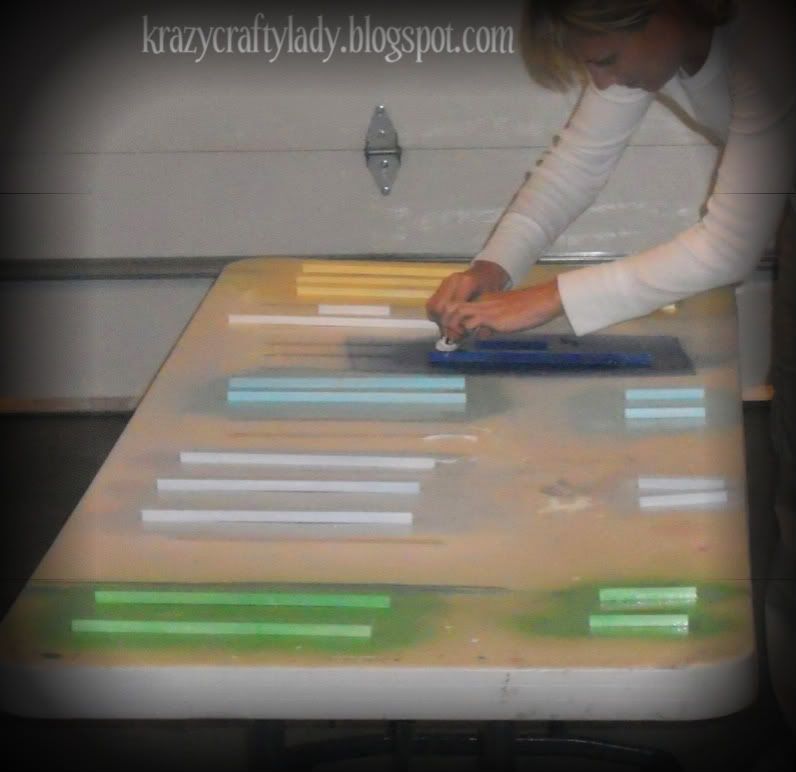
Then we chose the colors we wanted the frame to be and separated the wood into piles. I didn't want it to be too matchy-matchy so I painted 2 here, 3 there...maybe 1 over there, etc.
While the paint was still drying I took a paper towel and dabbed random spots to distress it.
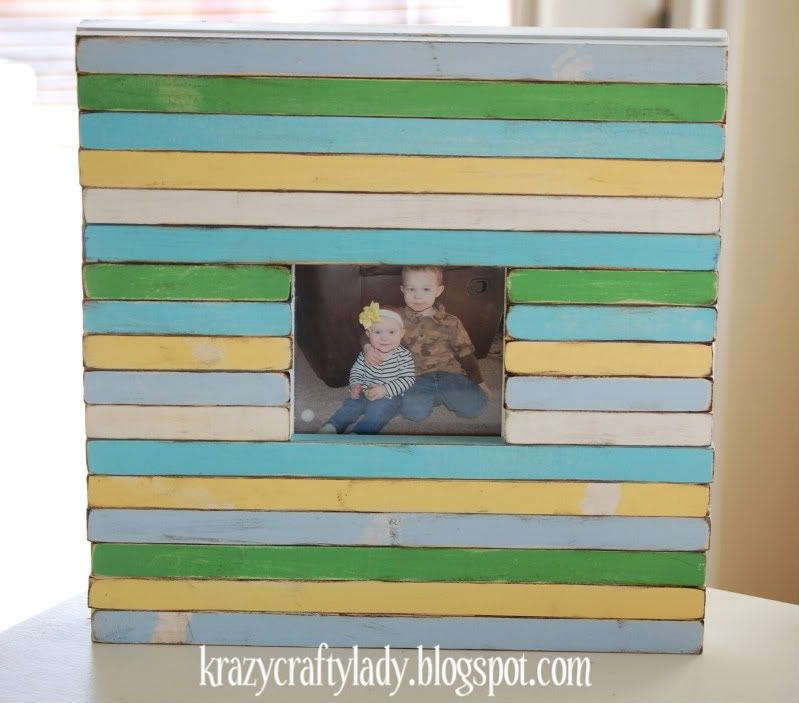
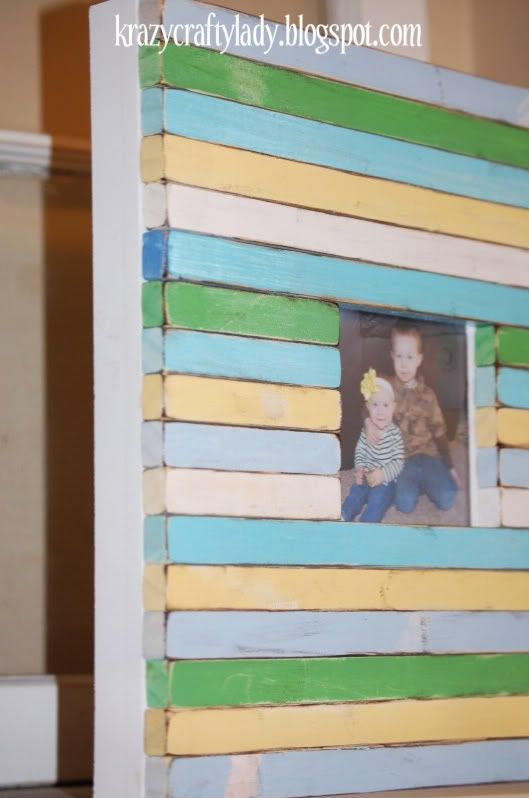
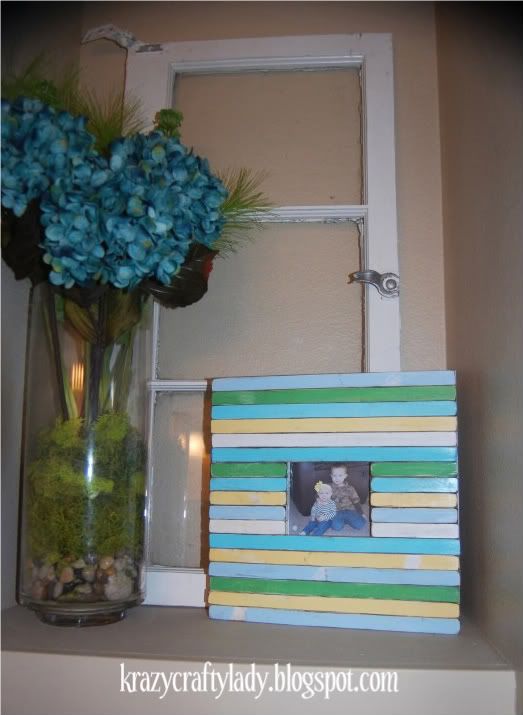
After the spray paint dryed I sanded the edges and then used some of my ever-so-handy distressing ink on the edges. (That product says its just for paper, so I didn't know how it would turn out...but it worked just fine!) Then we glued the pieces straight to the frame and here is the end product:
**Linking up to:


Really nice! It's funny because that frame is SO similar to one I see at TJMaxx & Homegoods all the time. I love that you were able to make it!
ReplyDeletehey that turned out great! you should try making your own super sized frame and make a bigger one. ???
ReplyDeleteI want this! I'm trying to do a beach theme in my upstairs bathroom. Even though you layed out how to do it, I will never be able to do that because I'm not crafty WHATSOEVER.
ReplyDeletethat is REALLy CUTE!!I'm trying to think of how I could incorporate something like that in my house. you are so crafty! I love it!
ReplyDeleteMan I wish I lived in Boise so you could give me craft lessons. Who am I kidding I'd probably just pay you to do them for me. :)
ReplyDeleteI love it! The colors are gorgeous. Love your blog and I am following! Saw you on Sassy Sites. Stop by when you get the chance:
ReplyDeletewww.karismaheartsavannah.blogspot.com
Very cute! Love the colors you picked!
ReplyDeleteI love this .. found you through sassy sites!!! cute ideas!!!
ReplyDeleteLove this!! Don't ya love when you find something outrageously expensive yet you can make it for waaay cheaper?
ReplyDeleteMy old roomie had some of these (but pretty sure they weren't $100). I miss them now she's gone. If I find the time, I'll make one or two of these!
ReplyDeleteSo adorable with the colors you chose!
ReplyDeleteGood Lord, Christine! You've been busy! I've seen frames like this one at HomeGoods and I always find them sooo cute. Yours looks just as adorable!
ReplyDeleteIt's beautiful! I love that you used different colors. Well done.
ReplyDeleteThis looks great! I love the colors.
ReplyDeletehttp://itsybitsypaper.blogspot.com
This is so cute! I am going to feature your frame on Salvage Savvy tomorrow... I'm "showing-off" my amazing followers :) Also, I'm your newest follower!!
ReplyDeleteConnie