Powered by Blogger.

Monday, March 28, 2011

Burlap Pillow Tutorial

We spent this past weekend in snowy McCall, ID.
I guess if it is going to continue to snow at the end of March we had
better take advantage of it and go skiing!
So we relaxed a little, "shredded the pow", and I of course did some crafting
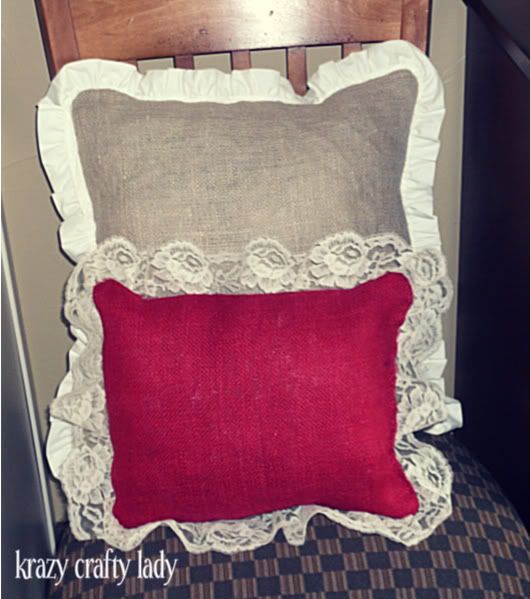
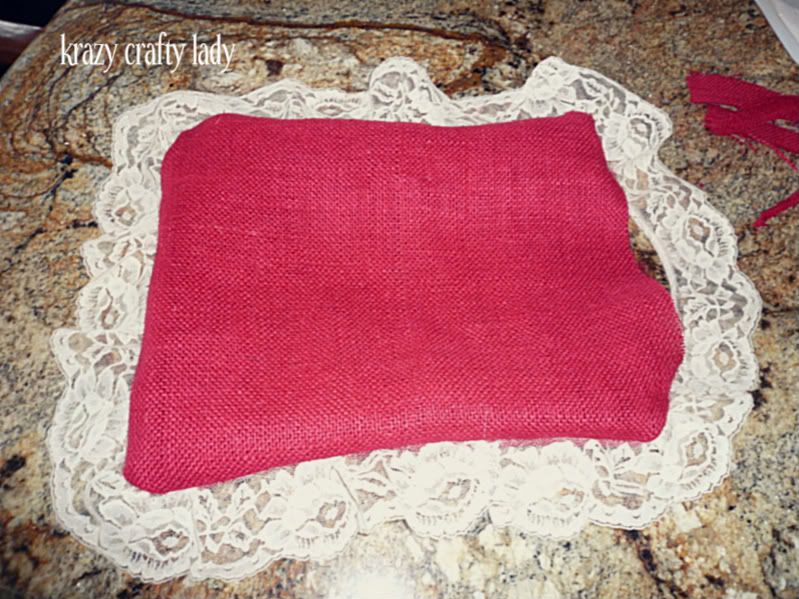
and made this little number:


okay, these two numbers:


Warning: these pillows are for decoration only. My two-year-old kindly let me know "Mommy, this pillow's scratchy". I love me some burlap, but it is definitely not something you want to cuddle up on. With that being said, here is the super easy tutorial. ((I am not a seamstress by any means...so bear with me if I don't use the right sewing terminology!))

Supplies:

- burlap (I bought a yard of each color for $2.99 at Hobby Lobby...but probably only used half of each)
- sewing machine
- pillow to cover, or stuffing (I bought a thrifted $2 pillow and used the stuffing out of it. And actually it had enough for my two pillows)
- lace or ruffles for the edge; optional

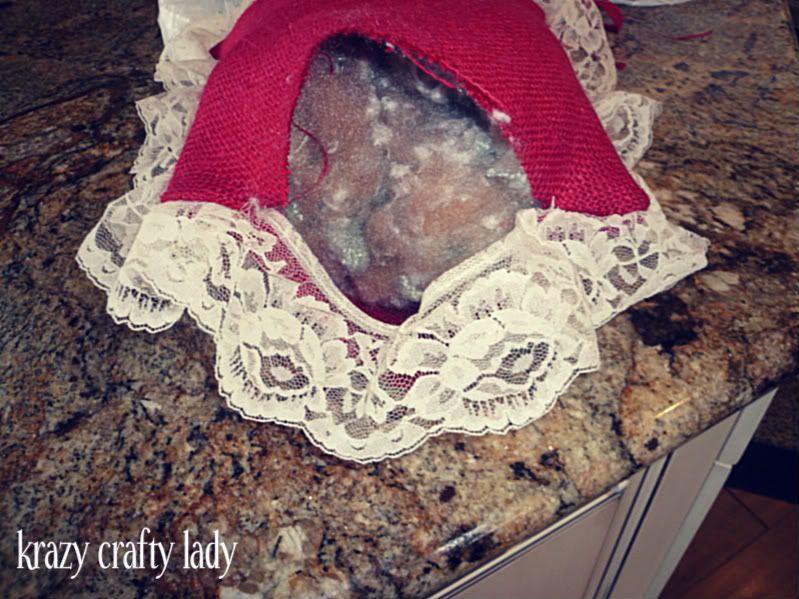
Yes, that bag is filled with some creepy looking "stuffing"


Cut out 2 squares of burlap the same size. I didn't measure since I was just going to stuff it.

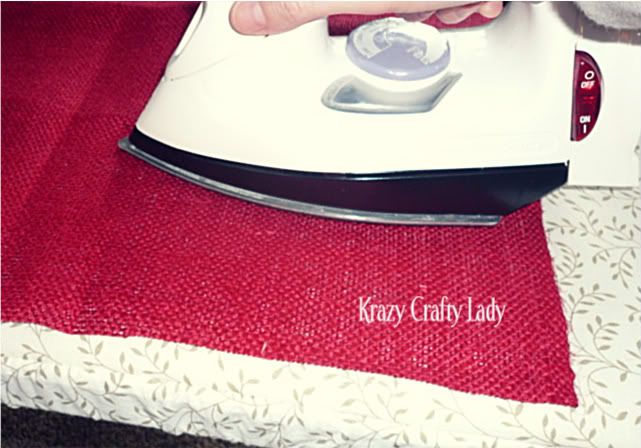
Press both squares to get the lines out.


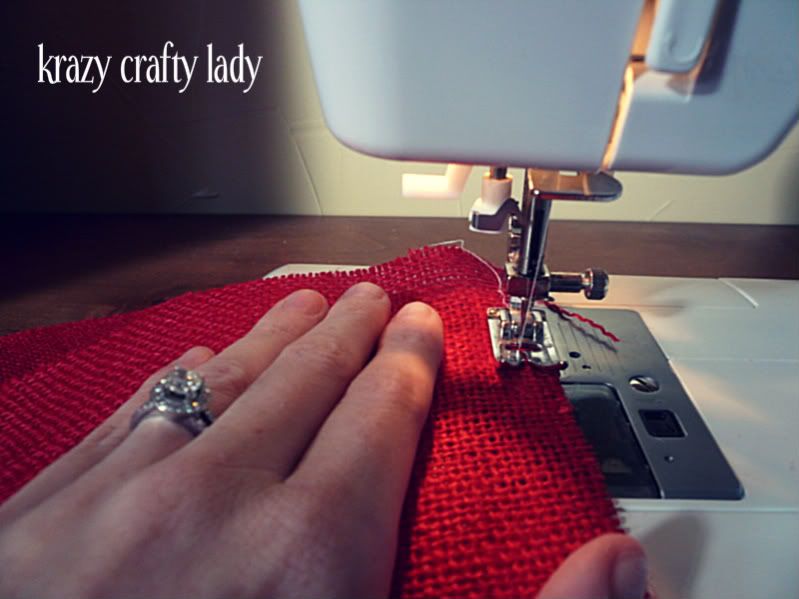
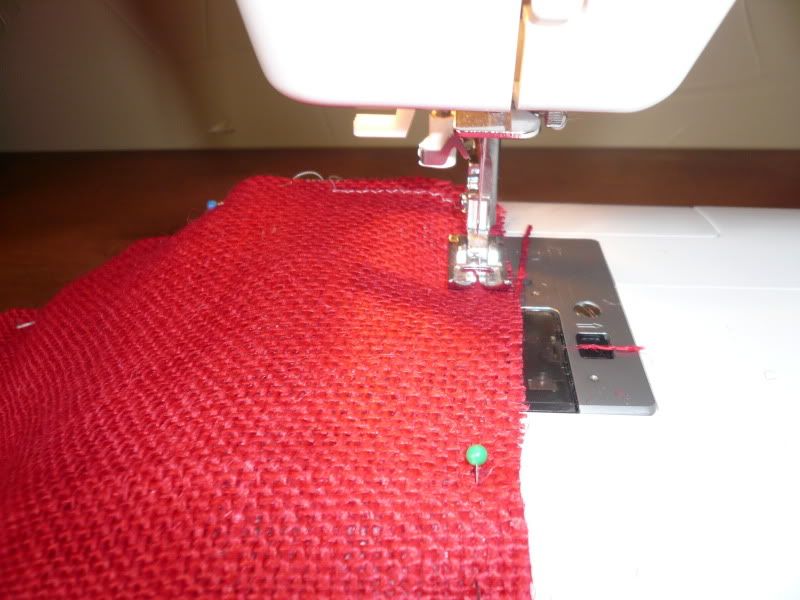
Sew along the edges so the burlap doesn't continue to fray:

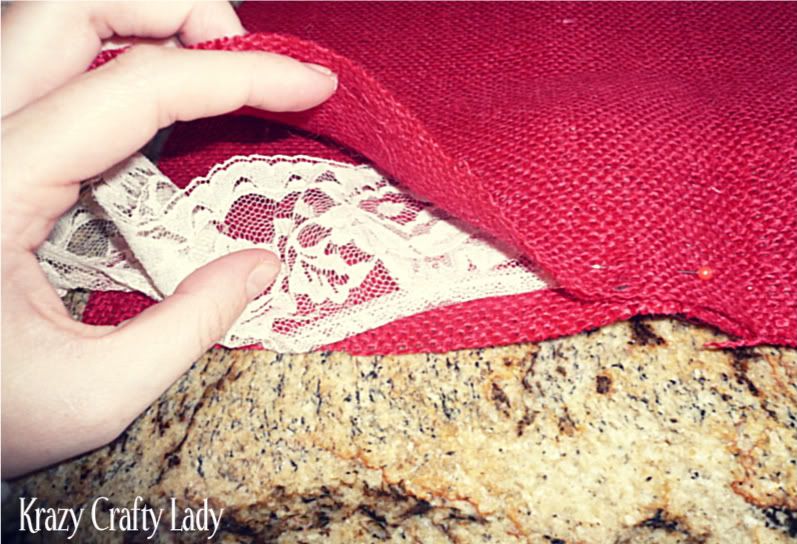
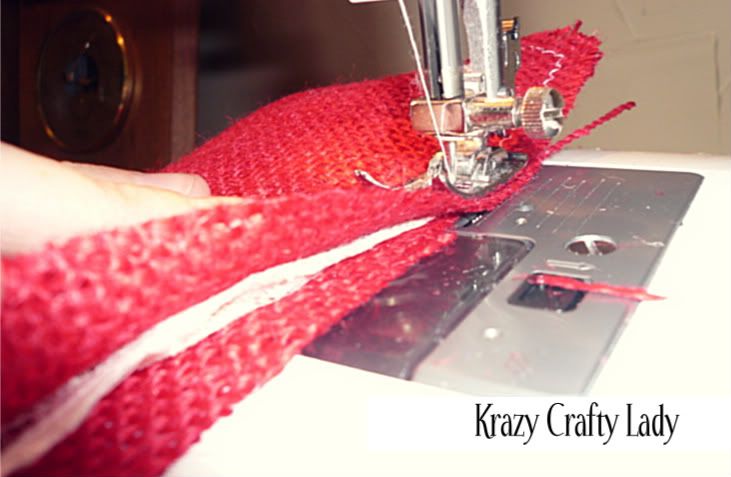
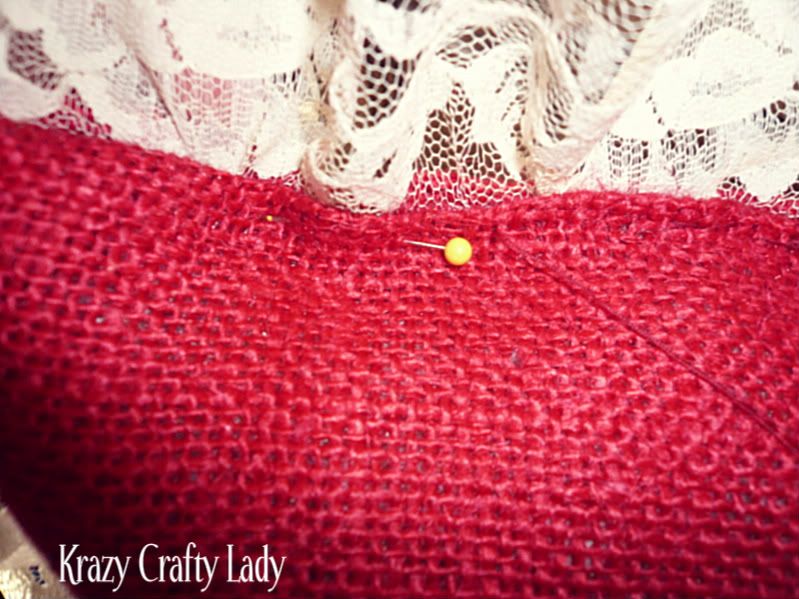
Pin edges and if you are using a trim, pin it inside. (Remember to leave a few inches open so
that you can turn it inside out)


Remember to keep checking to make sure you are still pinning your trim down.

Now you are ready to sew!


Making sure I was sewing the lace still :)

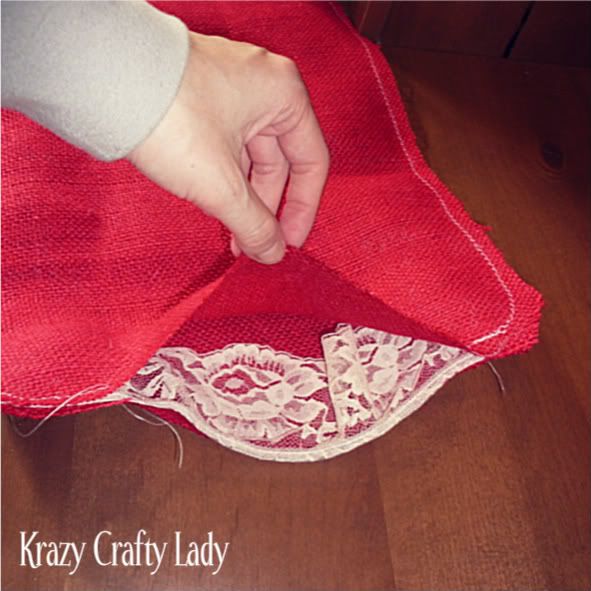
The opening:

Here's how it looked after I tuned it inside out:
(Side note- the corners are kind of tricky, mine were far from perfect but it's gonna be okay:)

Begin stuffing your pillow with scary looking stuffing!

Pin open edge closed again (I just tucked the edges in on both sides then pinned) and sew this part
with a needle and coordinating thread.

And you are done!

Unless you want to make another one with ruffle trim like I did :)

I'm thinking I want to add our initials on this pillow- Pottery Barn style. You know, where the middle initial is bigger than the other two? What do you think? Or I also like the idea of "tonight" on one side and "not tonight" on the other :) I've seen those pillows floating around and think they are hilarious. I'll be sure to post a picture of what I decide to do.

These pillows only took like a half hour (okay, okay maybe 45 min.) from start to finish. Not bad friends, not bad.


Sunday, March 27, 2011

Winner, Winner, Chicken Dinner!

Congratulations
to 
Sparky Larky from Larks Country Heart!

You are the WINNER of my first giveaway!

To claim your prize, email me within the next 48 hours (you can click on the "Contact Me" tab at the top). If I don't hear from you, I will have to choose another winner. Thanks so much for participating!


Thursday, March 24, 2011

3 days left!

Don't forget to enter the GIVEAWAY! 

Who doesn't love FREE stuff?! And vinyl for that matter?! I will pick a winner on Sunday so hurry up and enter. Just click HERE!

Thanks a lot and Good Luck!

P.S
We are headed to the mountains for the weekend and I have some fun projects to finish while we are up there. Tutorials coming Monday, so stay tuned :)

Wednesday, March 23, 2011

Cute Song


Jamming out to this song today while doing laundry, cleaning and hanging out with my cute babies. We danced around the living room all morning :) Love days like this. No where to go, no one to see and therefore wearing jammies all day. If you need a pick me up, definitely give it a listen. Happy Wednesday!

Tuesday, March 22, 2011

Blog Hop and a Recipe

I'm linking up to a new blog hop today. You should join in the fun if you are new too! All you have to do is answer a few questions and link up your post. Fun way to get to know other blogger friends ;)


NightOwlCrafting
Here are this week's questions!

 1. Have you ever had a professional massage before?
Yes, and aside from the last one I recieved I have loved them all. ESPECIALLY prenatal massages. Nothing makes a pregnant lady feel better!

2. When drinking bottled water do you have a preference on which brand you drink?
I like Dasani the best...but I am not picky. I'll drink whatever brand.

3. What is your favorite kind of soup?
This is hard because I have a lot of fav's. But just to name a few... 
I love Bear Creek Minestrone soup...(It is only like $3/bag that serves 8), and
Cheddar broccoli from Quizno's. YUM. 

4. Do you have a preference on which Kleenex brand you use?
 Puffs with Aloe

5. What is your favorite breakfast food?
Swedish Pancakes!

And since I let you all in on my favorite breakfast food I better give you the recipe and a little background on the recipe. When my husband was little apparently he ran wild around the neighborhood. (Okay, what little kid didn't?) The funny part is that whenever he would eat at someone else's house (and liked what they made), he always brought the recipe home so his Mom could make it again. Well, Swedish Pancakes happened to be one of his favorites and ever since then everyone loves them. He introduced me to them when we got married and now we even eat them for dinner sometimes. They are sort of like crepes...thin and yummy.

Ingredients:
  • 2 cups flour
  • 1/4 cup sugar
  • 2 cups milk
  • 4 eggs
  • 1/3 cup melted butter
  • 1/2 tsp vanilla
  • 1/4 tsp salt
Mix all ingredients together until there are few lumps. Pour about a 1/2 cup of batter onto a non-stick skillet and flip once they start to bubble. (You want them thin) Serve with fruit and whipped cream or peanut butter and syrup (our personal favorite). Enjoy!


Oh and one more thing...Don't forget to enter my Giveaway on the post below! Or just click HERE. Your odds of winning are really great...seeing as only 3 people have entered :( sad. face.
Sunday, March 20, 2011

100 Followers calls for a CELEBRATION!


I may or may not have just done a heel click! 

Just as excited as that guy ^ looks!! haha. (picture taken from Google)

It is SO exciting that 100 people like me enough to want to come back! :)


So in honor of my 100 followers I am doing my very first GIVEAWAY!!

Hip, Hip, HOORAY!!

Actually, Tara from FabuLESSly Crafty is sponsering the giveaway. She is letting YOU choose any of the pre-designed vinyl from her Custom Vinyl Blog:

To enter the Giveaway all you have to do is:

1. Follow Krazy Crafty Lady (if you don't already)

2. Follow FabuLESSly Crafty (and tell her I sent ya), then visit her Vinyl blog and pick which vinyl is your fav.

3. Leave a comment on this post telling me which vinyl you would like!

**Bonus Entry!**

You will get 2 extra entries if you do a blog post about this giveaway and link back here.


It's that simple.

Thank you for making me want to craft my brains out even more than I already did. (Great visual, huh?) LOL
We will pick the winner a week from today. Tell your friends!


Thursday, March 17, 2011

The Blog Guidebook

I just joined The Blog Guidebook.


"Listings will appear within the Blog Guidebook's Category pages.
Categories can be found in the right hand corner of our site, under Blog Listings." (Taken from their site)
 
Basically you can sign up for FREE (until June 2011, so hurry over!) and be in their Guidebook listings. You choose one category to be under and then you can scroll through tons of blogs in your same category, and people can go there to find your blog as well. What a great concept! I have seen tons of other bloggers doin' it...you know you wanna! :)
 

Wednesday, March 16, 2011

Pinterest!!

As if I needed another addiction...

I signed up for Pinterest a couple months ago and then never "pinned" anything. I just recently started playing around with it and I am so ADDICTED!! You can type in any subject you would like to search...and tons of amazing pictures come up that you can "pin" and revisit. It is so much fun and so great when you need a little inspiration. I am starting to plan both my kiddies birthday parties this summer and it is so fun to see ideas. Go check it out!! Let me know if you have an account, I would love to follow you! And if you have any tips...let me know. I still haven't completely figured out this site :)

Does it get any cuter then a ruffle bed spread?! I need this. Now.
And this fabric storage idea!

Fabric storage. also cute for photo stacks

I love these ideas for a girly birthday:


 I could post pictures ALL day, but I'll stop here. Go browse through all the fun, colorful pictures. Pinterest!

Tuesday, March 15, 2011

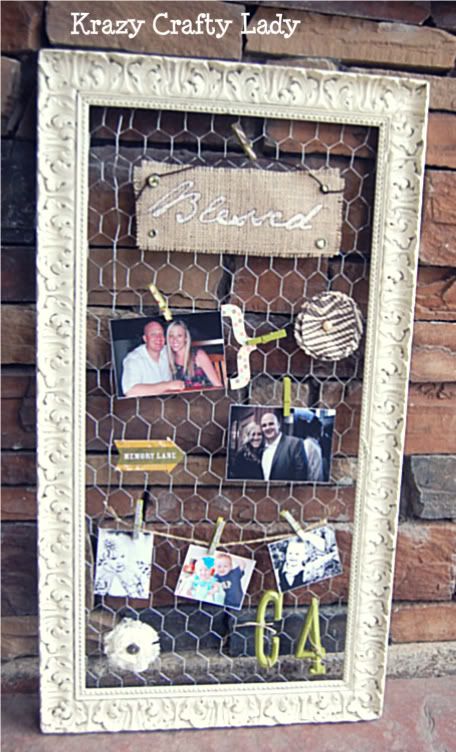
Decided to decorate the frame...

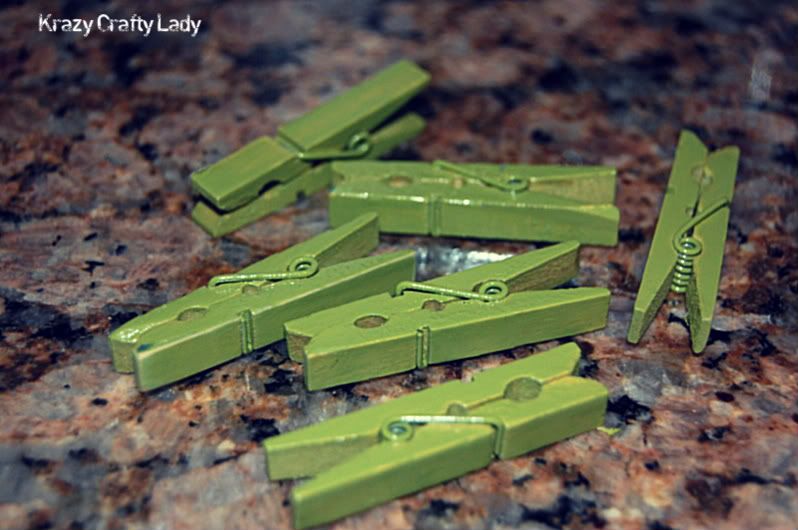
I started out with a few of these mini clothespins from Michael's for $1.25 (had a 50% off coupon):

and spray painted them Krylon Gloss Ivy Leaf :


(Picture taken from Google Images)

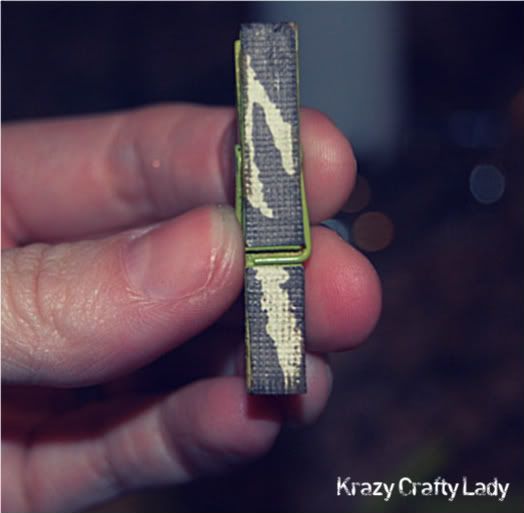
Then I sanded down the edges a bit:


And mod-podged some cardstock on to random ones:


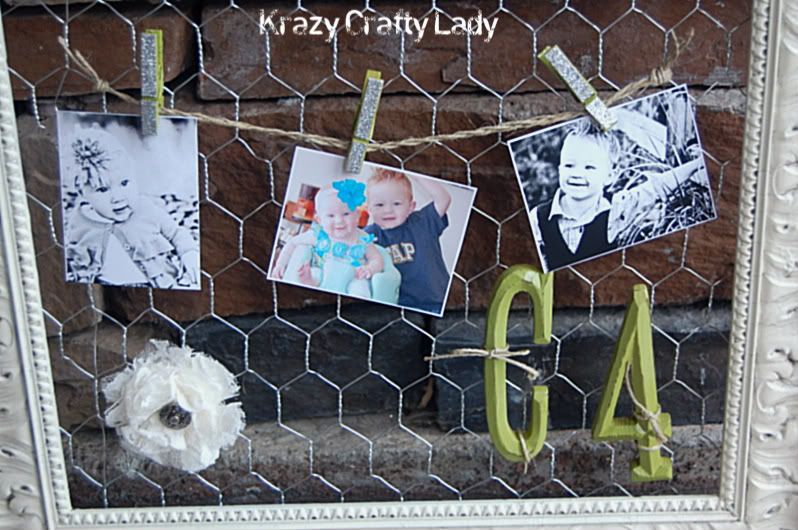
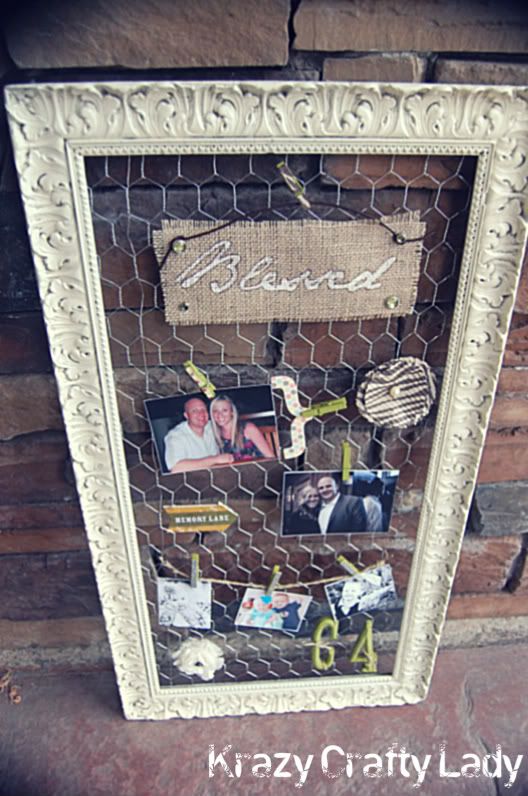
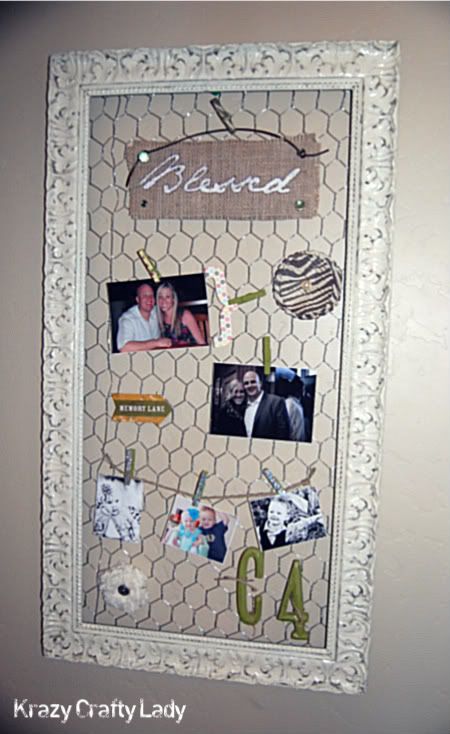
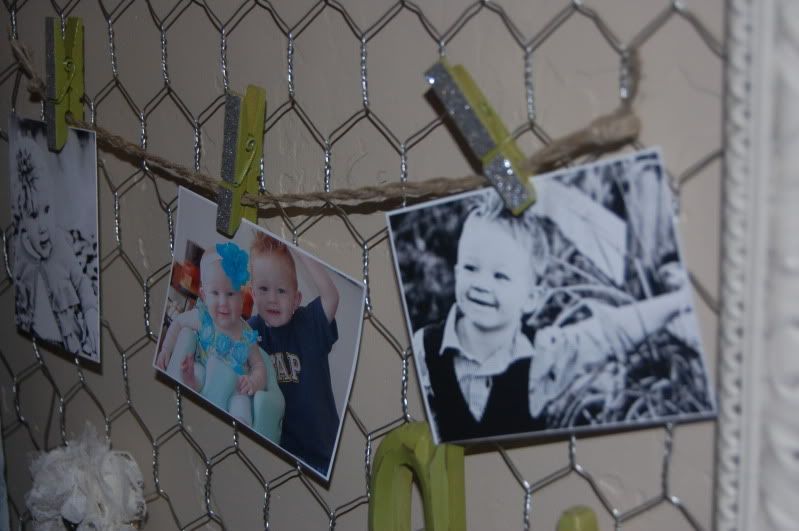
Then hung some pictures and things with them!


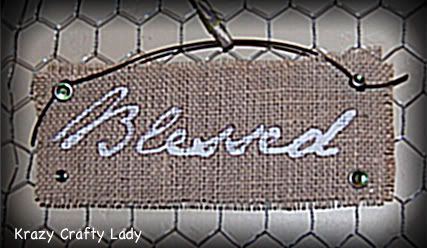
Made this easy little "Blessed" sign from some Burlap and white paint...(I used my cricut to cut out the word and then used the paper as a stencil) then I outlined it with a brown extra fine Sharpie marker to make it show up a little better. Then I grabbed a piece of faux brown leather rope from my stash and hung it!
 Cute and Simple!


The "C" stands for Christensen and the "4" represents each person in our family.
I didn't realize we were dynamite until my husband pointed it out! Sweet...


TA DA!


I think it turned out pretty fun! And if I get sick of it I can always turn it into an earring holder :)  Now go make yourself a new decoration! To see how I made the frame go here.


Sunday, March 13, 2011

{Big Project!}

Have you seen this amazing headboard made by Girl In Air floating around the blogs?


::You can see the full post here.::


I found some {5} old shutters at the Second Chance Store in downtown Boise a few months ago and have been wanting to find a fun project for them.

 WELL, I found my project. My plan is to make a twin sized version of this headboard for my little guy. I am SO excited about this...and with a little lot of help from Mr. KCL we have started our latest project! I'll tell you if we are in over our heads once we really dive in.

Wish us LUCK!


Saturday, March 12, 2011

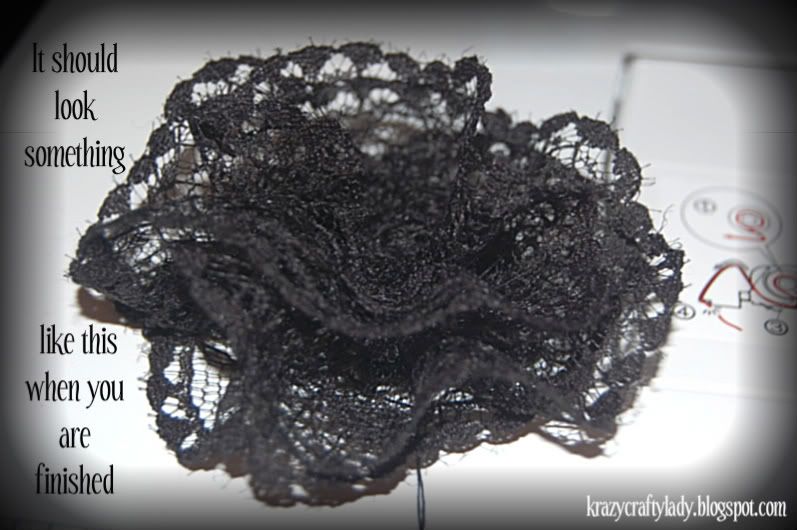
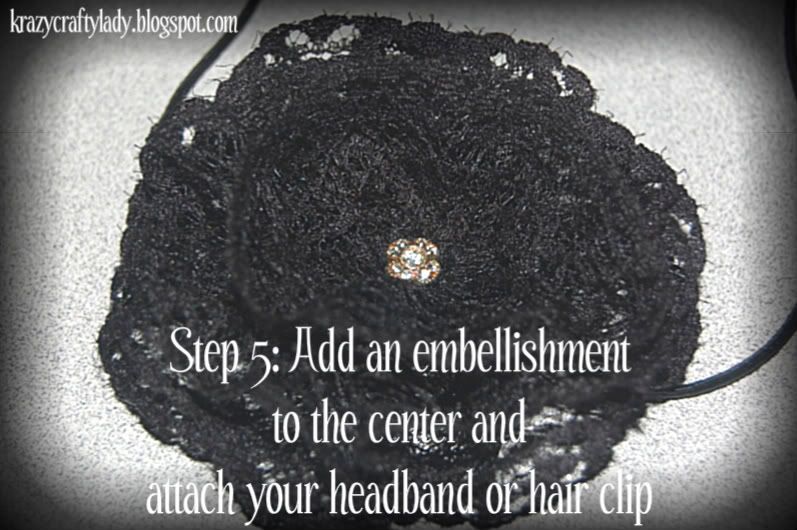
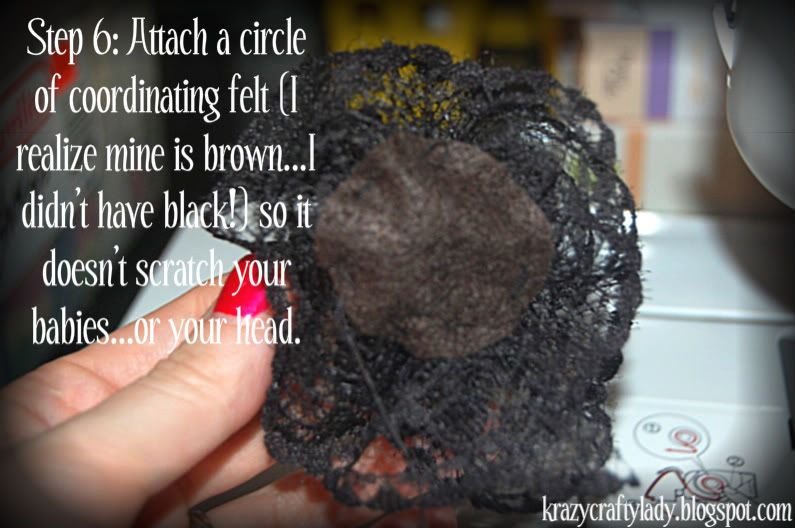
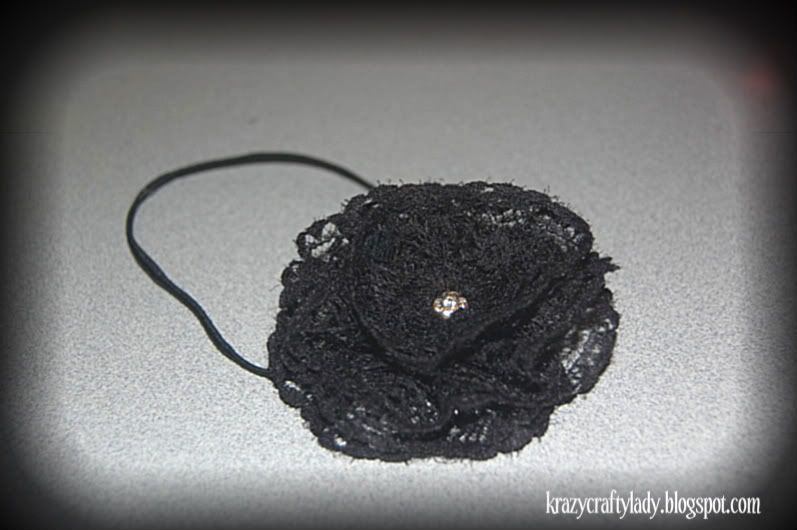
Easy Lace Headbands

I made my baby girl one of these lace headbands when she was first born. I didn't measure her head, so naturally it was too big. I waited for her to grow (yes, I know I could have adjusted it...) so that it would fit her perfectly. She only wore it a couple times and then we lost it somewhere...BIG sad face. I finally got around to making her another one, and even made her some different colored ones. Since I was making more, and a friend also wanted to know how to make them I decided to just document the process so everyone can see how easy they are. I love them and so will you!

Lace Flowers
What you need:

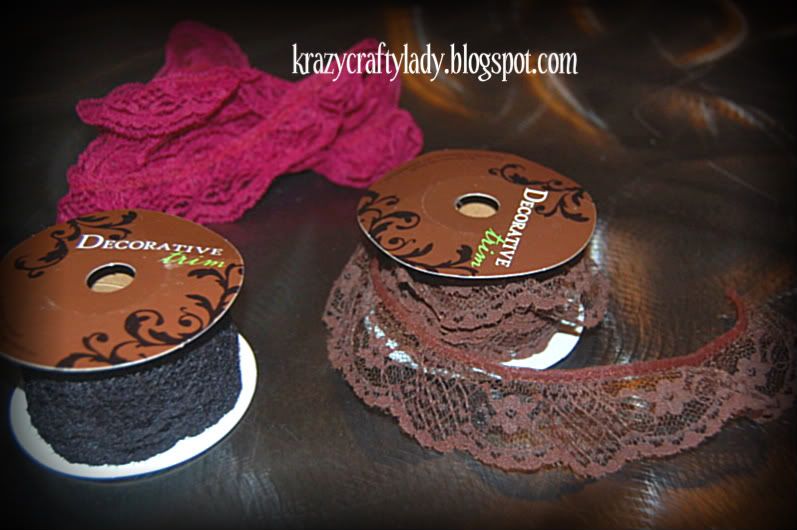
1. 20" of lace. Grab yourself a roll of lace from your local craft store. I bought mine at Hobby Lobby when ribbon was 50% off so it was only $1/roll. score! Plus they have LOTS of fun colors to choose from.

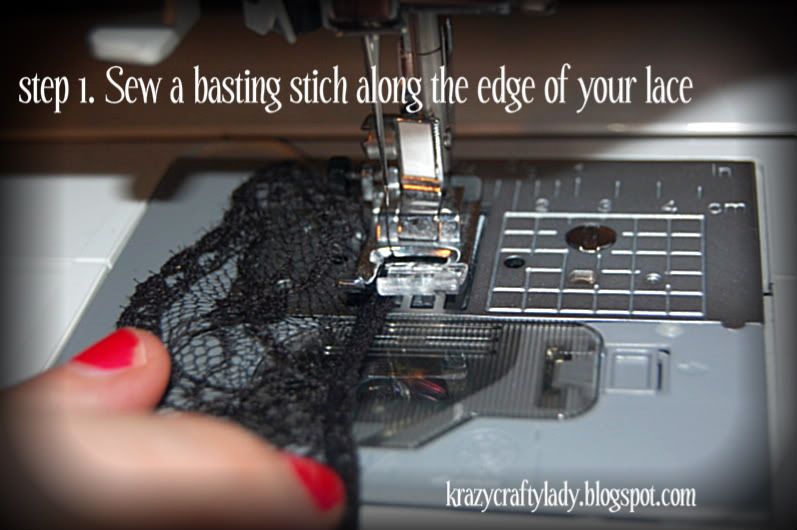
2. Needle and thread...and maybe a sewing machine if you have one handy. If not I have made these plenty with just the needle and thread.

3. Embellishment for the center (optional)

4. a small felt circle for the back

5. A headband (I made my own out of some super skinny elastic...also from HobLob) or a clip

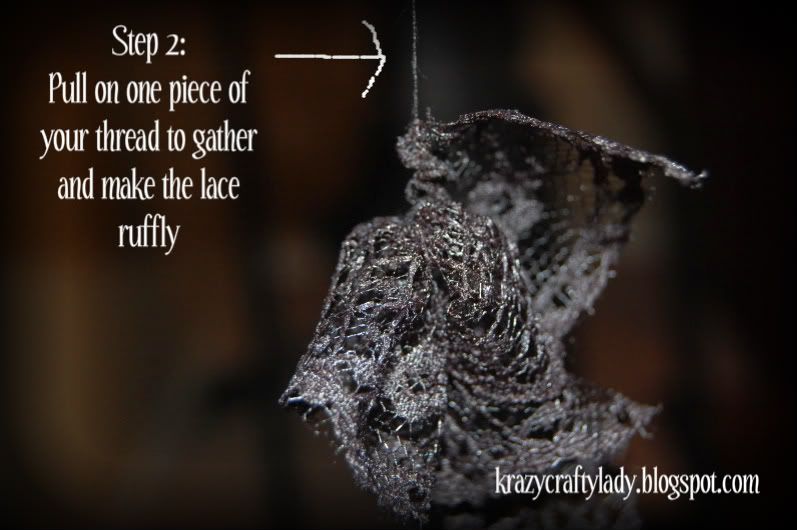
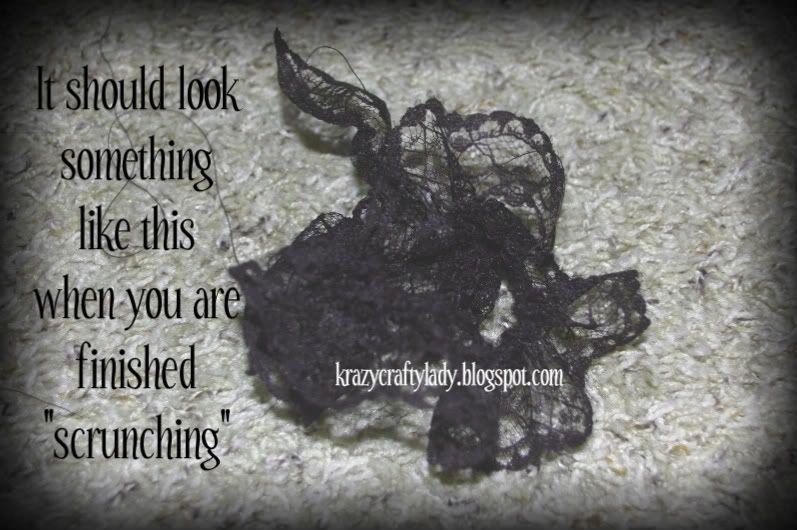
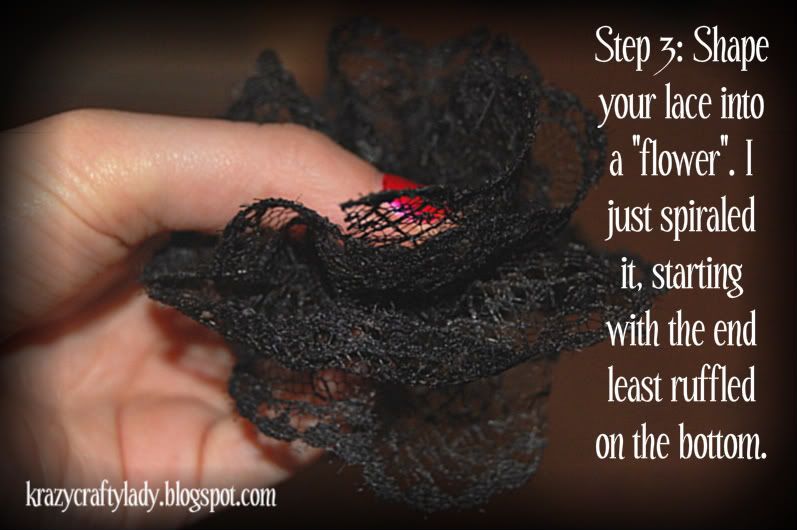
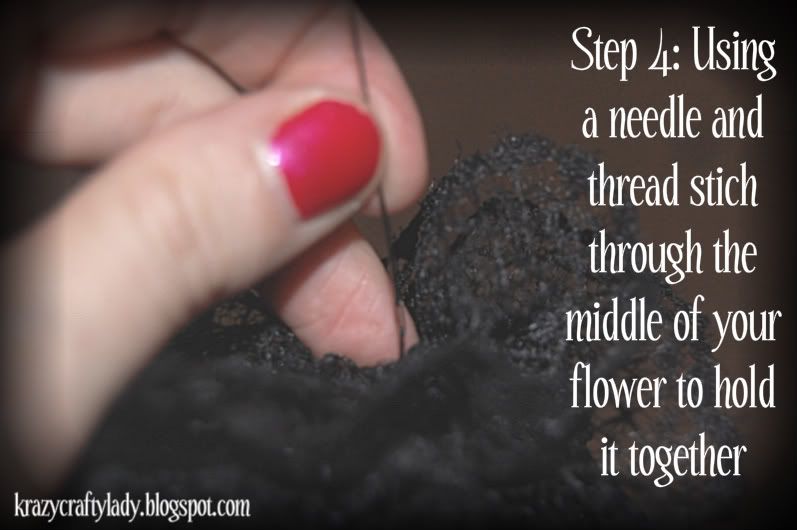
The how to:


***This was my guest post over at FabuLESSly Crafty, you can check it out here.

**Linking up to the NEWBIE party at Debbie Doos. Check it out if your blog is 6 months new or less, and if you have less than 100 followers.