Monday, February 28, 2011
Inspired by me?!
My super cute friend Sarah started her very own craft blog because she was inspired by none other than yours truly :) I love it. Sarah and I used to waitress together...probably like 5 years ago (has it really been that long?!) at the Texas Roadhouse. That was when we were both single and going to school. Now we are both married and both have 2 kids! She has always made the cutest things for her two kiddies and her home. I am so excited for her to join the band wagon and start showing us all how she does it! Go check her out, everything she makes is adorable! Add her to your following...she won't disappoint! Love you Sarah!
Thursday, February 24, 2011
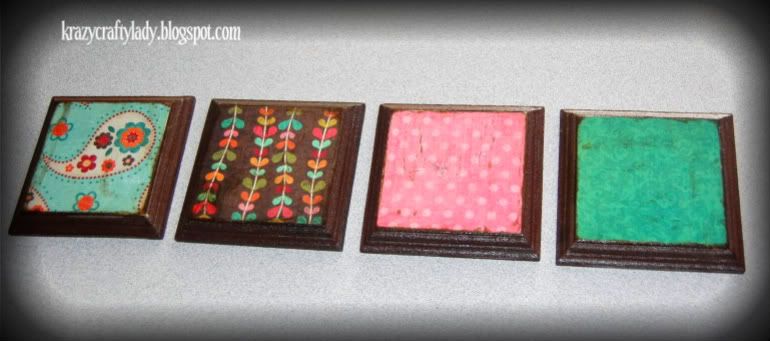
Coasters
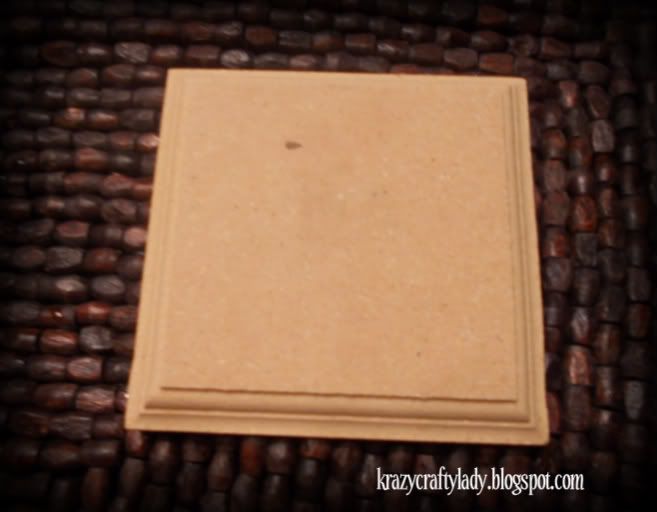
Mod podge and I have always had a close relationship. But lately we are BFF's. It is just so easy to create something fun and quick with a little bit of mod podge and scrapbook paper. We needed some coasters pretty badly, we are always setting our drinks down where ever, on the wood end table (yes Amy you read that right....we finally switched out the deadly metal coffee table and end table for a wooden set!) and it leaves a nice ring on the table if you aren't careful. So I bought these babies at Craft Warehouse for $1 each.
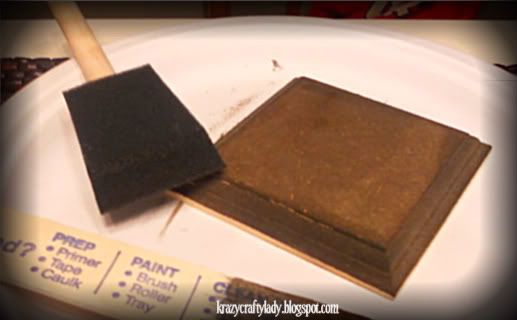
 I painted them brown, like so:
 Then I picked out paper to match my living room and just mod podged it right to the top of the coasters. Nothing is ever complete with out a little Distress Ink...so distress a bit, mod podge the top (so that your cups don't stick to the coasters...) and you're done!
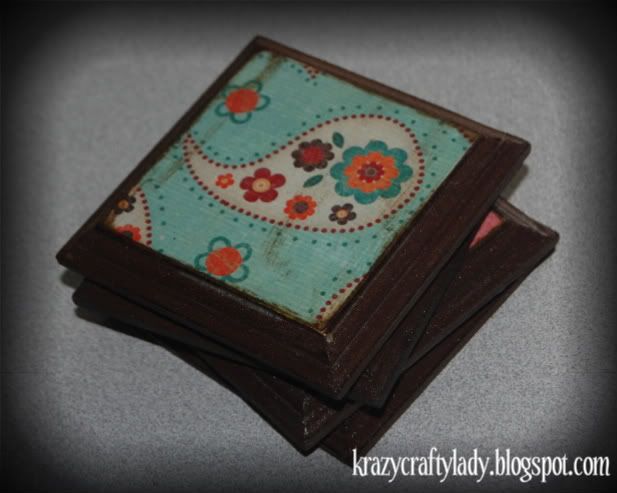
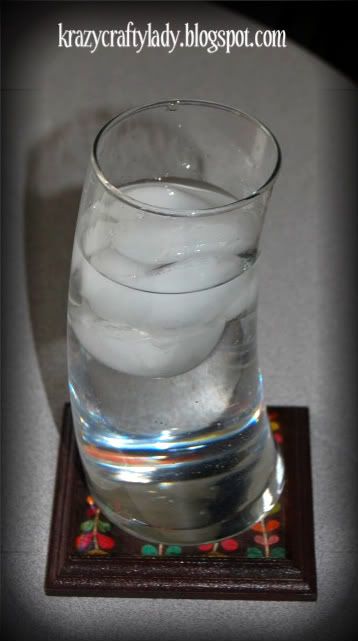 So super easy. And problem solved!
Monday, February 21, 2011
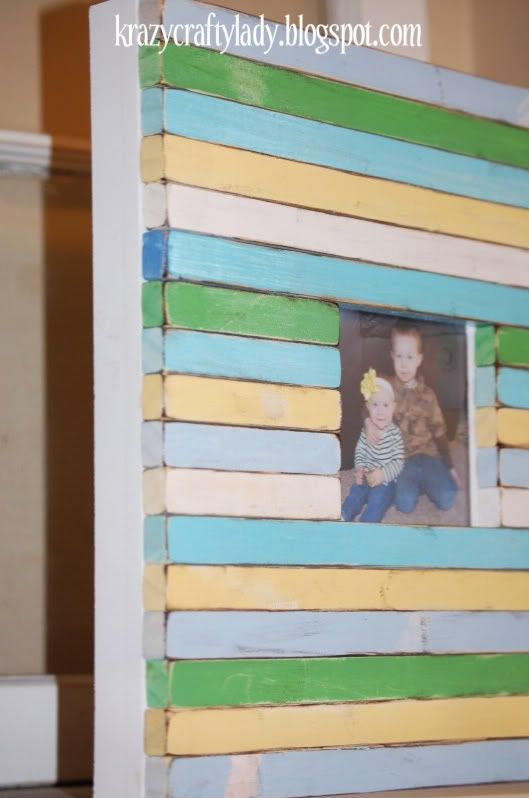
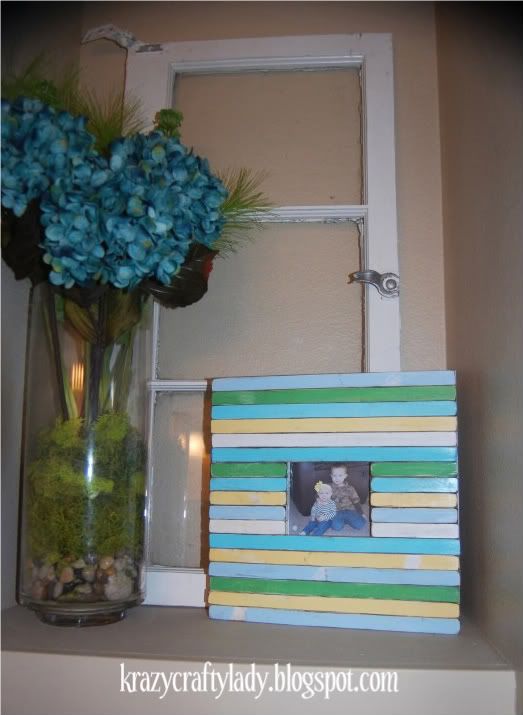
Beach Inspired Picture Frame
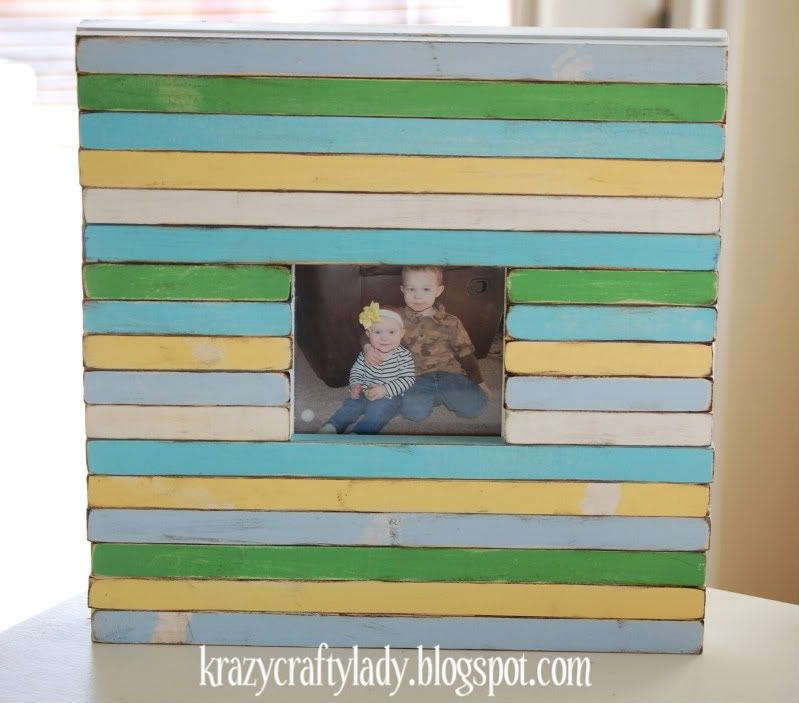
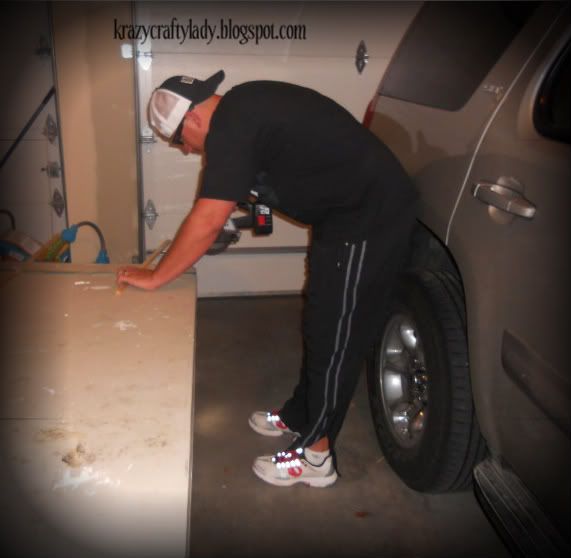
Our total cost for this project was about $13. I bought the frame (12 x 12 w/4" opening) at Craft Warehouse for $3.15 (Originally $6.99 but was 55% off). And then we bought the other wood at Lowe's (we bought them in long strips...the exact measurements were 11/16 x 1/2, 8') And it took us 2 wood strips to complete the frame ($5.04/ea.) I am sure you could find some cheaper wood somewhere, but we didn't want to shop around.
We started by measuring our frame and the wood to make sure we had enough to cover the whole thing. (I was sure we would only need one strip...good thing we bought two!)
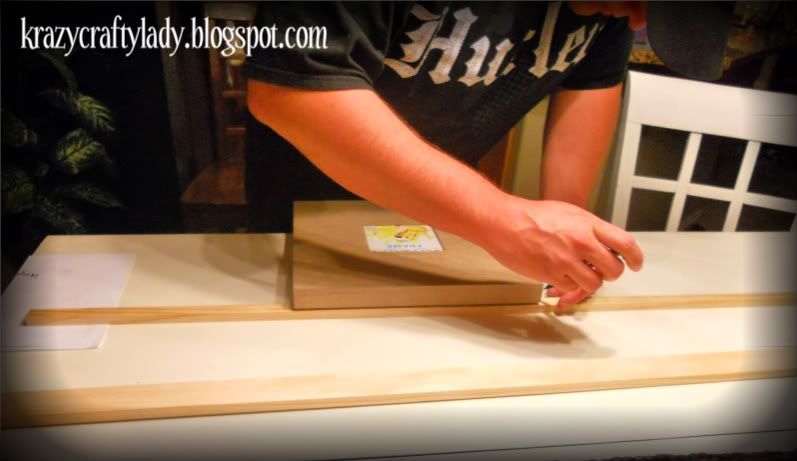
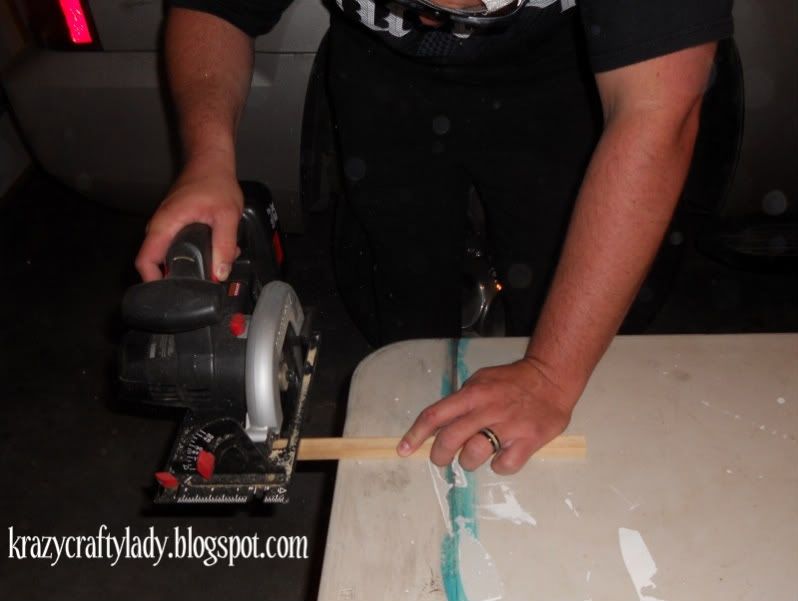
Then I put Chris to work sawing away:
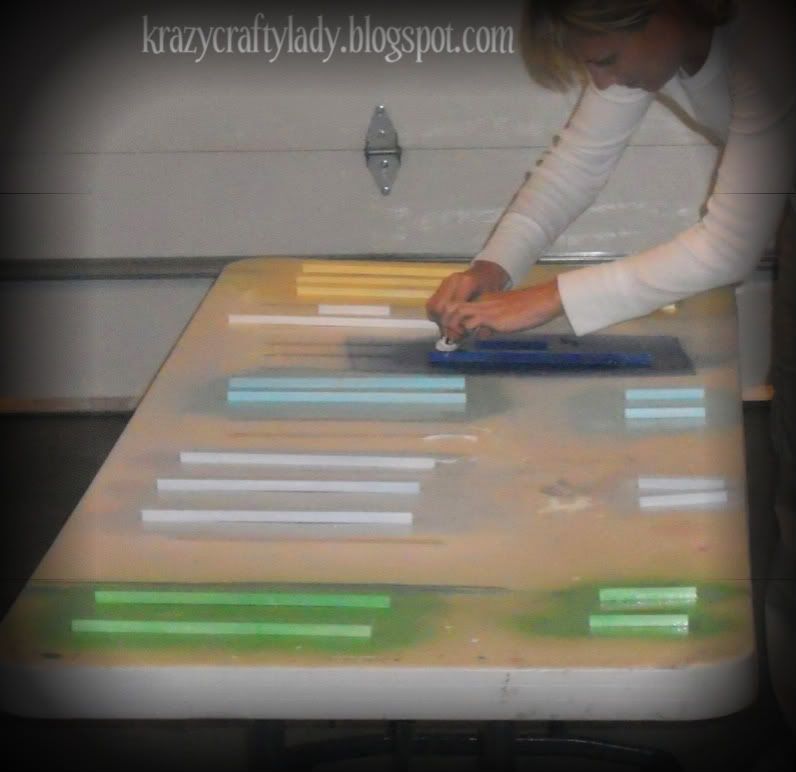
Next step...spray painting! I sprayed all the pieces white first. (I wanted the white to show through after I sanded them down a little bit)
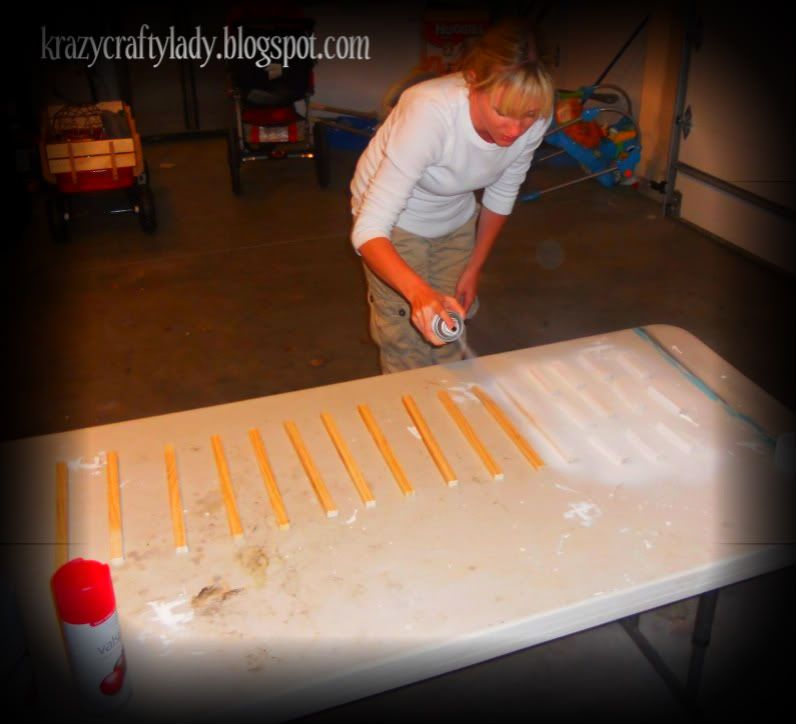
Then we chose the colors we wanted the frame to be and separated the wood into piles. I didn't want it to be too matchy-matchy so I painted 2 here, 3 there...maybe 1 over there, etc.
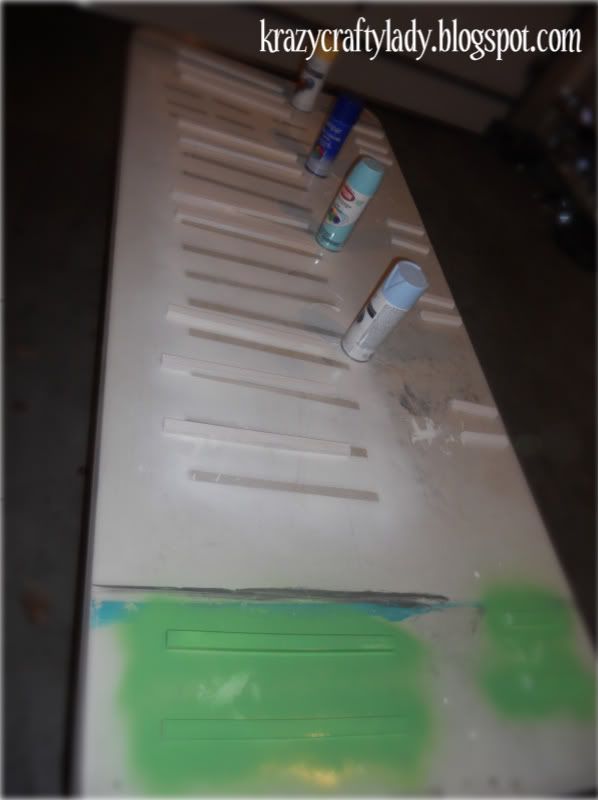
While the paint was still drying I took a paper towel and dabbed random spots to distress it.
After the spray paint dryed I sanded the edges and then used some of my ever-so-handy distressing ink on the edges. (That product says its just for paper, so I didn't know how it would turn out...but it worked just fine!) Then we glued the pieces straight to the frame and here is the end product:
**Linking up to:


Wednesday, February 16, 2011
Blogging from the beach...
Aloha! I have been featured twice for my valentines crafts but haven't been able to say thank you yet because we are on vacation in Hawaii! I am going on a thrift store hunt today...so we shall see what Kauai has to offer me :) thanks for not giving up on my blog yet...I promise I haven't been neglecting her already! Just enjoying a week with out kids, sunshine and the sand between my toes!
Tuesday, February 8, 2011
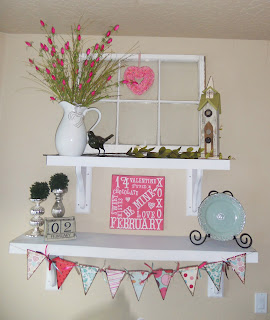
Valentine's Day Subway Art
I've had a couple questions about my Subway art, so I thought I would share how I did it. It was a really easy project. I was going to use some wood to make it, but I didn't have any laying around. I did have a 12x12" canvas that I hadn't done anything to, so I grabed that, and some red and white craft paint (I didn't have pink). I mixed the red and white paint until I found a pink color I liked. I painted two coats onto the canvas with a foam brush. Then I used my Cricut and cut out some words in vinyl. I didn't use transfer tape, so if you look close you can tell my letters aren't perfect. But I actually liked it that way. If you don't have a Silhouette or a Cricut you can just use stickers, or even just write some words on. And lastly, I used some distress ink to finish her off!


Be creative, projects always turn out better when they have a little you tweaked into them! :)
**Click here to see what else is on my Valentine's Day shelves!**
Monday, February 7, 2011
::Stylish Blogger Award!::

And now, here are 7
1. I had my first child via c-section. No one thought I would be able to have my second child "regularly" (aka VBAC) after this...but I did! People still say "I thought that wasn't possible?" Well, guess what. It is!
2. I love blasting my radio when I am driving and then proceeding to call my husband/friends/whoever and act like I am at a sweet concert yelling louder than my radio and belting the words really loud. It's best when they don't answer and I get to leave an obnoxious voicemail on their answering machine.
3. I love scary movies but never watch them anymore because the only person who will watch them with me is my mom. (love her)
4. I love freshly mowed grass. Mainly the lines it leaves...perhaps I am homesick for summer. Yep, just checked. I totally am.
5. I love the outdoors. Camping, boating, surfing, snow-skiing, hiking, riding bikes...you name it. My husband is the ultimate camper and it is sooo sexy. :)
6. I met a guy named Chris. I decided I couldn't live with out him...so I married him. His last name is Christensen. If you haven't caught on yet, my name is Christine. ahem. Yes, together we are Chris and Christine Christensen. Ironic? Yes. (And while we were engaged I just kept thinking...seriously? we are going to be c-cubed for the rest of our lives...) Crazy? Yes. But totally us and awesome? double yes.
7. There is nothing more important in life than Family. I love mine so much and I thank my lucky stars every day for them.

And now, I get to award 8 deserving blogs for the Stylish Blogger Award!
1. Mel dreams often - I especially love the feather headbands Melissa made for her daughter.
2. Till death do us part - Love her burlap pillow and wreath made from coffee filters. Adorable!
3. Keepin it thrifty- I am in LOVE with the pom-pom necklace.
4.Sunny's life in Rehab- Check out her adorable flower and seashell wreath! Love that turqoise mirror as well.
5. FabuLESSly crafty- Everything Tara does is amazing. Check out her fun tray makeover!
6. Dominique's craft couture- Very cute blog and lots of fun stuff to check out in her Etsy store.
7.Mal-licious- Take a peek at Mallory's laundry room re-do. Amazing!
8. The crafty gals- These two sisters make the cutest wreaths!
It's my pleasure to pass this award along...Congratulations ladies!
Please follow these rules to accept this award...
1) Thank and link back to the blogger who
awarded you with the award.
2) Share 7 Things about yourself.
3) Award 8 recently discovered great bloggers.
4) Contact the bloggers and inform them of the award.
Sunday, February 6, 2011
Dollar store pillow makeover!
I made a stop at the dollar store this weekend to see if I could find some good "junk". The hubs was with me and he said "you are seriously buying that ugly thing?" Ha. Why yes sweetheart. And can you really question something that is only a dollar? My living room could use a little sprucing up...and I had plans for this pillow. I bought two of these yellow beauties and here is what I did with the first one. (I may recover the second one and put it in baby K's crib...stay tuned!) 

Supplies:
- pillow
- felt (I used one sheet of brown felt...and you can buy 4/$1 at most craft stores)
- needle and thread (I suppose you could even hot glue this to make it even quicker and easier...but with my two little kiddos the pillow wouldn't have stood a chance)


2. hold the felt in your hand and pinch the bottom to make the "petals"


Almost there...

And here is the finished product:


Super easy pillow with a little extra personality! Easy peasy.
Total project cost:
pillow-$1
felt- already had
thread- already had
$1 dolla'! Not bad...
Friday, February 4, 2011
A little inspiration...
Before I had my blog I would scroll through all the crafty blogs and save pictures to my desktop of the ones I thought were so cute and that I knew I wanted to try my hand at one day. I don't have all the websites for where the pictures are from to give the right people credit...so if you recognize one let me know and I will be sure to give them credit! Here they are:
 I absolutely love this wreath with the burlap "nest" sign. I have never worked with burlap and I can't wait to! Stay tuned for some burlap projects coming up! :) (This is one I have no idea where I found...sorry!)
 Isn't that headboard to DIE for? And I love that night stand. Check out Brooke from all things thrifty! She is amazing and so, so talented.


I am in love with this jewelry display! This is from Kristin at justlivesimply.blogspot.com and I can't wait to make my own version. So cute and simple.

I love this chalkboard. So cute and the chicken wire is my favorite. Let me know if you've seen this floating around!
See what I mean about being inspired to go and make stuff?! Love it.
Thursday, February 3, 2011
Obsessed?
I may or may not have developed an obsession for old windows. I'll let you decide for yourself :) And these shelves I copied from Shelley at House of Smiths.
The funny part is...I loved her Christmas shelves and decided I had to have them. So my handy man husband built me some all on his own. (He even painted them white for me) When he was finished I found out that she had a tutorial for her shelves(click here to see it)....lets just say he didn't want to hear that. But I love how they turned out anyway, and they are even more special that he made them.
 Here was my first window...put it on top of my Valentine's Day shelves (again, got this idea from Shelley first)
 This window is on the top shelf in my guest bathroom...
 And this one on my desk above the computer. Ha....I love them, but maybe it is a little much?! What do you think?
The funny part is...I loved her Christmas shelves and decided I had to have them. So my handy man husband built me some all on his own. (He even painted them white for me) When he was finished I found out that she had a tutorial for her shelves(click here to see it)....lets just say he didn't want to hear that. But I love how they turned out anyway, and they are even more special that he made them.


Wednesday, February 2, 2011
clipboard tutorial
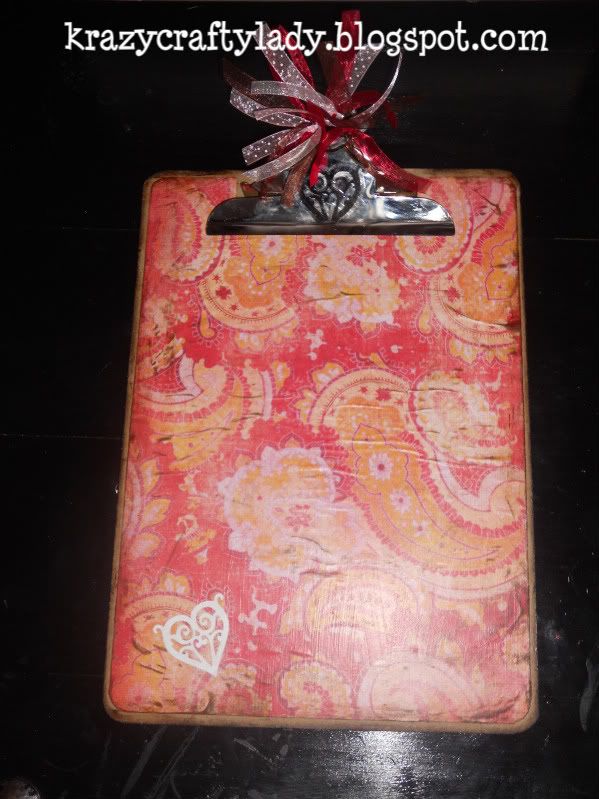
I bought this gem of a clipboard at Big Lots for $1.50. My sister in law, Amy, made me a smaller version of this a few years back. My mom was over tonight and we decided to make a big one...super easy, inexpensive and great for you fellow SAHM's (and working momma's of course) who like to write up...you know, lists and important things we mom's need to remember. My personal favorite is to-do lists, and not gonna lie, sometimes I write things down that I've already done just so that I can check them off. ha! No? You don't do that?!
Anyway...these would make the perfect Valentine gift for teachers, the secretary's at your husband's work...etc.
Supplies:
- clipboard
- scrapbook paper
- mod podge
- ribbon
- distress ink (optional)
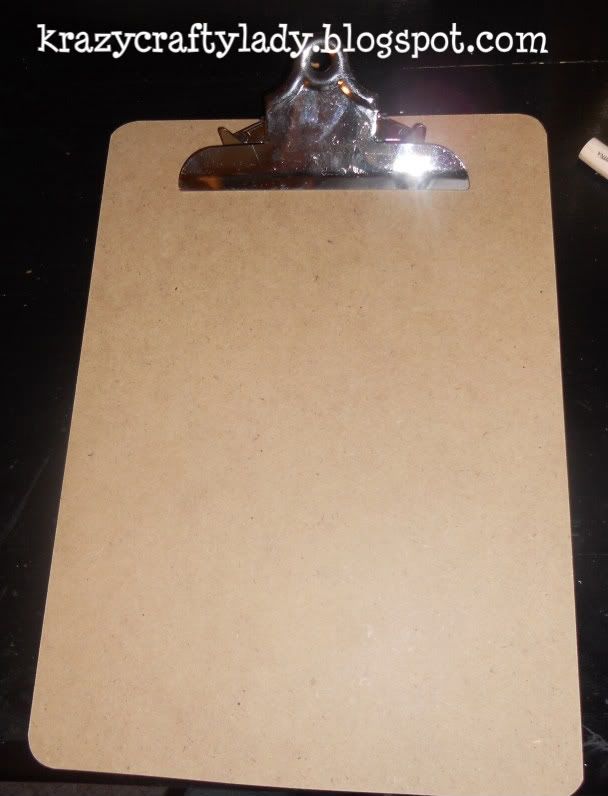
1. Trace your board onto your scrapbook paper. I cut my paper smaller on purpose because I wanted the raw wood edges of the clipboard to show.

2. Cut out around the metal, so your paper lays flat (it doesn't have to be perfect)
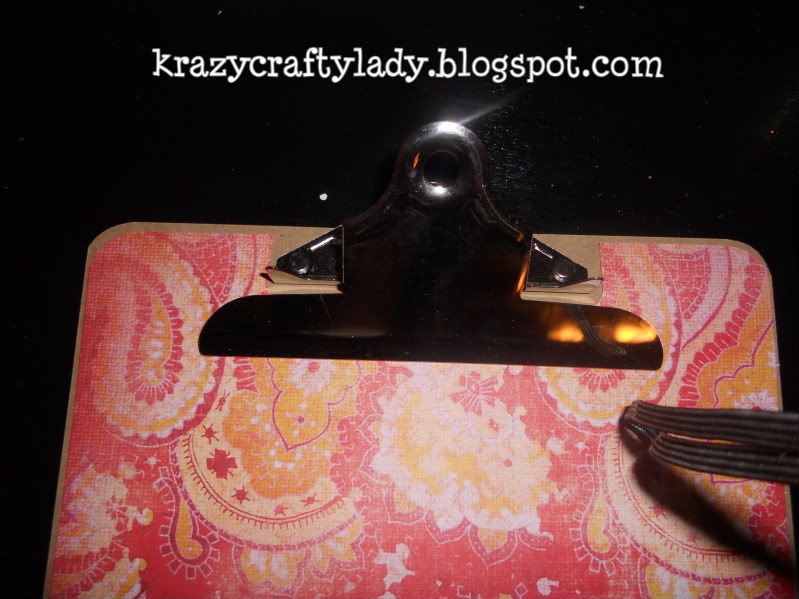
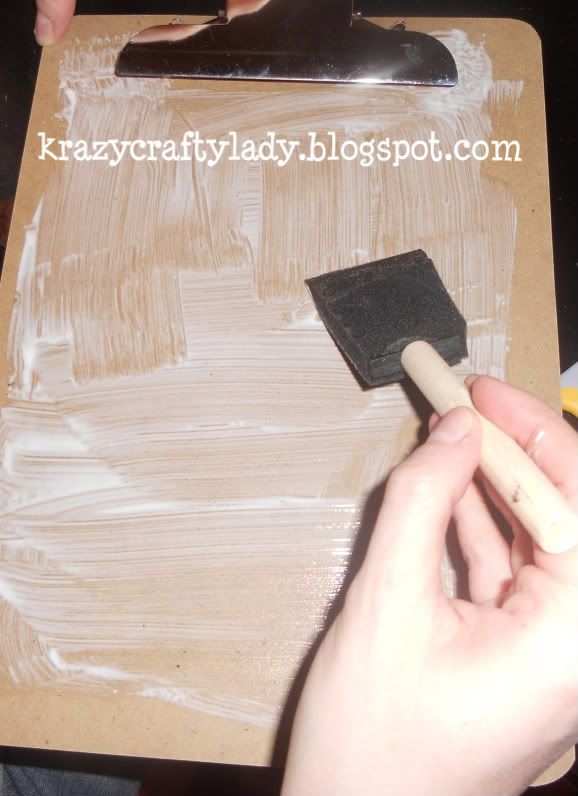
3. Mod podge your paper on to the clipboard
4. Distress if you like
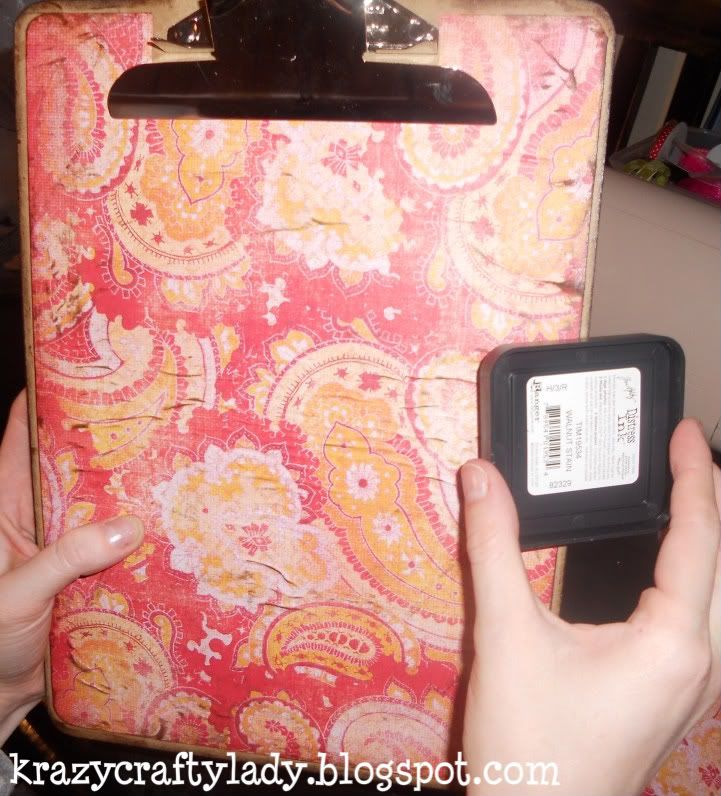
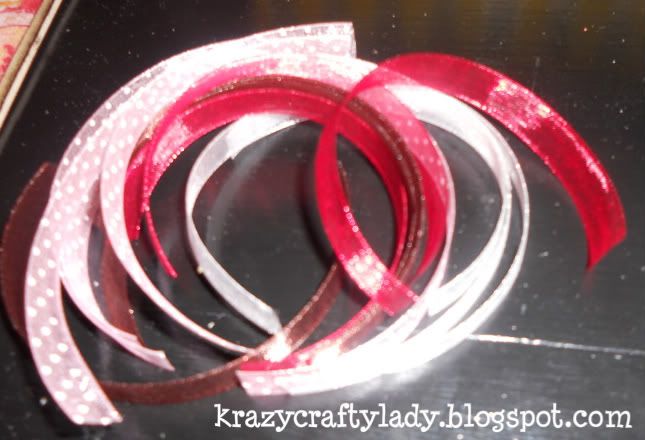
5. While waiting for the glue and distress ink to dry, cut your ribbons. I cut fourteen 6 inch pieces. You can do more or less to your liking, but I just wanted to cover the whole top part.
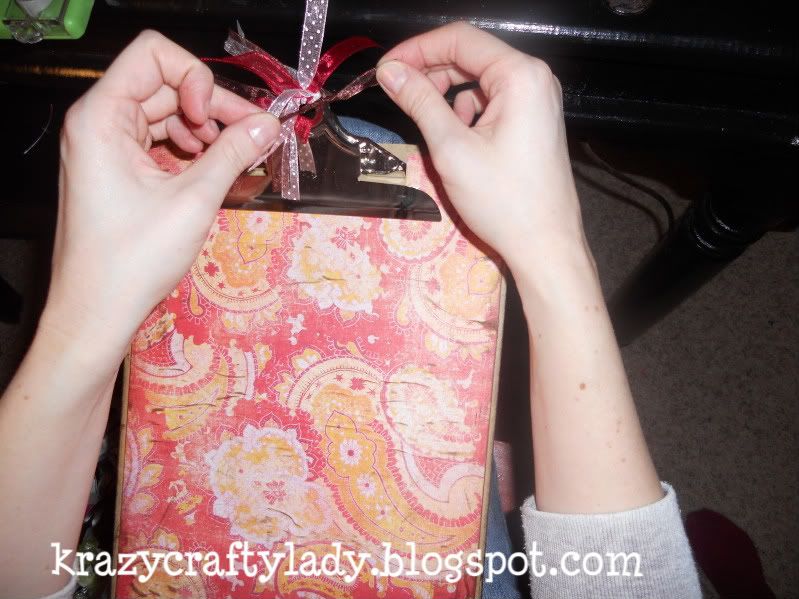
6. Tie them around in double knots...pull them tight so they don't come undone.
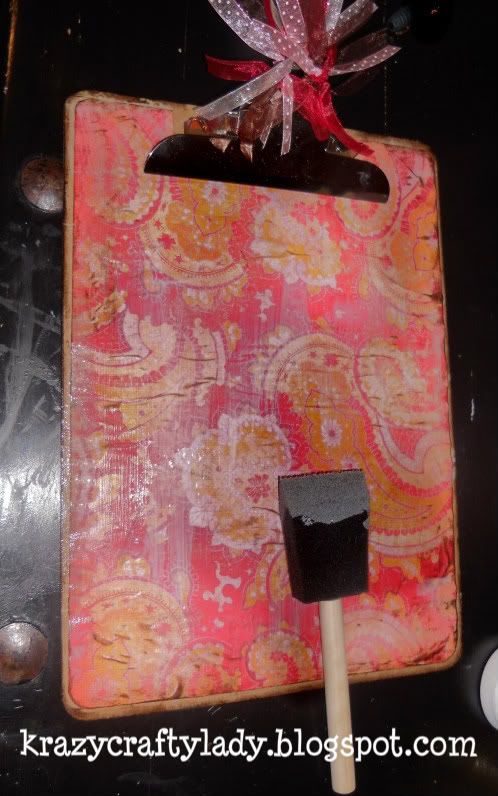
7. Put a layer of mod podge over the top
Let dry, and your done!

Subscribe to:
Posts (Atom)