Powered by Blogger.

Friday, May 13, 2011

If life hands you lemons...make lemonade.

A  LEMONADE party!

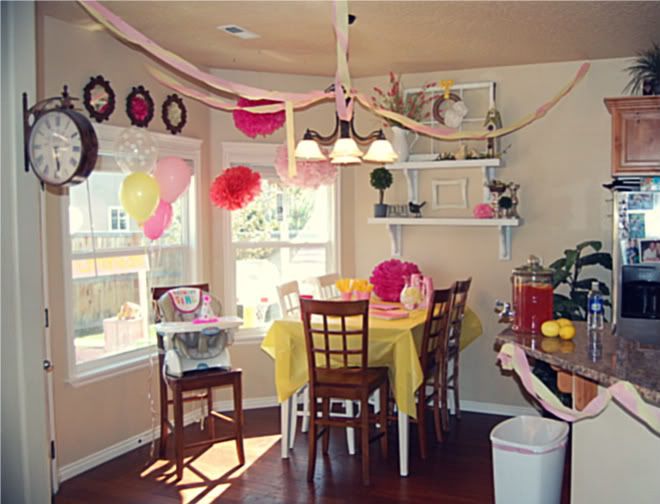
My baby girl turned ONE this past weekend. I can't believe it.To say the year flew by would be an understatement! We have loved every second with Kinlee Jo in our lives. We had her first birthday party on Wednesday night. I have never been a big party thrower...one, because I am not very good at it, and two...let's face it. They are a lot of work. I think it turned out darling, and although baby K had no idea we were all there celebrating her...she had lemons of fun. haha, I had to. :) Here are some of the details.


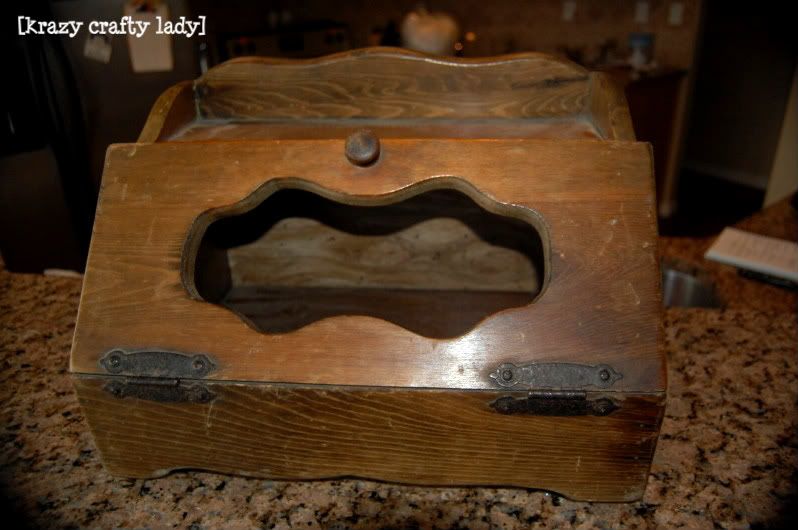
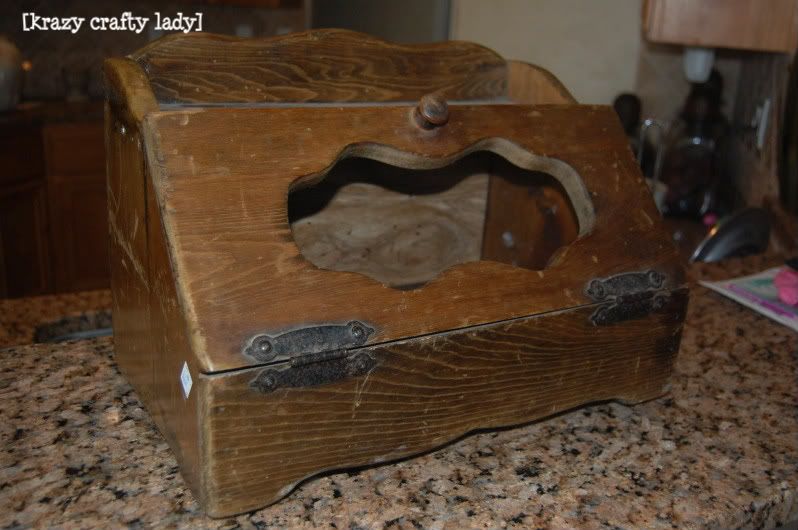
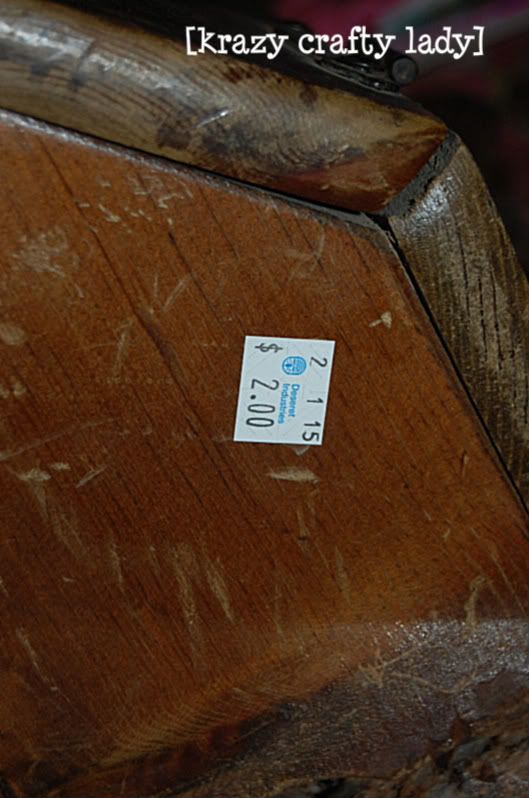
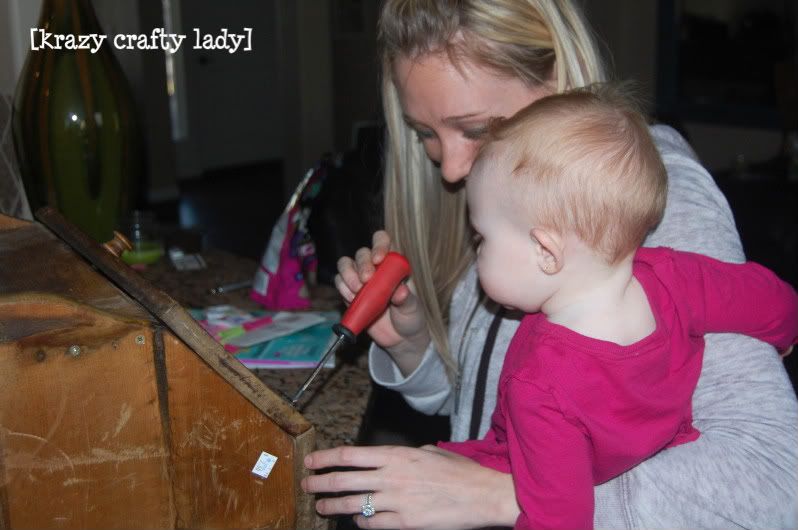
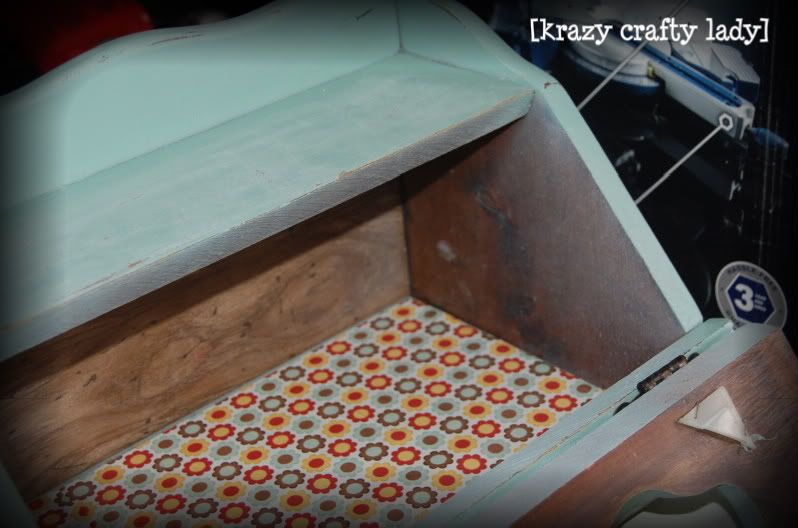
The beginning stages of our lemonade stand. We found two old crates from a sweet place not to be confused with a junk yard in Boise called Mary's Antiques. One was $5 and the other was $7. We had the rest of the wood at home and then had to buy 2 cans of spray paint. That totaled to about $8. So in total this stand costed roughly $20. But twenty dollars is a small price to pay when I know it will be used for years to come in front of my house :) You know what they say...NEVER pass by a lemonade stand with out stopping to buy a cup. Or three.

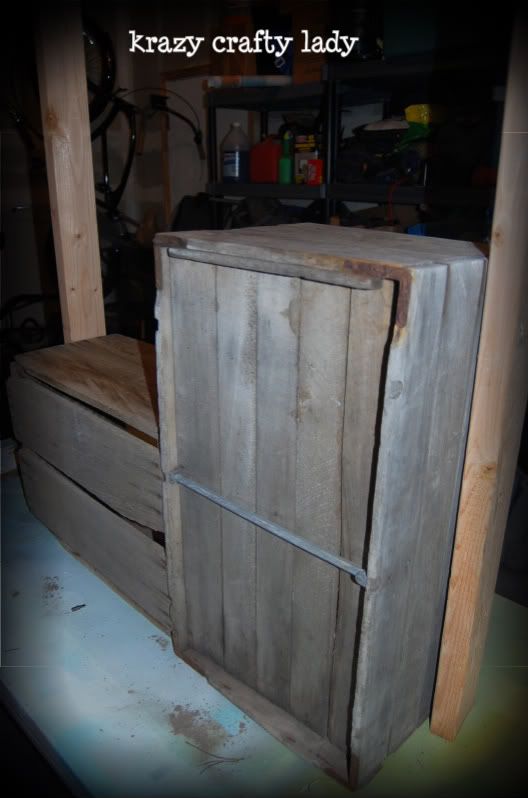
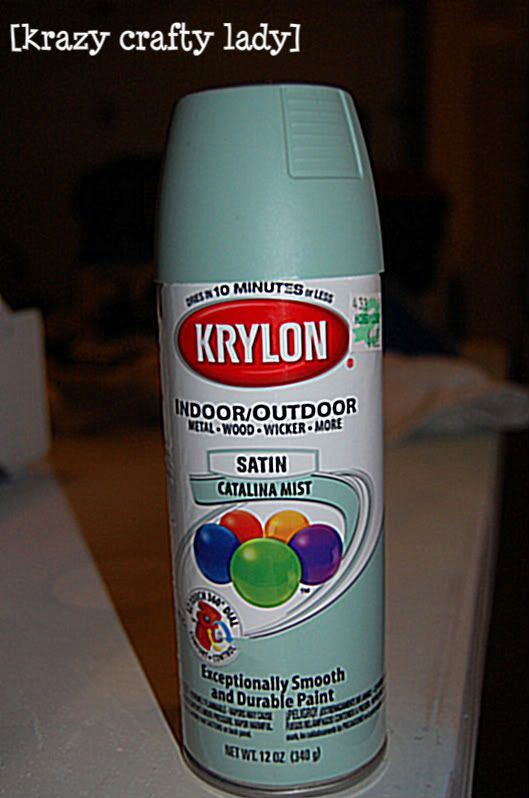
I primed it and then spray painted it Krylon Ballet Slipper...except in Satin, not gloss.
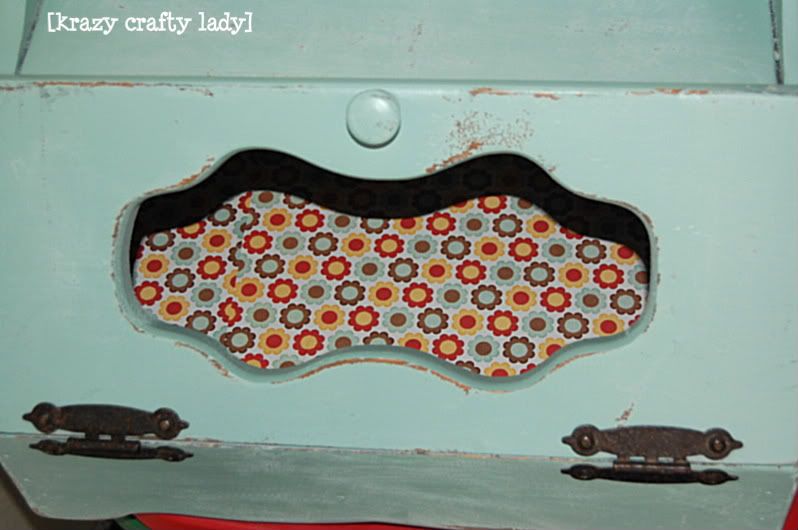
Then I hand painted on Kinlee Jo's Lemonade. The only part we are missing is the price :) I ran out of time...but we are using this lemonade stand in her 1 year pictures next week so I will add a picture when it is completely done.

And here is the finished product:
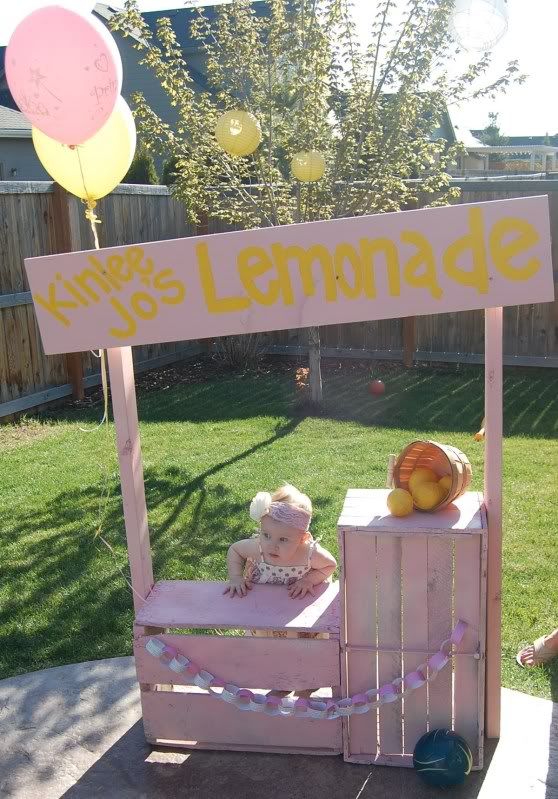
Ignore the soccer ball :)


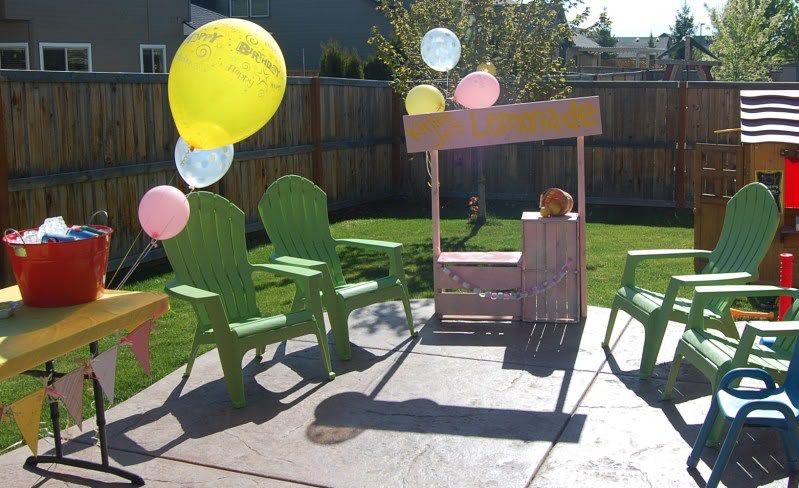
**You can kind of see the pennant I made for the party in the left corner hanging from the table. You can see the tutorial for that here.
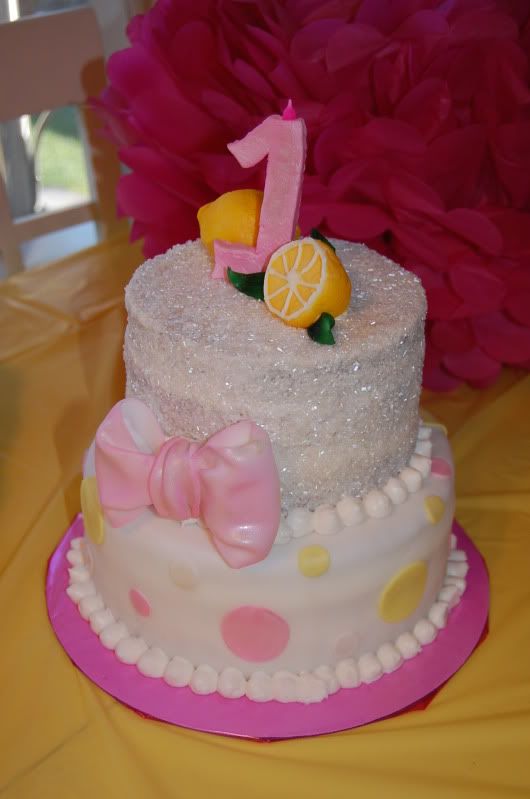
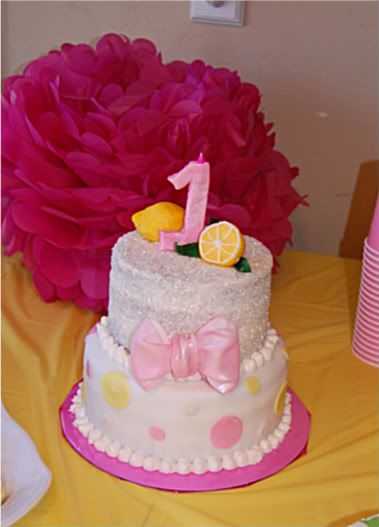
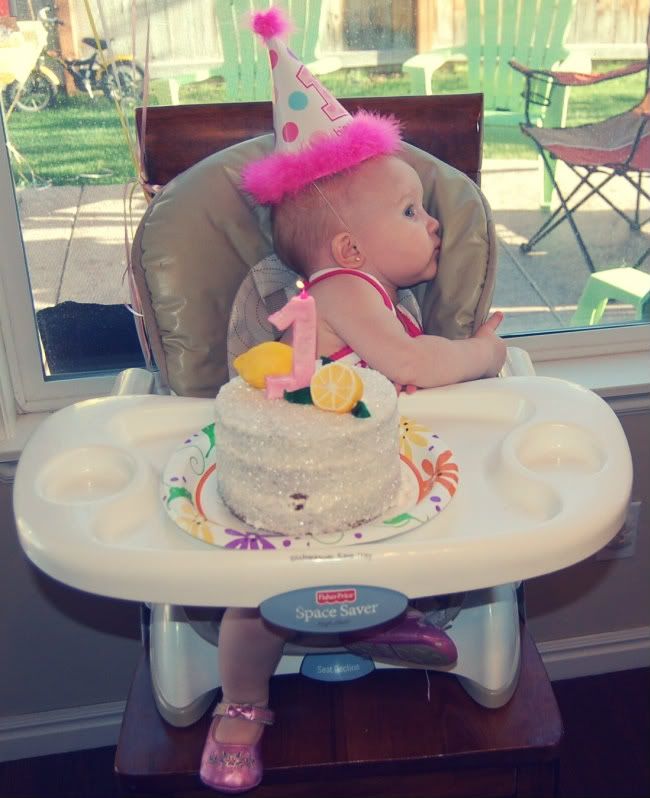
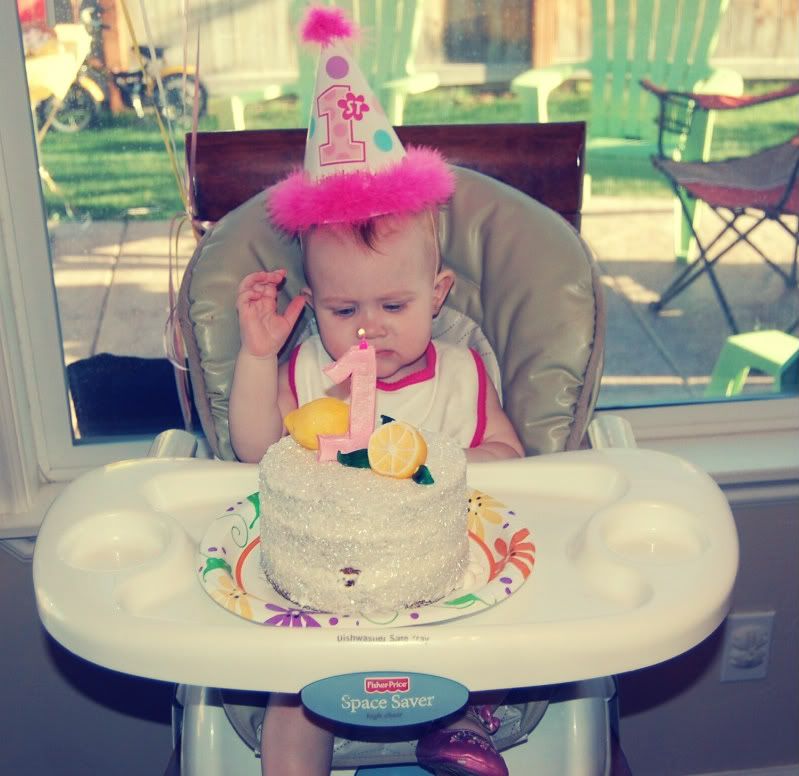

The adorable cake:


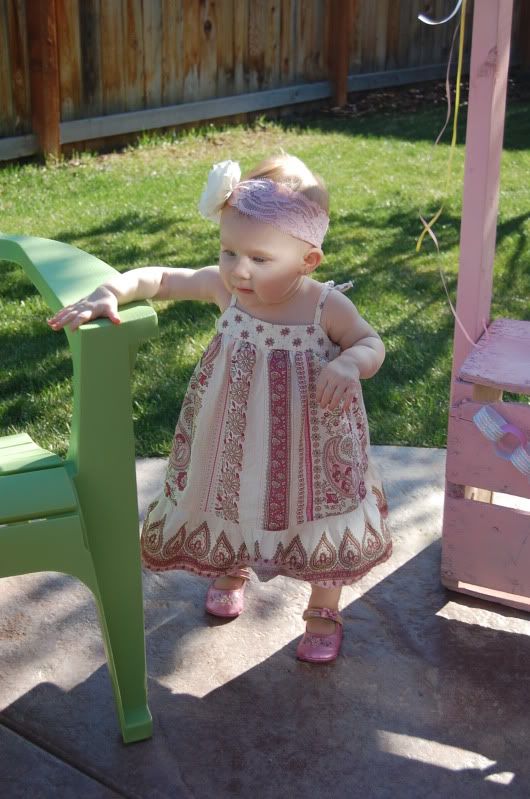
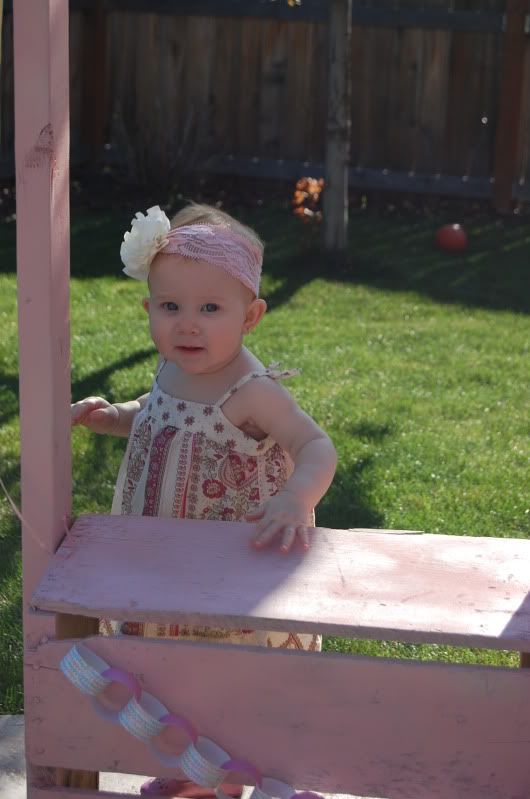
The birthday girl herself:


She got really shy when we started singing her Happy Birthday. Then she decided she did NOT want whatever that huge thing in front of her face was. I tried to give her a little taste test...but she was not having it.


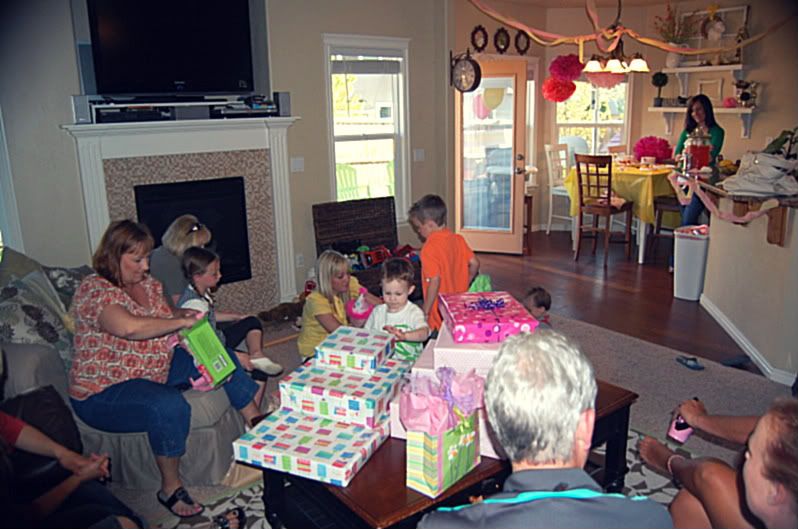
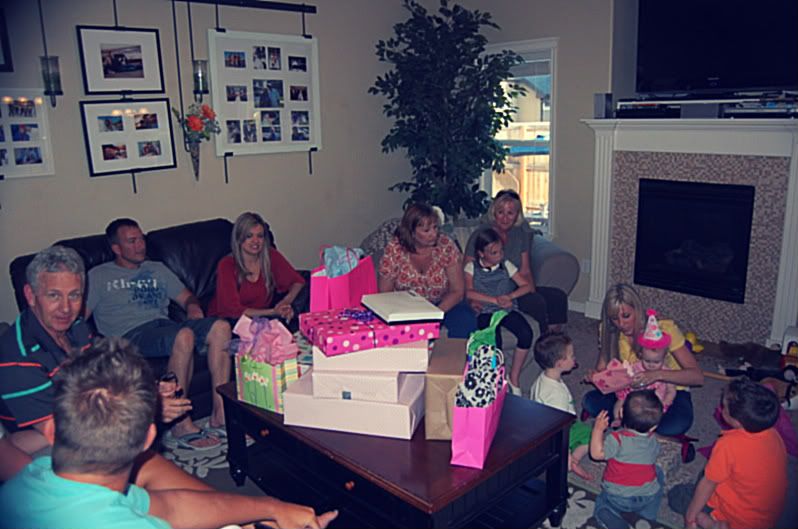
This little girl got SO spoiled! You can tell she is very loved.


All in all I would say it was a success! Happy Birthday Princess. We love you so, SO much.


Monday, May 9, 2011

Year Round Wreath

I don't know about YOU guys...but I love wreaths :) They can get expensive when you want one for every season or holiday like I do. I came across this fabulous wreath on Pinterest and of course had to pin it. Then I just happened to run across a twig wreath at the D.I for $1.50. Score! I followed her tutorial, which has awesome step by step instructions. Here is how mine turned out! I just made one for Spring, but I definitely plan on making more as the holidays come. Go check out her 4th of July, Halloween, Fall, Christmas, etc! ADORABLE! And so clever.


Isn't it cute? And I bet you have most of the supplies in your stash right now....Go make one!


Sunday, May 8, 2011

Happy Mother's Day!

I sure am glad there is an entire day dedicated to Mothers. What an important job we have as Moms. I have always appreciated and loved my Mom, but the minute I became a Mother myself, there was a completely different understanding. I don't think there is a harder job in the world...or a more rewarding job. The best thing I ever did was become a Mother! So a big thank you to my Mom for putting up with me...even on the bad days :)

Here are my two sweet babies:

And here are just a few shout outs to some Mom's I would like to recognize! 

Of course, my own Mom:


The best Mother in Law a girl could have:

My sister in laws, Jill and Amy:

My Grandma Siddoway:

And my Grandma Joanie:

And to YOU. If you are a Mom, I hope you have a great day today. Always remember that what you are doing is important. Even when it doesn't feel like it.

 "All women become like their mothers. That is their tragedy. No man does. That is his."
                                                  - Oscar Wilde


Tuesday, May 3, 2011

www.krazycraftylady.COM!

ATTENTION!

I am a registered .com owner now :) And since I am excited, I just wanted you all to know.

My new web address is http://www.krazycraftylady.com/! I feel like I'm just 

super legit 

now!

But don't worry, you will still be redirected here by entiring krazycraftylady.blogspot.com. It's just easier for people to remember now, thats all.

 Happy Tuesday everyone!


Monday, May 2, 2011

Old breadbox made FABULOUS!


D.I find turned Ribbon Holder!

I love when I set out to find some junk at a thrift store (with the intent to beautify), and do just that! Usually I am not this lucky and it takes several trips back to find even one item that might have potential.

But not this day.The moment I set eyes on this ugly old bread box I knew exactly what I wanted to do with it. Make it into a RIBBON holder! I saw the potential immediately.


It was in pretty rough shape...she is pretty old.


But with a price tag like that, I knew I couldn't go wrong! (It says $2.00 in case you can't tell)


The hardware is definitely my favorite part :)


First I took off the hardware (with the help of this little girly) Then I sanded it down and primed it.
I spray painted it this color:

Krylon Catalina Mist. (From Hobby Lobby)

Then I mod podged some coordinating scrapbook paper to pretty it up a little:

Distressed the outside:


And then MacGyver (aka Mr. KCL) maneuvered up a contraction for the dowels to be easily removed, without drilling holes through the sides like he thought he was going to do at first. :) Happy wife, happy life! haha. [He used a router to cut grooves in some scrap wood and then we glued it onto the sides of the box using wood glue.]

Then I added my ribbon and this isn't all of it...but I can easily find it now!


And VOILA! A cute new ribbon holder for only $5! (roughly...I had a 40% off coupon for the spray paint and then the $2 for the box. Sweet!)


And just so you can get one more good look, here is the before and after side by side!


LOVE the end product. Cute and Functional...is there anything better?


**linking up to Today's Creative Blog**

Sunday, May 1, 2011

i'm back, I'm BACK, I'M BACK!!


Boy, it feels good to have our computer back in action, finally!

It has been almost an entire month that we have gone with out a computer (pure torture). I have been typing on my phone, or the ipad...and I forgot how much easier and faster it is to type on an actual keyboard.

It's the little things in life. :)

I am so behind on my blogging that now you guys are going to get blasted with new posts...I hope you don't mind. ;) I have so much to show you, and I am so excited!

Does anyone remember the pillow I was saying I wanted to make from this tutorial post? The tonight/not tonight pillow? hehe. Well, I found the perfect excuse to make one. One of my good friends, Danielle, is getting married in June. She had a bridal shower/bachelorette party up in McCall a few weekends ago and I made her this pillow.
First, the back:


and the front:


Didn't it turn out adorable?! I loved it so much I thought about not giving it to her anymore... and keeping it for myself! Haha, is that bad? I know I can't be the only one this happens to! But, since I love her, I gave it to her. And she loved it. At least I hope she loved it :)

And just in case you want to make one of these cute little numbers for yourself...or a friend (this is the PERFECT wedding gift!) I made it the same way as these pillows (click on the highlighted word and it will direct you to my tutorial, in case you weren't aware.) Except that I didn't add any trim. Then I borrowed my friend Tara's fancy silhouette machine and printed out a pretty cursive font for the "tonight" in vinyl. I used the vinyl as a stencil (which was a little bit tricky because some parts were so darn thin...they break easily and the vinyl will stick to itself if you aren't careful). Then I just painted it on with black fabric paint and a sponge brush. I did about 3 or 4 light coats, being ever so careful not to let it bleed through. I also added some black lace flowers to the front. For the back, I decided to do a plain "Not tonight" for two reasons... the vinyl letters weren't as fragile and because I didn't want the back to look as fancy. :) Then I painted it the same way.

Very easy, and cute! I am glad to be back up and running again. Check back soon to see what this is...and what I did with it!


xoxo,