


I finally decided it was time to fix my shelves in the kitchen. They were looking pretty pathetic with a patriotic star hanging on my old window and a bunch of random things up there. So I went on a hunt for a couple fun year-round decorations to leave up. I love decorating for each new holiday coming up but lets face it...after the fourth of July there isn't much to decorate for until fall. And I am not ready for pumpkins yet. So here is what I have come up with so far:
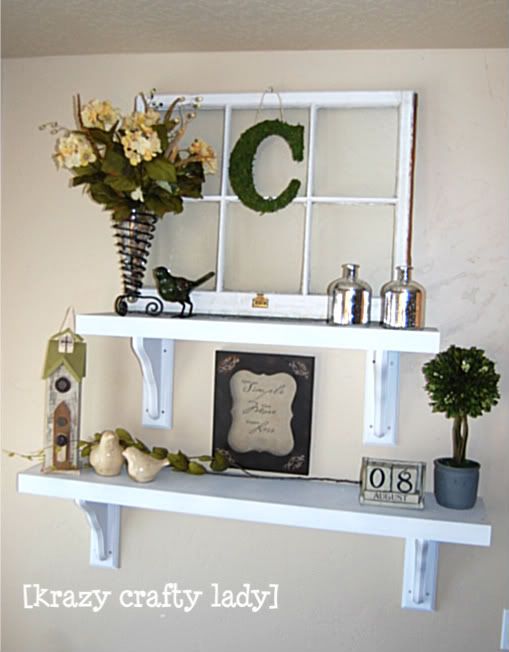
I already had everything up here except for the moss letter and the flowers in the vase to the left...which has been sitting empty up there for a couple months now. Nice, huh? So I headed to hobby lobby and picked up this bunch of flowers (already arranged). They were $14.99 but were 50% off. I had seen Pottery Barn's moss letters in their magazine a few months back and the $79 price tag was a bit ridiculous. And since I am crafty like that I decided to make my own knock off. (And so have many others...) But here is how I made mine.
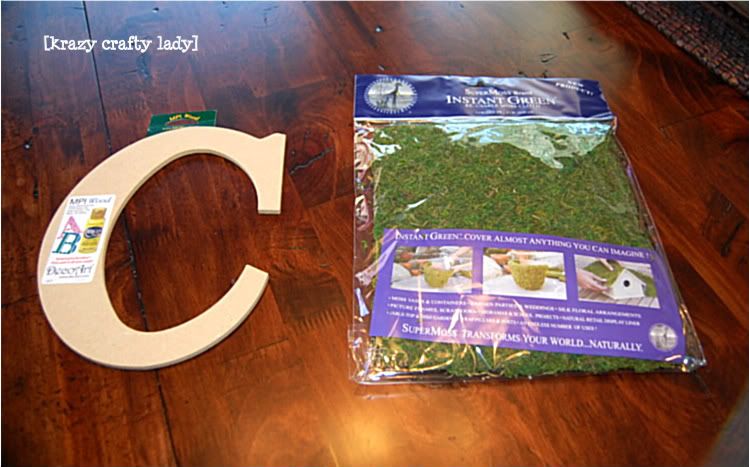
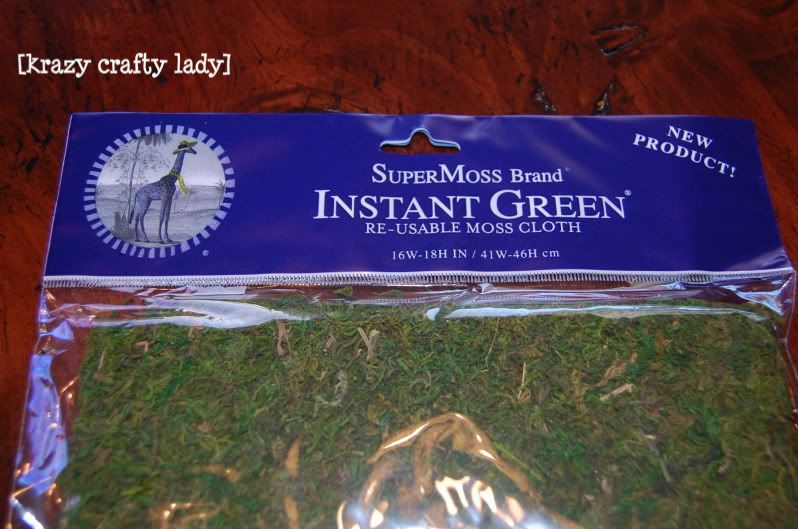
I picked up some sheet moss (made it a lot easier then buying loose moss...but probably not any cleaner) and a wooden letter. The moss was $7.99 but I used a 40% off coupon from my phone. Everyone knows that you can go to Hobbylobby.com on your phone and just pull up the coupon right there in line and then show the cashier the code, right? So easy and convenient. Plus, if you're like me you never have your coupons for the right place at the right time. Story of my life! Lastly, I grabbed a thin wooden letter "C" to cover. It was only a buck. So a moss letter for only $5 bucks! Not bad!
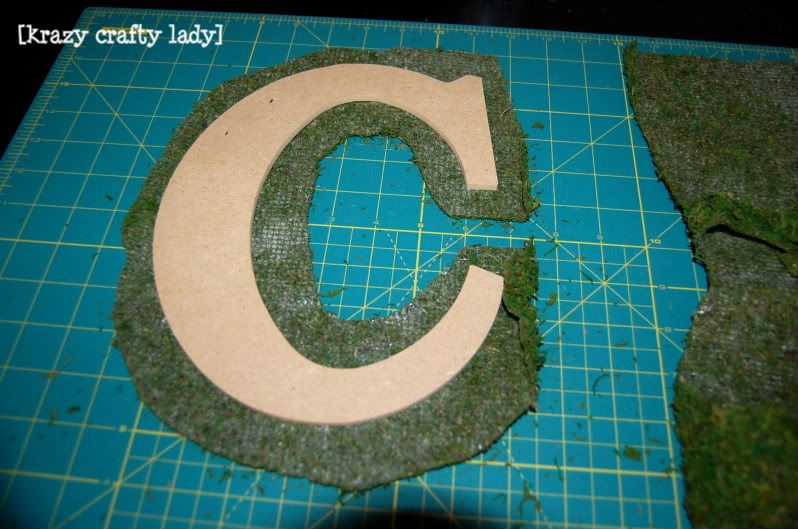
First I layed my letter on top of the moss:

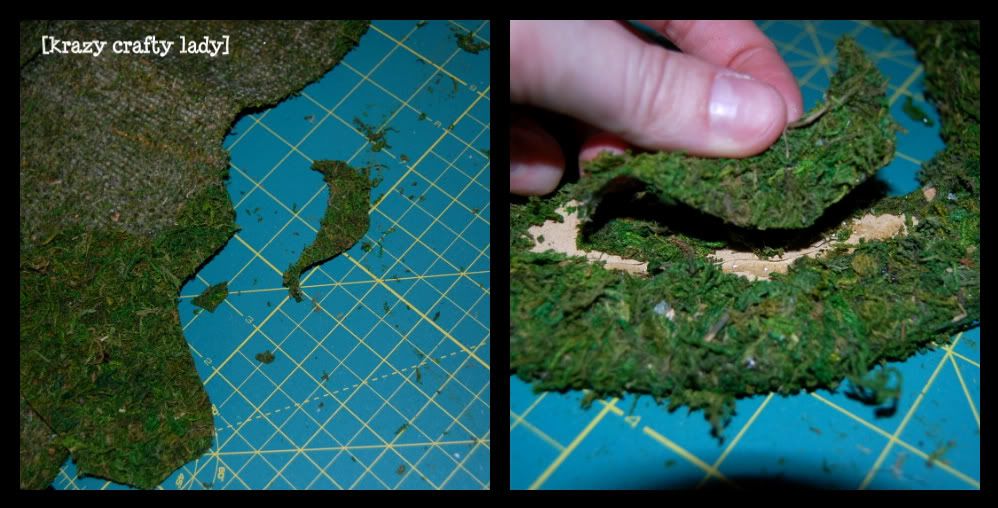
Then I trimmed the moss to fit: (If I were smarter I would have layed the C down backwards...so that the front turned out prettier then the back. You'll see what I mean in a minute) You want it to overlap so that the moss covers both sides of the letter.
Then start hot gluing:
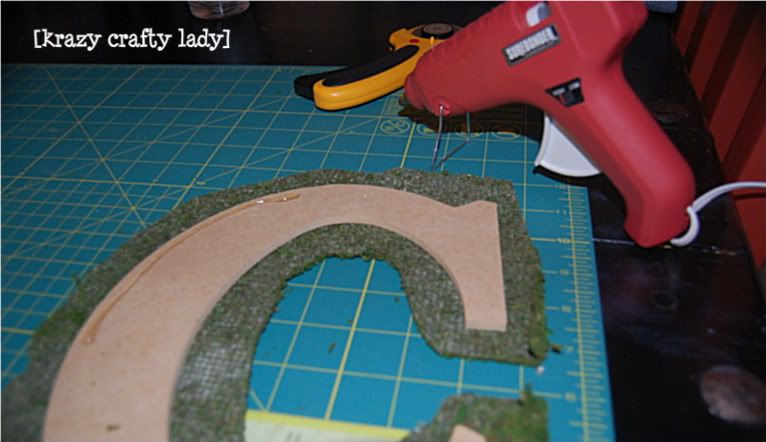
**Be careful not to burn yourself 1,000 times like I did during this process.

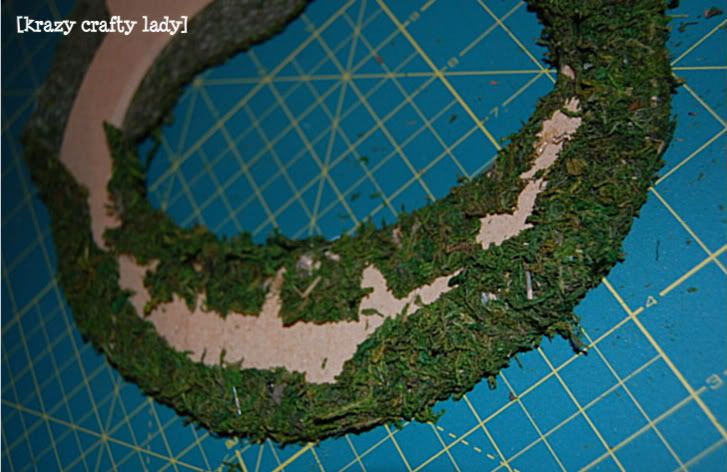
Getting there! A tip, if you have a curvy letter it makes it a lot easier to cut slits in the sheet moss before you try to cover it.
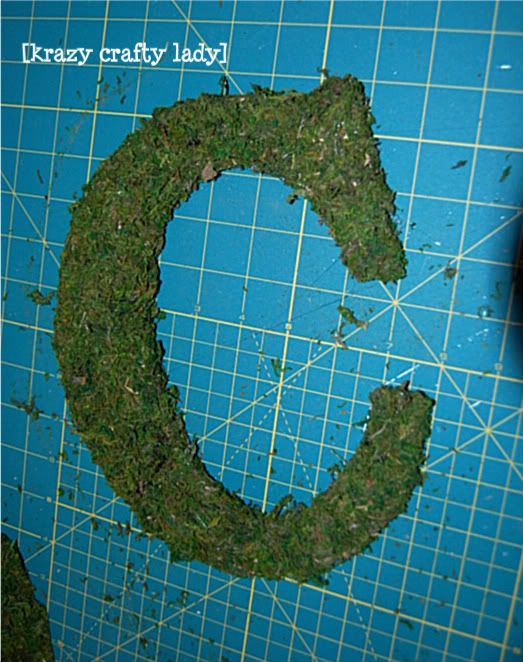
Almost done. This is where I was saying I should have done this backwards. Then the back would look like this...not the front! But if you were like me, you should have a bunch of little scraps that you trimmed off trying to make the moss fit better. Just hot glue and continue to fill in the gaps:
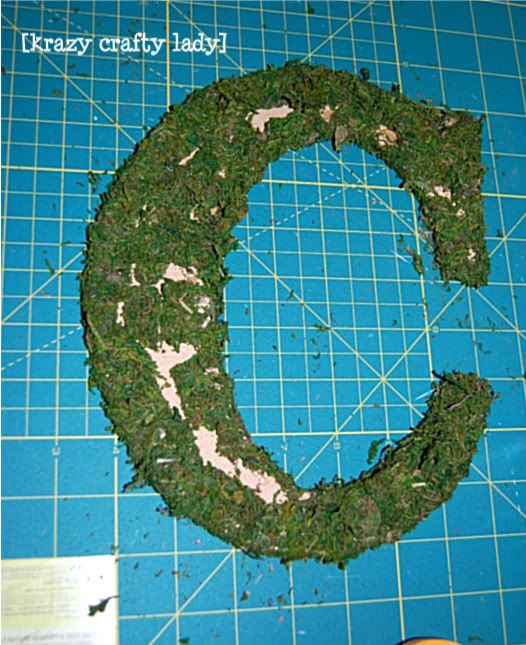
By this point you should be finished, or close to. (With a bit of a mess on your hands too...)
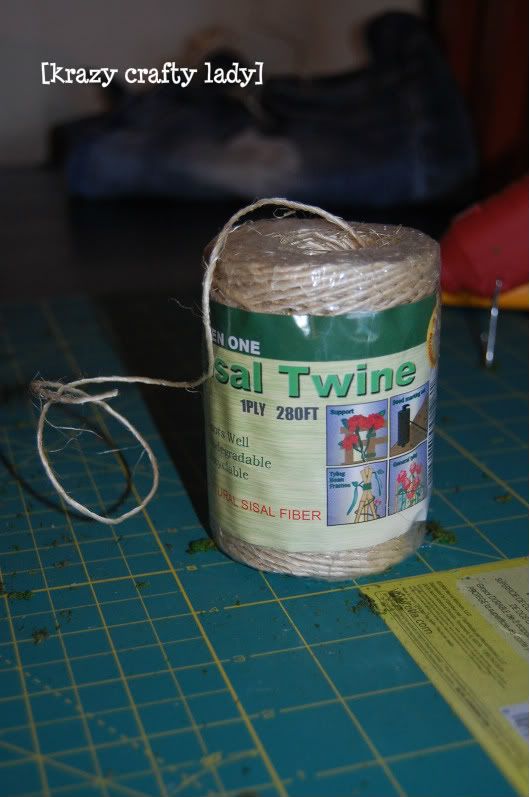
Since I knew I wanted to hang my letter I grabbed some twine that I had (from the dollar store) and hot glued it to the back of my letter.
Ta-Da! Super quick and easy new decoration.
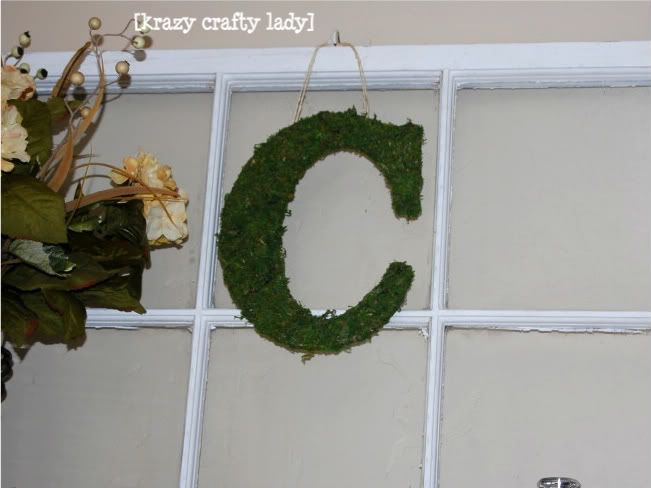
This picture is crooked I know, but I didn't want my ugly light fixture hanging in front of it so I got a weird angle.
I think it turned out super cute and tied my shelves together. At least until the next holiday rolls around! How are you decorating right now? I would love to see...leave me a comment with your blog address and I will come check it out.


This is so fun! I did a mossy letter, and still love looking at it each day! Adorable! Your house looks adorable!
ReplyDeleteBy the way, I have having my first link party now, and would love to have you link this up to it.
http://southernlovely.blogspot.com/2011/08/show-share-1.html
Great job Christine! I was thinking about doing this but have never gotten around to it. Wish I had a hobby lobby close to me! So many fun finds!
ReplyDelete