Powered by Blogger.
Showing posts with label Tutorial. Show all posts

Monday, March 28, 2011

Burlap Pillow Tutorial

We spent this past weekend in snowy McCall, ID.
I guess if it is going to continue to snow at the end of March we had
better take advantage of it and go skiing!
So we relaxed a little, "shredded the pow", and I of course did some crafting
and made this little number:
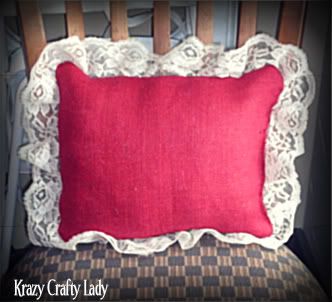

okay, these two numbers:
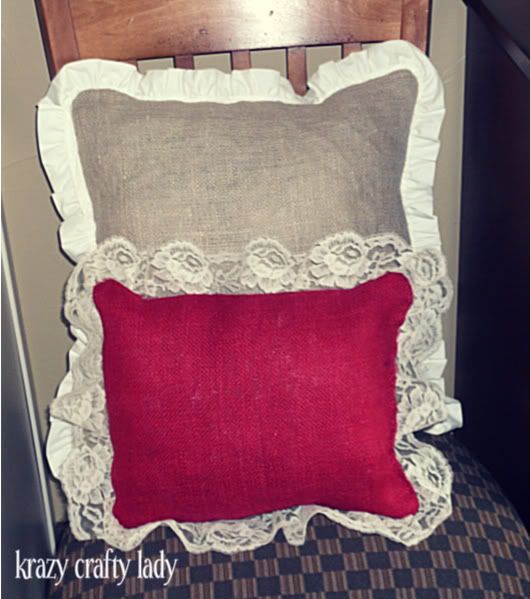

Warning: these pillows are for decoration only. My two-year-old kindly let me know "Mommy, this pillow's scratchy". I love me some burlap, but it is definitely not something you want to cuddle up on. With that being said, here is the super easy tutorial. ((I am not a seamstress by any means...so bear with me if I don't use the right sewing terminology!))

Supplies:

- burlap (I bought a yard of each color for $2.99 at Hobby Lobby...but probably only used half of each)
- sewing machine
- pillow to cover, or stuffing (I bought a thrifted $2 pillow and used the stuffing out of it. And actually it had enough for my two pillows)
- lace or ruffles for the edge; optional
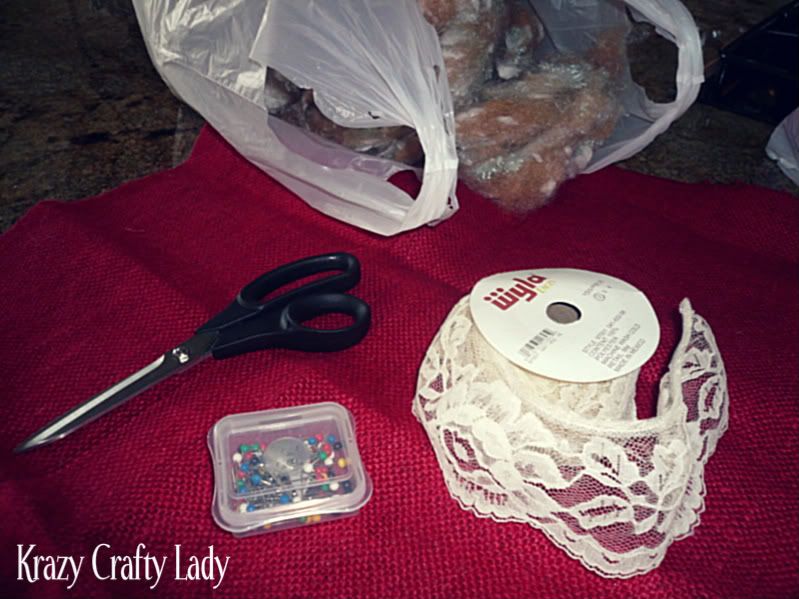
Yes, that bag is filled with some creepy looking "stuffing"
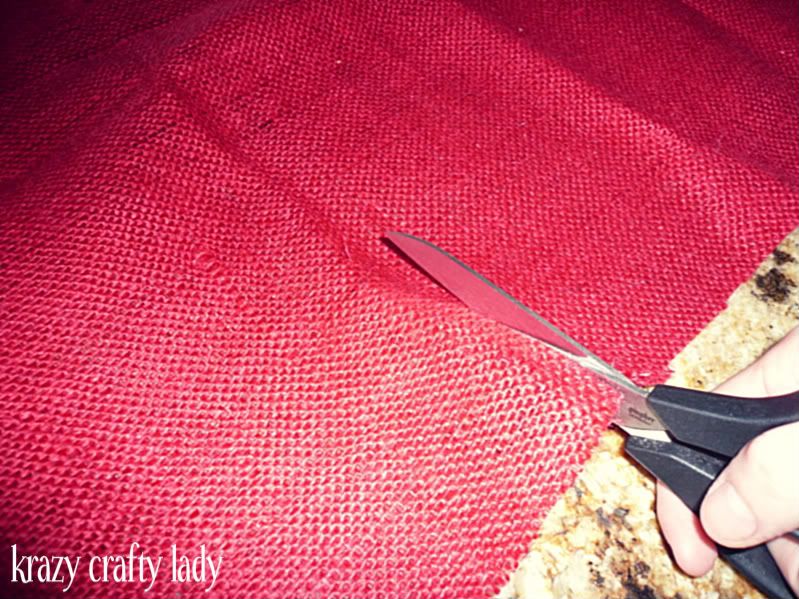

Cut out 2 squares of burlap the same size. I didn't measure since I was just going to stuff it.

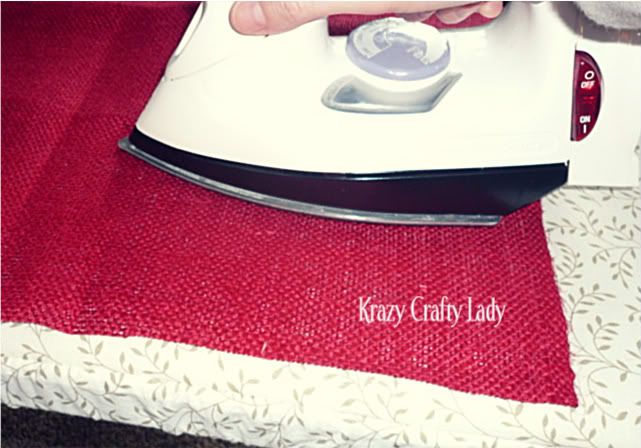
Press both squares to get the lines out.

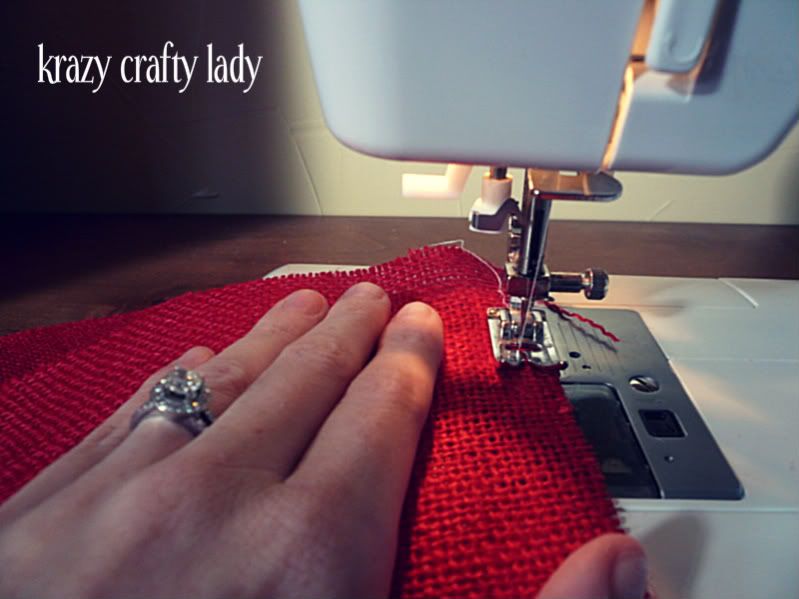
Sew along the edges so the burlap doesn't continue to fray:
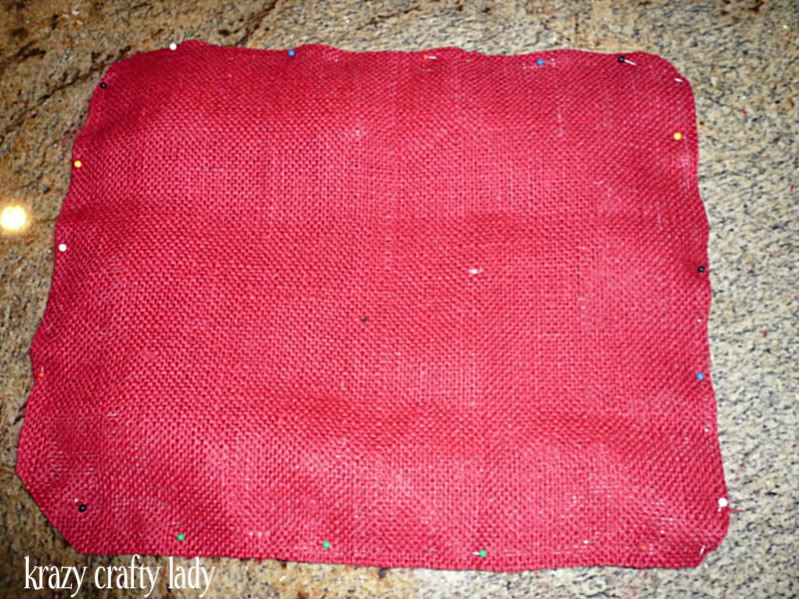
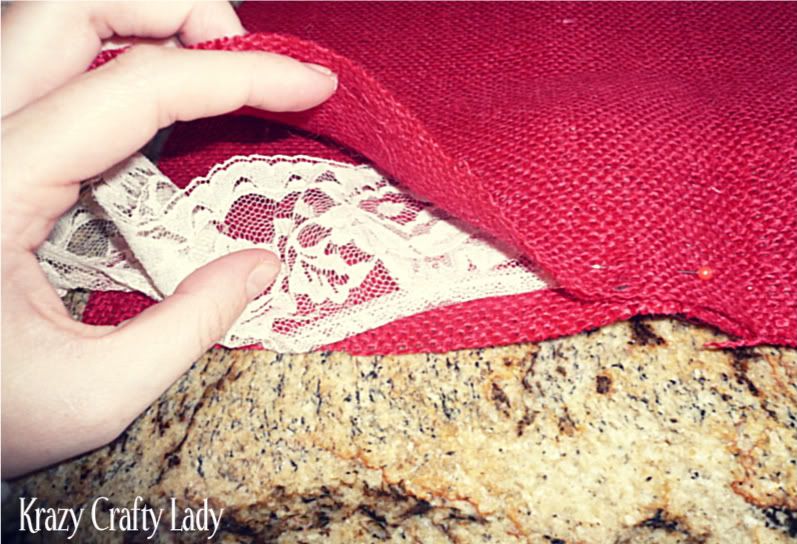
Pin edges and if you are using a trim, pin it inside. (Remember to leave a few inches open so
that you can turn it inside out)

Remember to keep checking to make sure you are still pinning your trim down.
Now you are ready to sew!
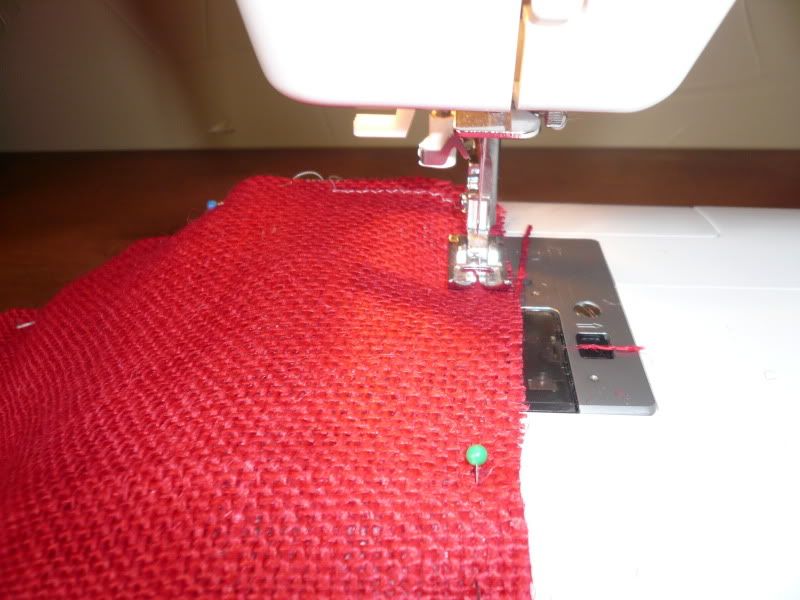

Making sure I was sewing the lace still :)
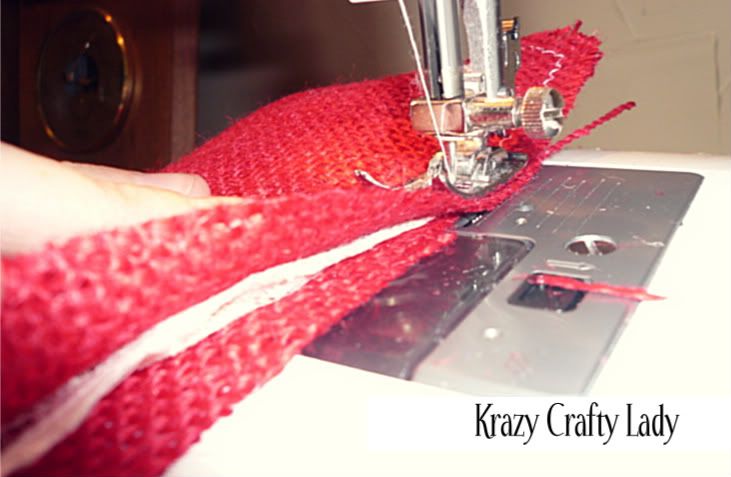
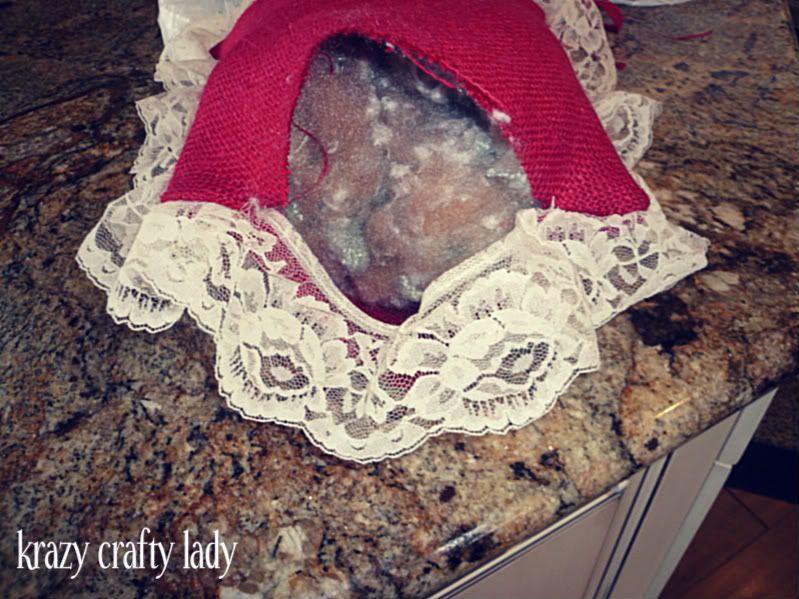
The opening:
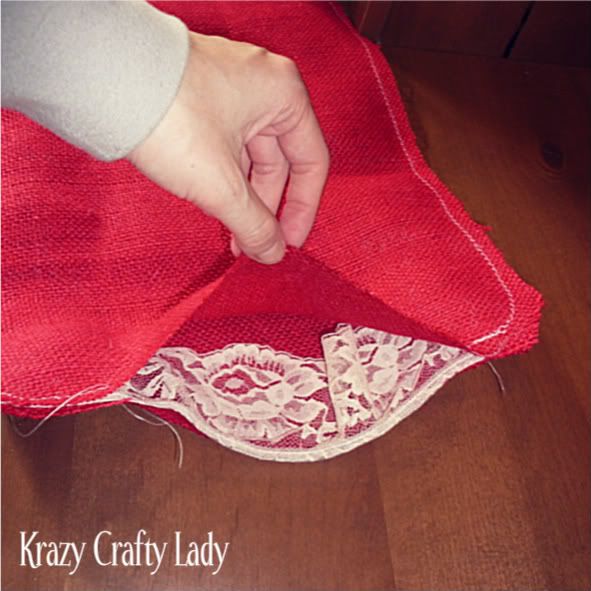
Here's how it looked after I tuned it inside out:
(Side note- the corners are kind of tricky, mine were far from perfect but it's gonna be okay:)
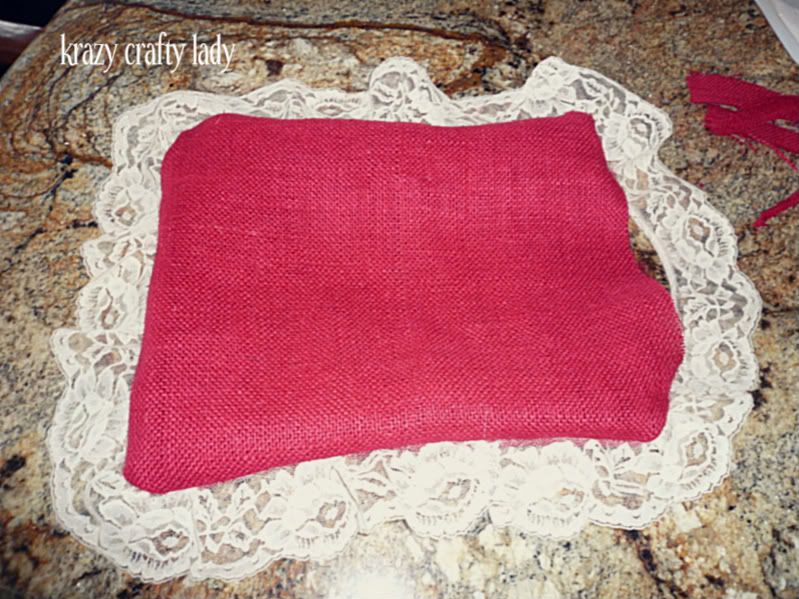
Begin stuffing your pillow with scary looking stuffing!
Pin open edge closed again (I just tucked the edges in on both sides then pinned) and sew this part
with a needle and coordinating thread.
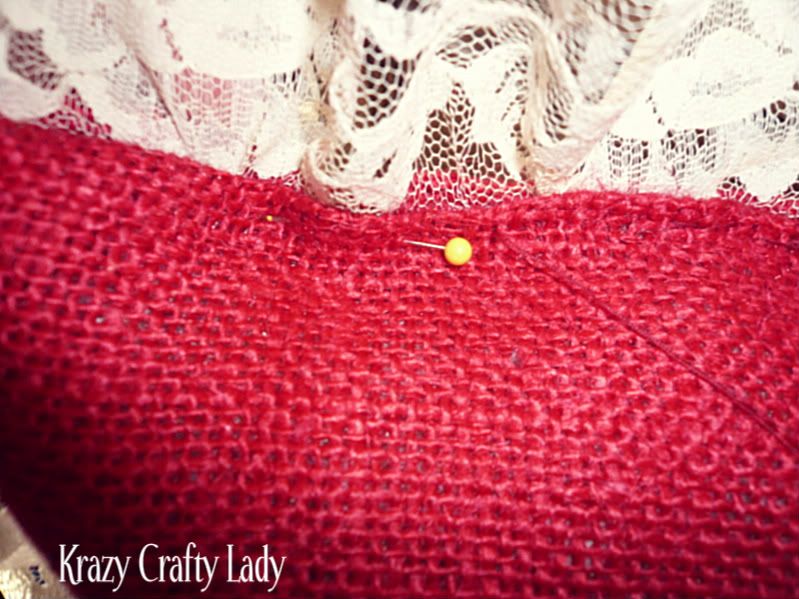
And you are done!

Unless you want to make another one with ruffle trim like I did :)

I'm thinking I want to add our initials on this pillow- Pottery Barn style. You know, where the middle initial is bigger than the other two? What do you think? Or I also like the idea of "tonight" on one side and "not tonight" on the other :) I've seen those pillows floating around and think they are hilarious. I'll be sure to post a picture of what I decide to do.

These pillows only took like a half hour (okay, okay maybe 45 min.) from start to finish. Not bad friends, not bad.


Saturday, March 12, 2011

Easy Lace Headbands

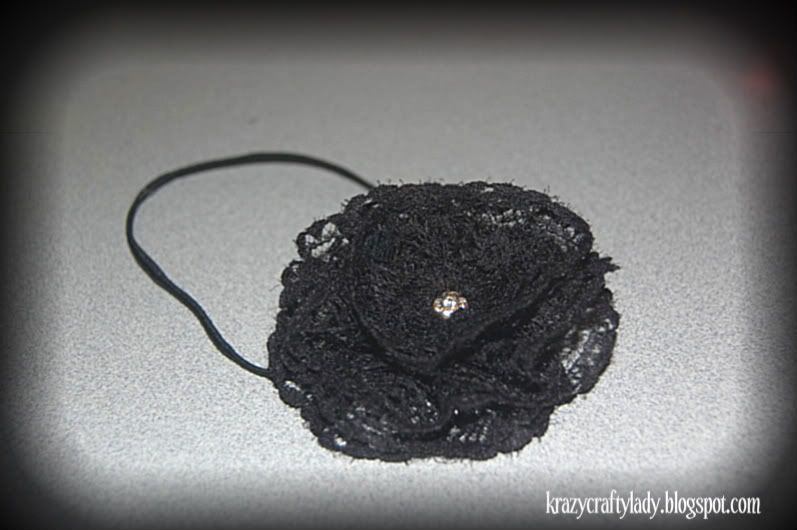
I made my baby girl one of these lace headbands when she was first born. I didn't measure her head, so naturally it was too big. I waited for her to grow (yes, I know I could have adjusted it...) so that it would fit her perfectly. She only wore it a couple times and then we lost it somewhere...BIG sad face. I finally got around to making her another one, and even made her some different colored ones. Since I was making more, and a friend also wanted to know how to make them I decided to just document the process so everyone can see how easy they are. I love them and so will you!

Lace Flowers
What you need:

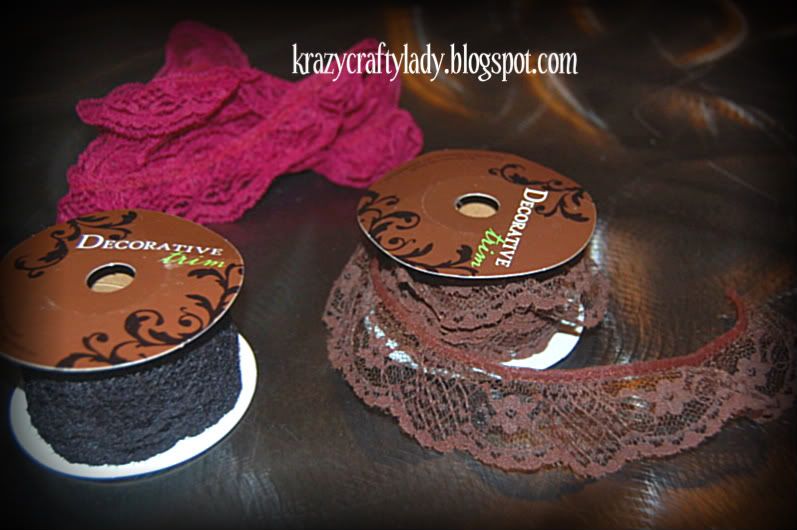
1. 20" of lace. Grab yourself a roll of lace from your local craft store. I bought mine at Hobby Lobby when ribbon was 50% off so it was only $1/roll. score! Plus they have LOTS of fun colors to choose from.

2. Needle and thread...and maybe a sewing machine if you have one handy. If not I have made these plenty with just the needle and thread.

3. Embellishment for the center (optional)

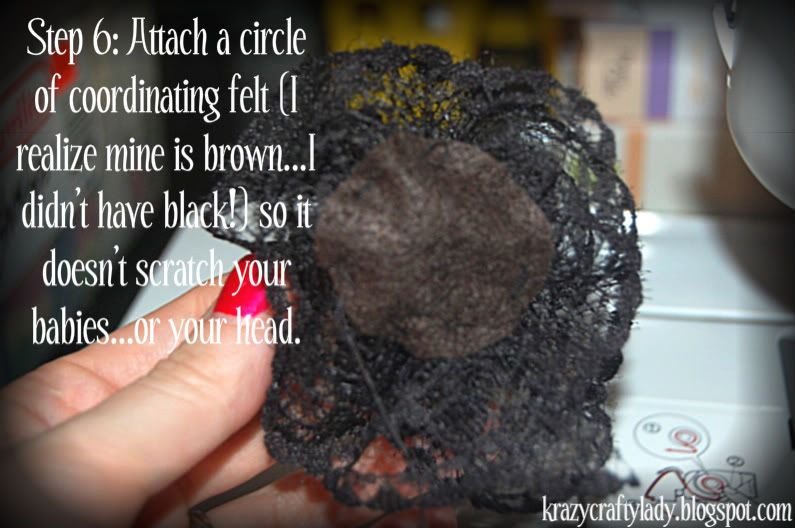
4. a small felt circle for the back

5. A headband (I made my own out of some super skinny elastic...also from HobLob) or a clip

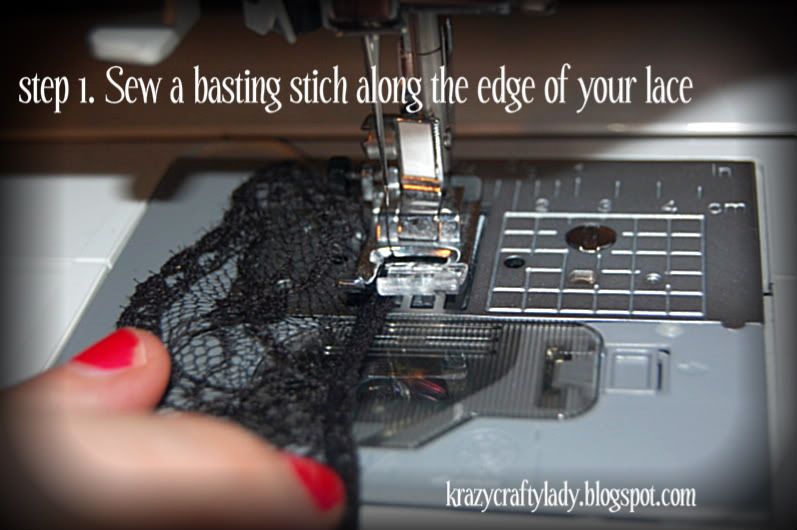
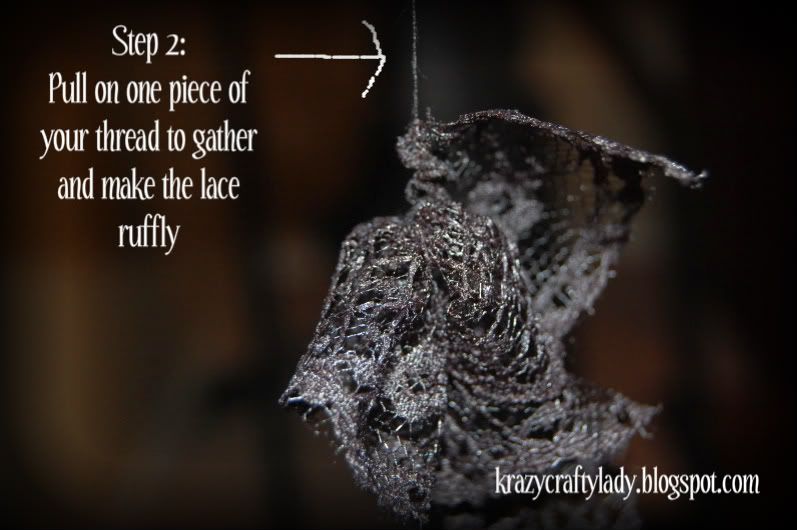
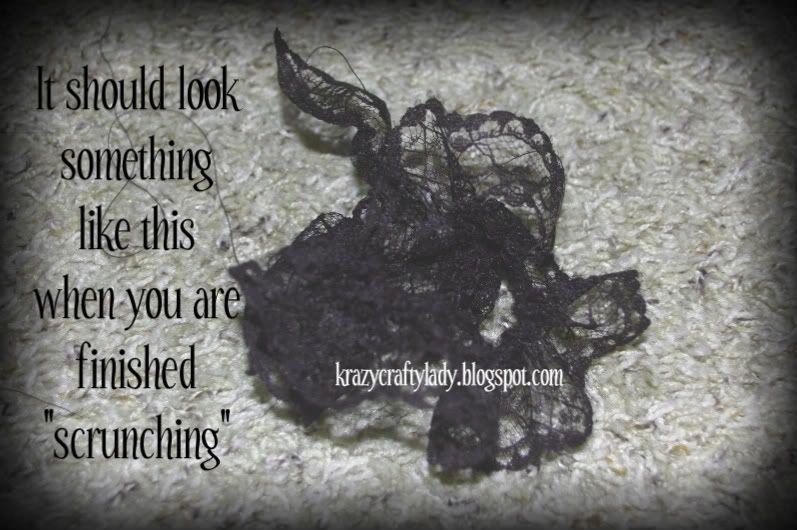
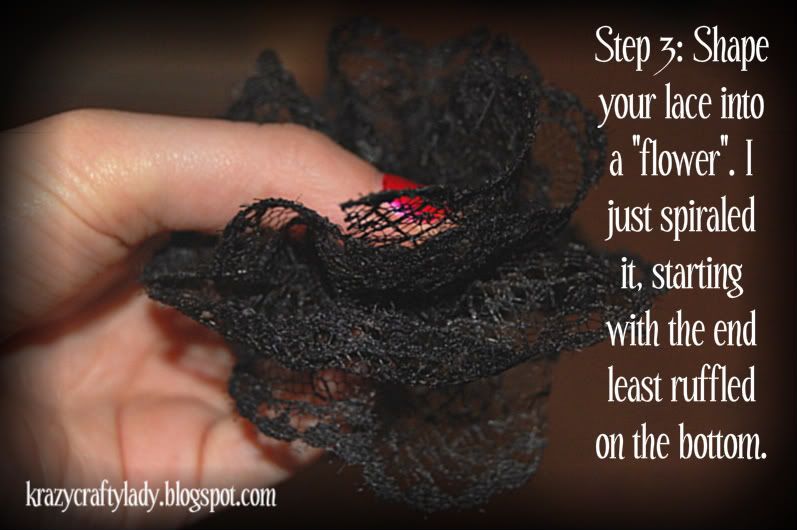
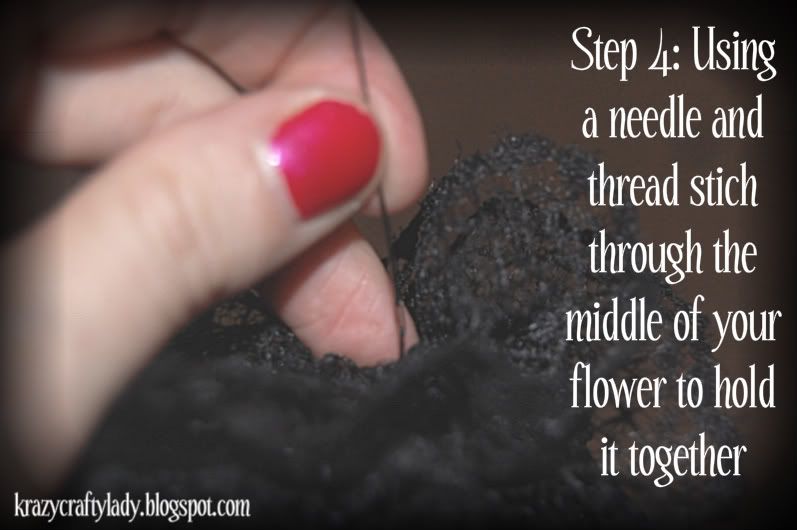
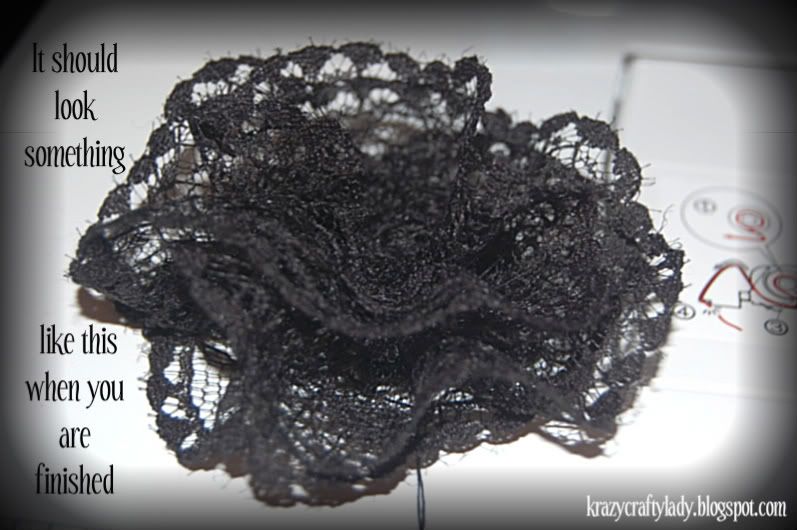
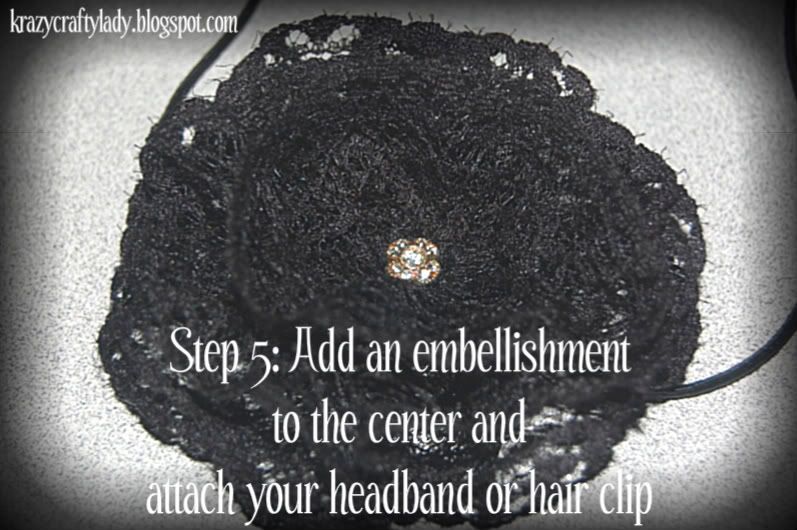
The how to:


***This was my guest post over at FabuLESSly Crafty, you can check it out here.

**Linking up to the NEWBIE party at Debbie Doos. Check it out if your blog is 6 months new or less, and if you have less than 100 followers.

Tuesday, March 1, 2011

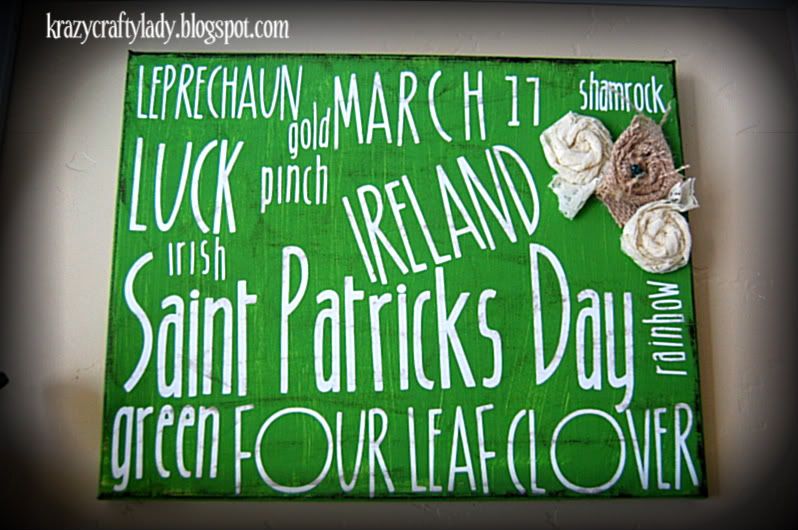
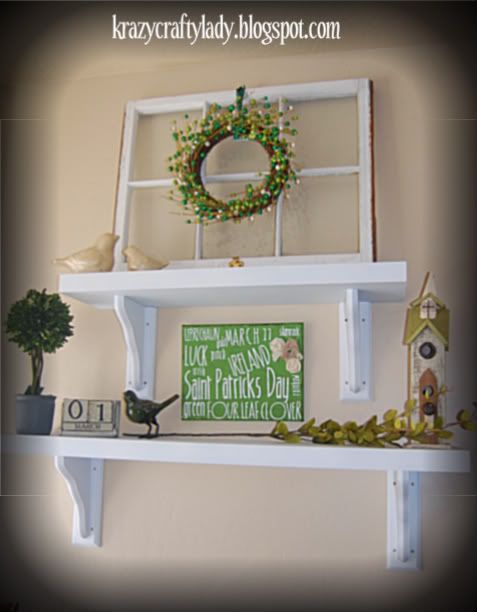
St. Patty's Day Subway Art

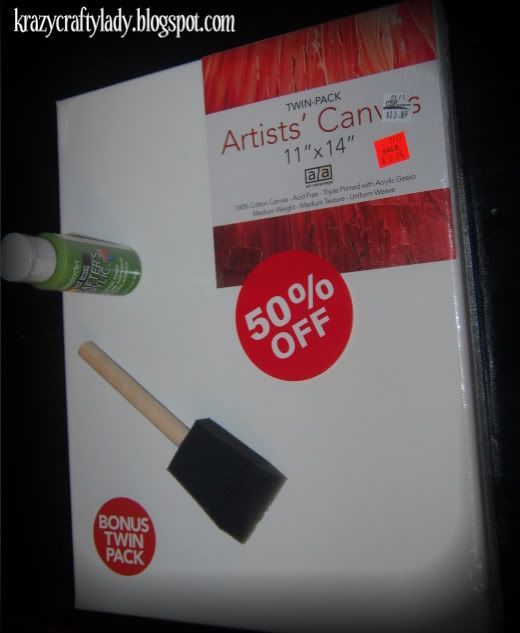
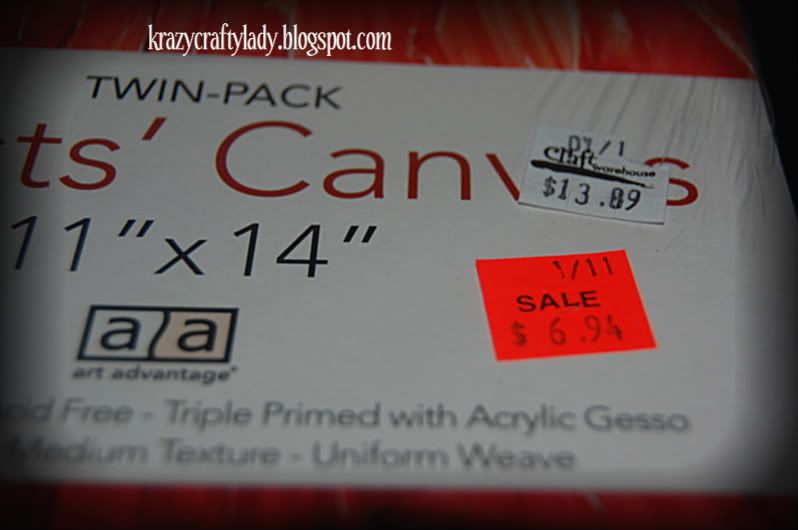
I started decorating my St. Patrick's Day shelves...(also, the first time I have ever  decorated for St. Patty's!) The shelves are just such a good excuse for me to decorate for any holiday, I can't resist! And the subway art is probably going to be a ritual for each holiday to come. I'm sort of addicted, if you can't tell :) So far canvas has been my number one choice for this little project. I purchased a 2 pack of 11x14" canvases from Craft Warehouse for $6.94. That's only $3.50 each roughly and I even have one left over for Easter! (Which by the way I can't wait to decorate for. Have you seen Pier 1's amazing items this year? Go take a peek...I NEED that yellow tree :)

So, on to the good stuff. This is how we do it: (This is how we do it....does this remind anyone else of Ms. Doubtfire? I just picture Robin Williams dancing on the table to this song...)
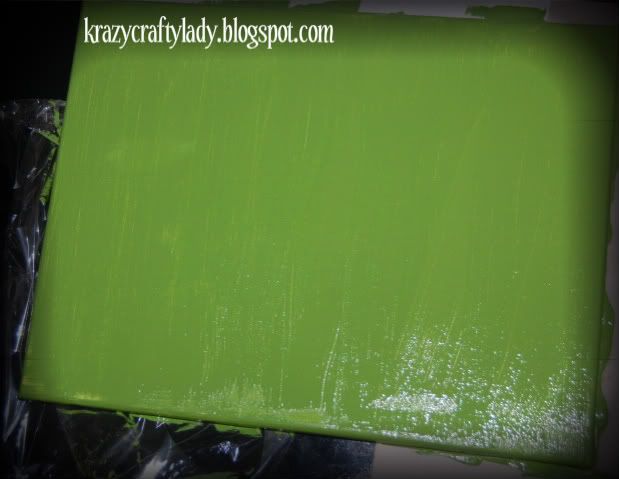
I also snagged some green craft paint from C.W for only $.88! I used a sponge brush and applied one light coat to the canvas.
Then I used my Cricut and cut out some words (and not gonna lie, I had to do some re-arranging because some of the words were too long to go where i originally wanted them...which made it tedious...I never was a math major! lol)
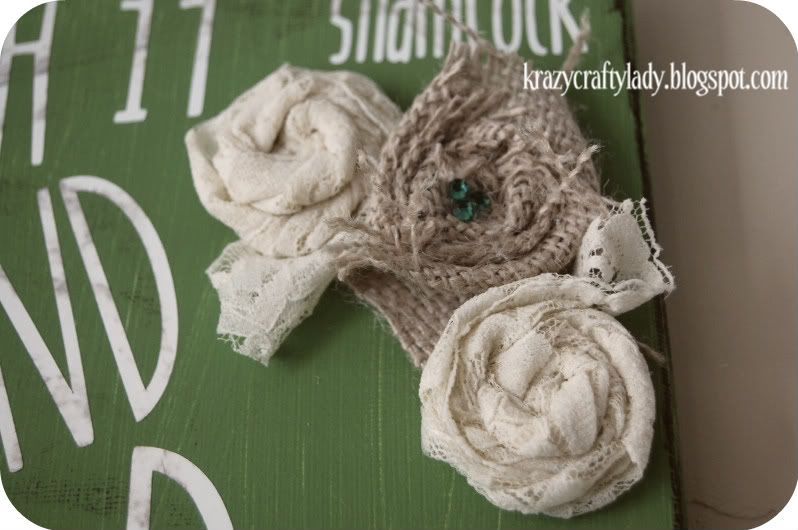
Then added some easy little flowers made of lace and burlap and voilah! (The flowers are super easy...literally just tie a knot and then twist and turn it around until it's as big as you like. Oh and hot glue as you go. If anyone is interested in a picture-tutorial of it let me know, I'd be happy to give you one)

p.s. the only thing my shelves are missing are the wooden shamrock's that my good friend Tara @ fabuLESSly crafty so kindly cut out for me :) hint, hint TARA :)
Happy Saint Patricks Day!

Thursday, February 24, 2011

Coasters

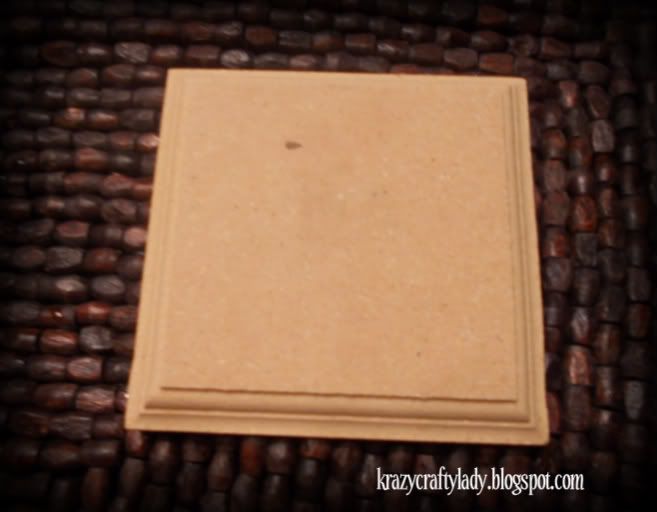
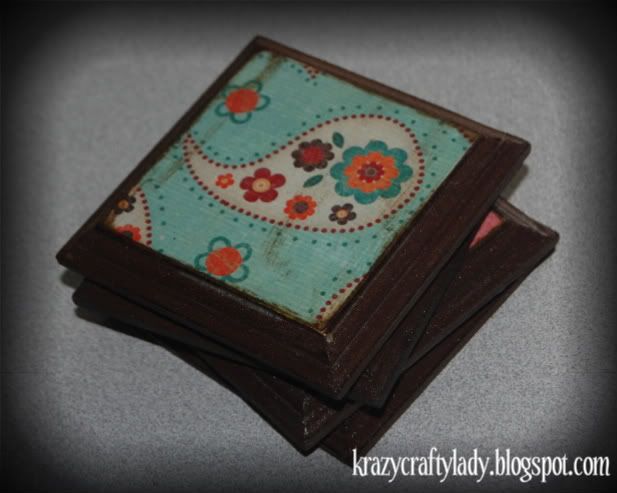
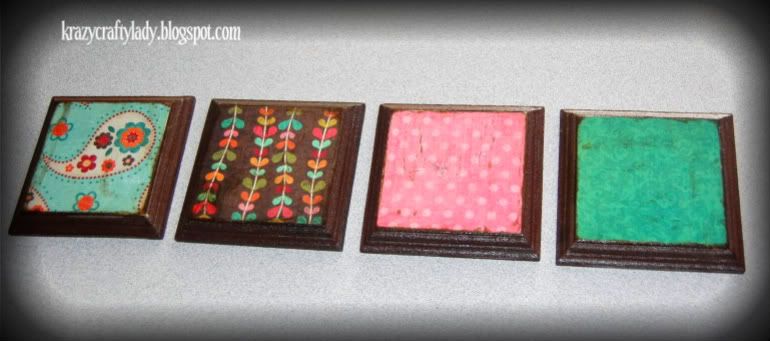
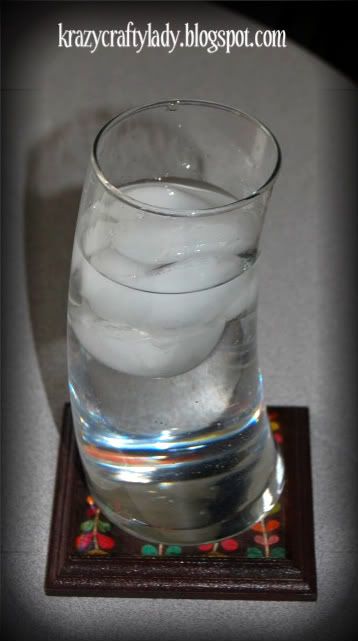
Mod podge and I have always had a close relationship. But lately we are BFF's. It is just so easy to create something fun and quick with a little bit of mod podge and scrapbook paper. We needed some coasters pretty badly, we are always setting our drinks down where ever, on the wood end table (yes Amy you read that right....we finally switched out the deadly metal coffee table and end table for a wooden set!) and it leaves a nice ring on the table if you aren't careful. So I bought these babies at Craft Warehouse for $1 each.
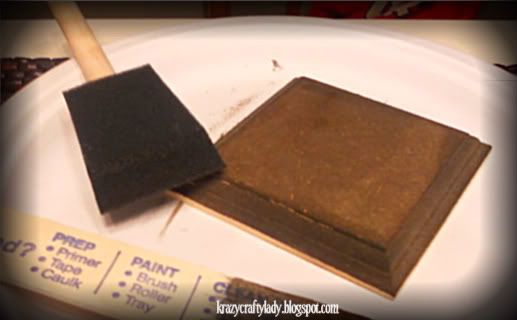
I painted them brown, like so:


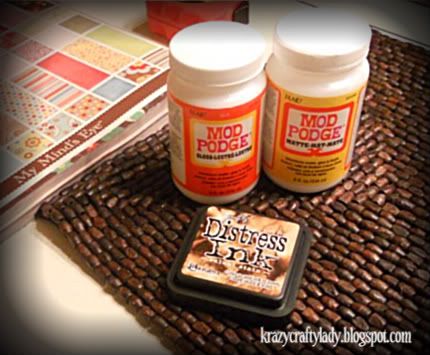
Then I picked out paper to match my living room and just mod podged it right to the top of the coasters. Nothing is ever complete with out a little Distress Ink...so distress a bit, mod podge the top (so that your cups don't stick to the coasters...) and you're done!


So super easy. And problem solved!

Monday, February 21, 2011

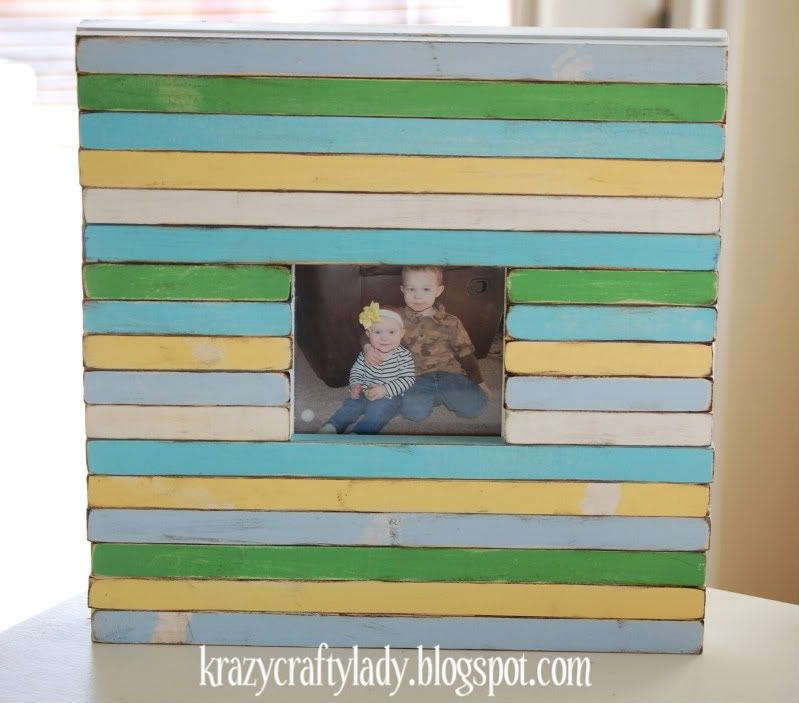
Beach Inspired Picture Frame

While we were in Kauai last week, Chris and I stumbled upon this boutique that had the coolest picture frames. We were really close to buying one...but then just couldn't justify spending $100 on a picture frame. SO...what did we do? We came home and made ourselves one. It turned out better than I imagined...and also took a little bit of effort. I decided if I were to make and sell these, I would have to charge at least $50. Otherwise it wouldn't be worth the time. But hey, thats half the price of what they were ripping you off charging in Hawaii. So you are getting a steal! :) Or you can just make your very own because I sure did document the process!

Our total cost for this project was about $13. I bought the frame (12 x 12 w/4" opening) at Craft Warehouse for $3.15 (Originally $6.99 but was 55% off). And then we bought the other wood at Lowe's (we bought them in long strips...the exact measurements were 11/16 x 1/2, 8') And it took us 2 wood strips to complete the frame ($5.04/ea.) I am sure you could find some cheaper wood somewhere, but we didn't want to shop around.

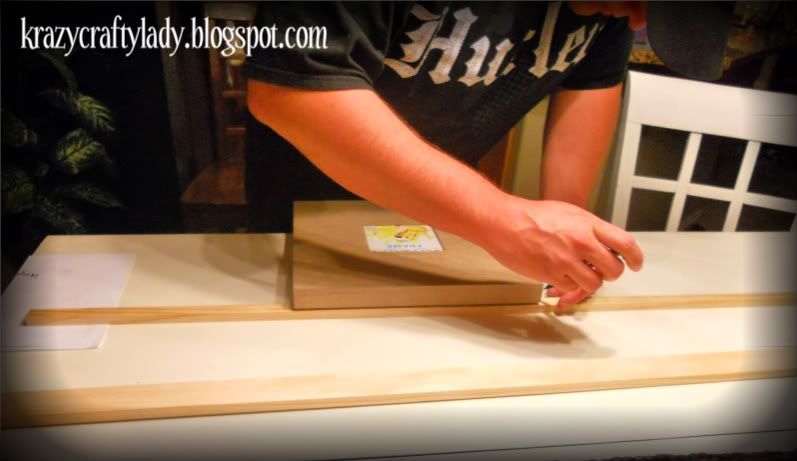
We started by measuring our frame and the wood to make sure we had enough to cover the whole thing. (I was sure we would only need one strip...good thing we bought two!)

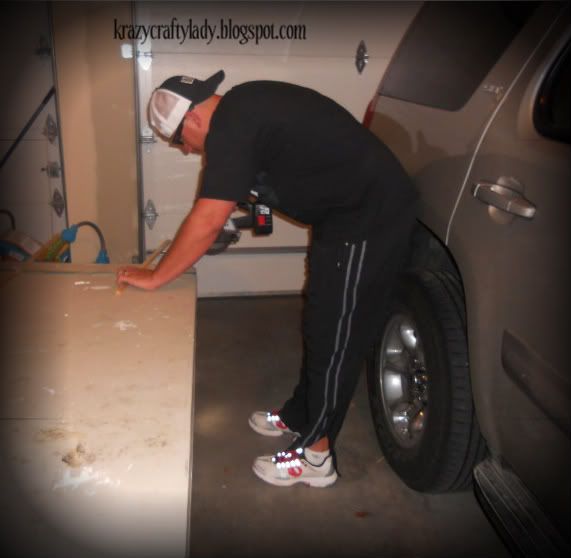
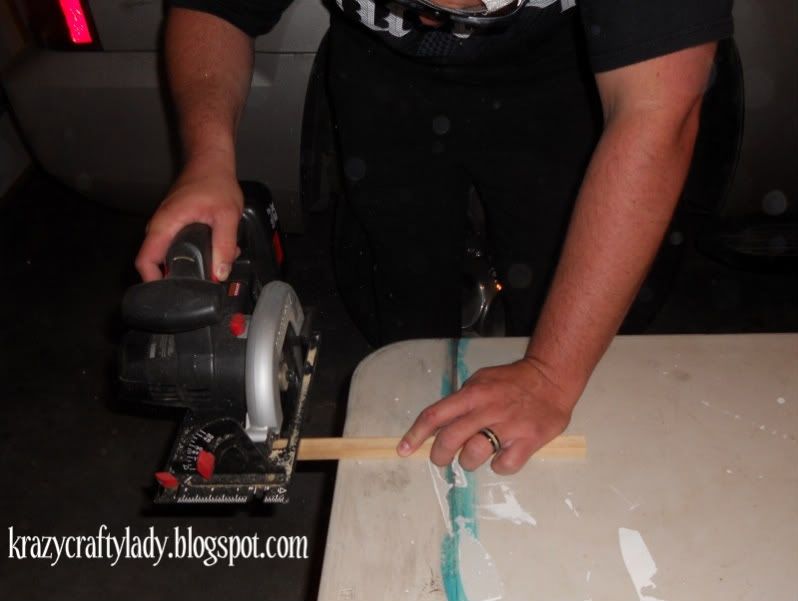
Then I put Chris to work sawing away:
He is really considering quitting his day job and becoming a frame maker. haha kidding!

(oh and a little side note...you should probably cover your table or whatever you choose to paint on, unless you want it to look like ours....or maybe we are just bringing a whole new meaning to the words "shabby chic" ha!)

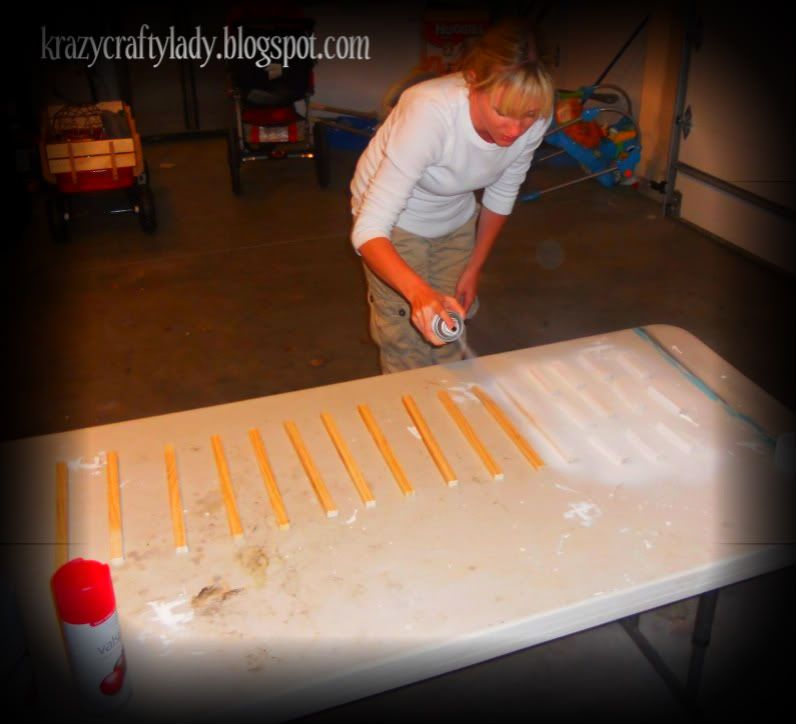
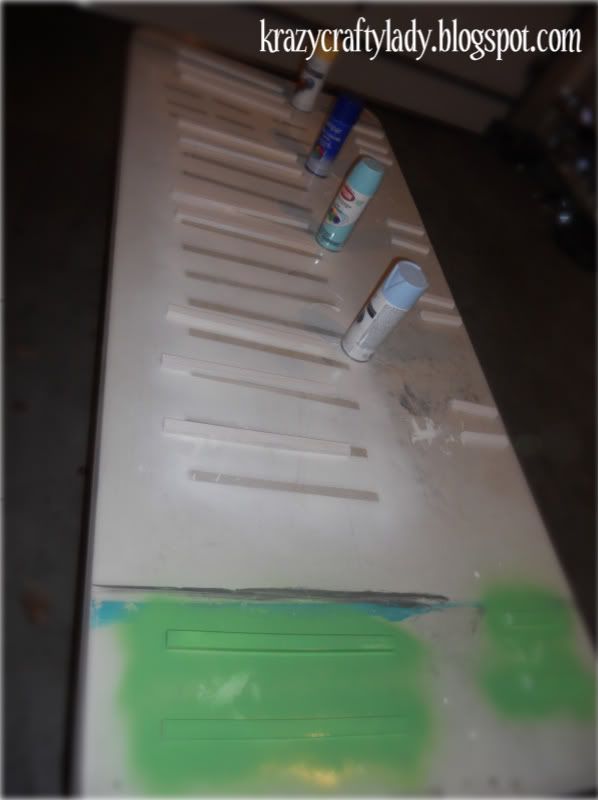
Next step...spray painting! I sprayed all the pieces white first. (I wanted the white to show through after I sanded them down a little bit)
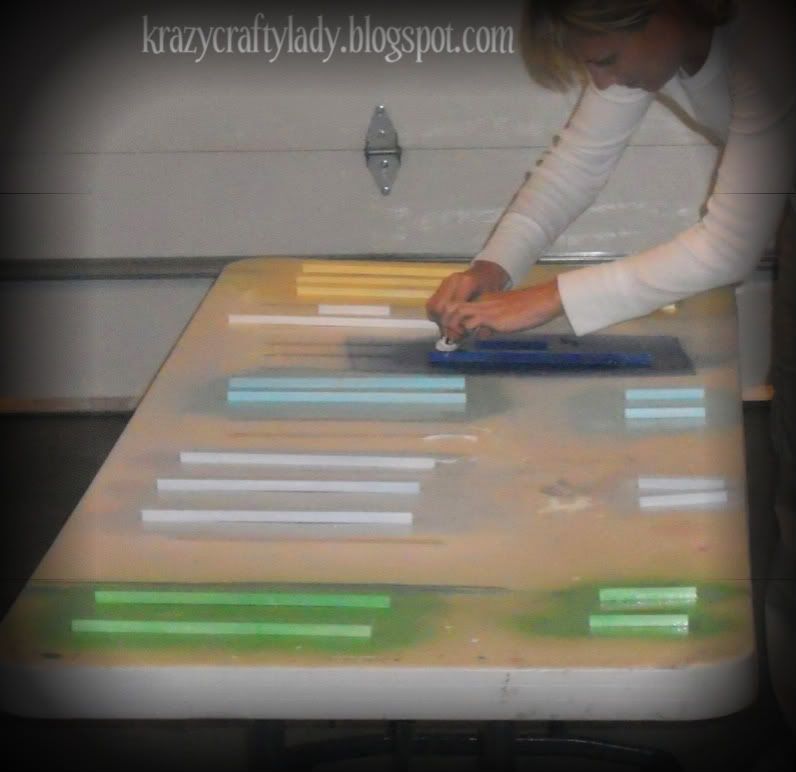
Then we chose the colors we wanted the frame to be and separated the wood into piles. I didn't want it to be too matchy-matchy so I painted 2 here, 3 there...maybe 1 over there, etc.

While the paint was still drying I took a paper towel and dabbed random spots to distress it.
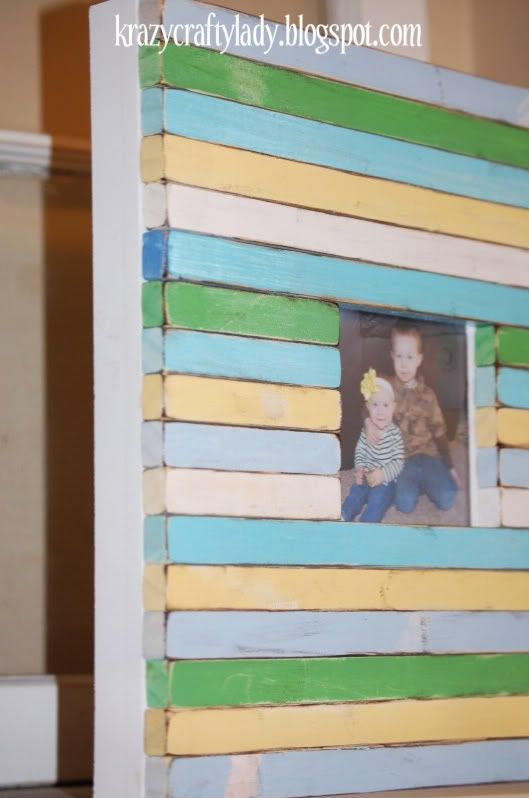
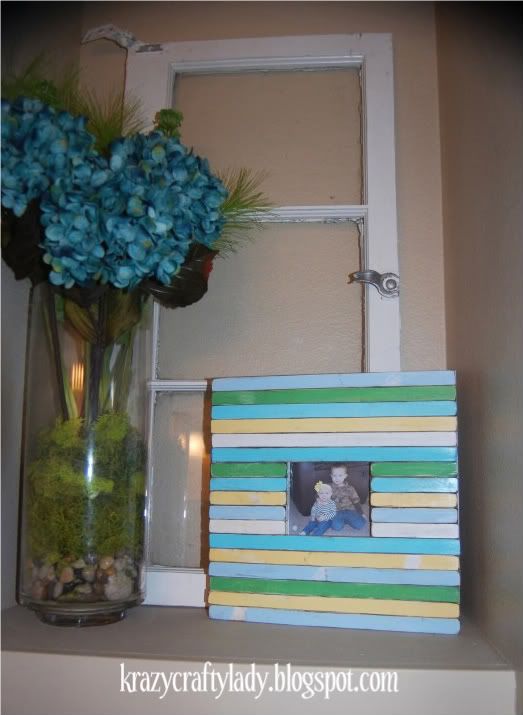
After the spray paint dryed I sanded the edges and then used some of my ever-so-handy distressing ink on the edges. (That product says its just for paper, so I didn't know how it would turn out...but it worked just fine!) Then we glued the pieces straight to the frame and here is the end product:


Matches our bathroom perfectly. Now go try your hand at one!  


**Linking up to:

Photobucket


http://todayscreativeblog.net/